
DIY: Toilet Paper Tube Village/People
Those who know me know…I love disco. So when I began a foray into this little DIY, I was certain there’d be a disco reference. Without further ado, I present to you “The Toilet Paper Tube Village People”. You’ll want to have your sound on for this one.
Here’s how this little village was created.

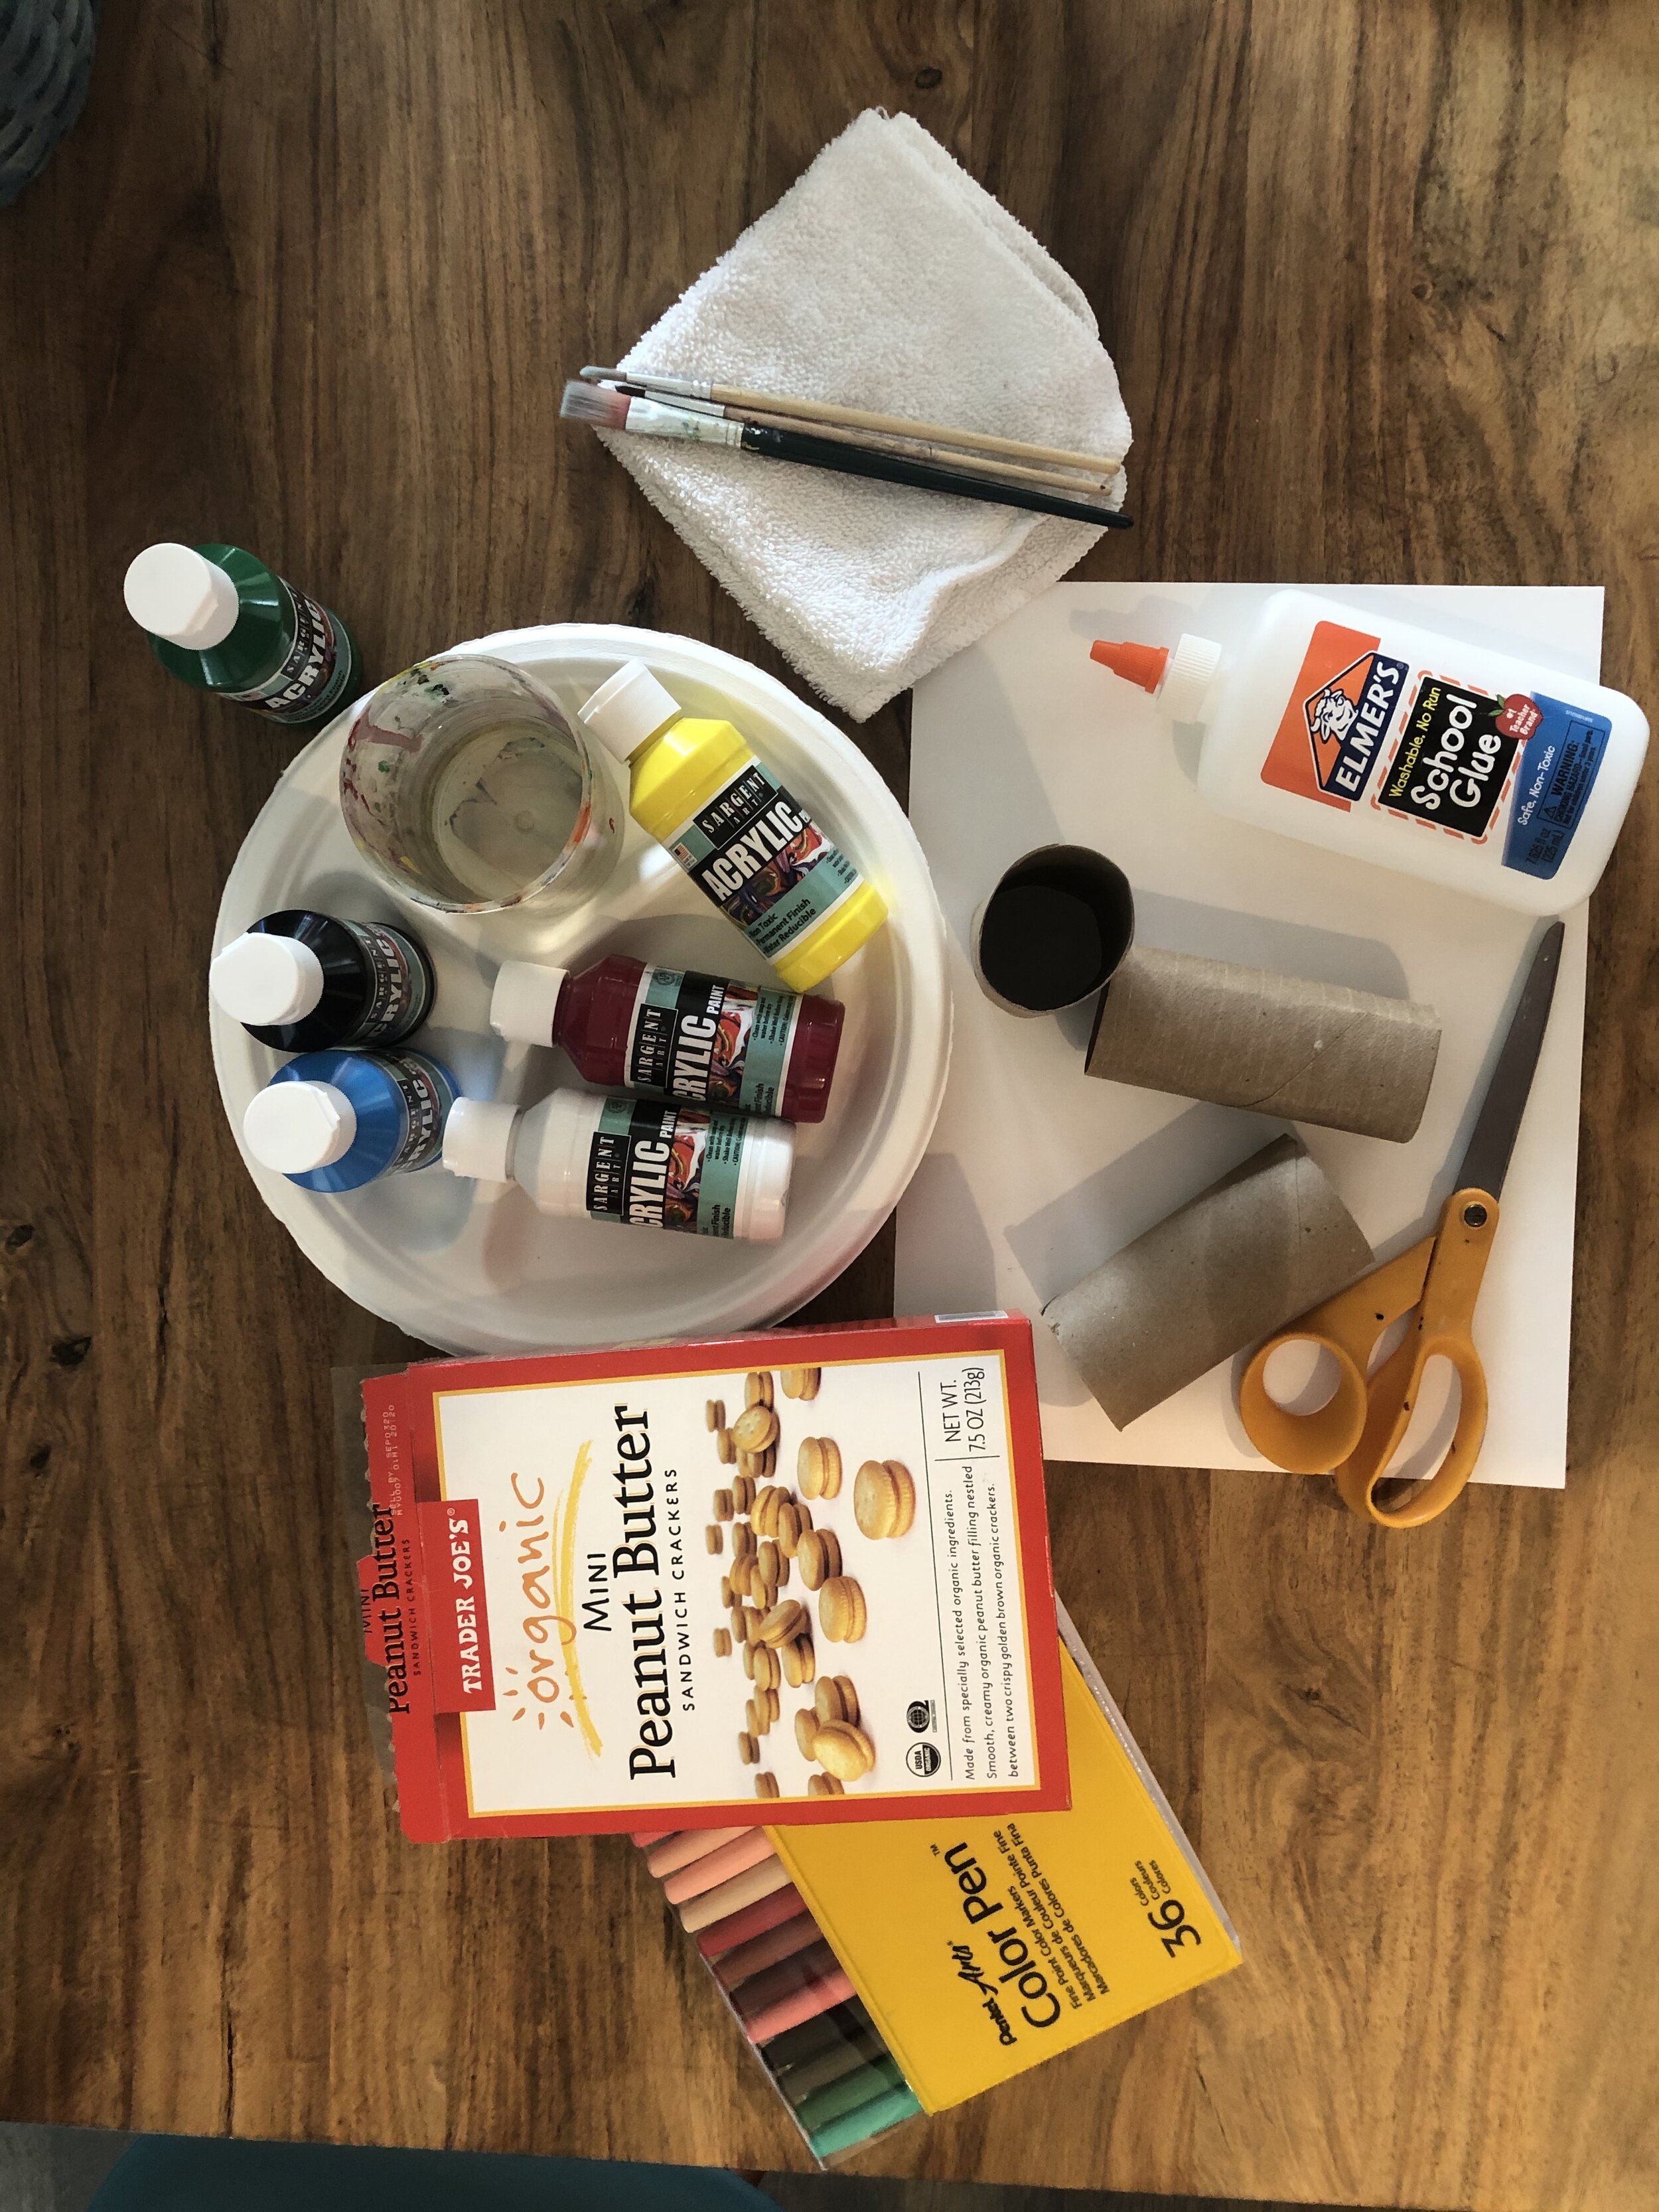
First you’ll need to gather your supplies:
toilet paper and paper towel tubes (I used three toilet paper and one paper towel tube for this village)
cereal box or something similar (I used a cracker box)
glue
scissors
paint+water/towel to dry brush/brushes/cup to wash brushes/paper plate palette
heavy weight paper (optional)
glue gun (optional but helpful)
markers (optional)
The first step is to carefully and strategically cut the box so that you have a self-contained backdrop (see pics below and instructions to follow).
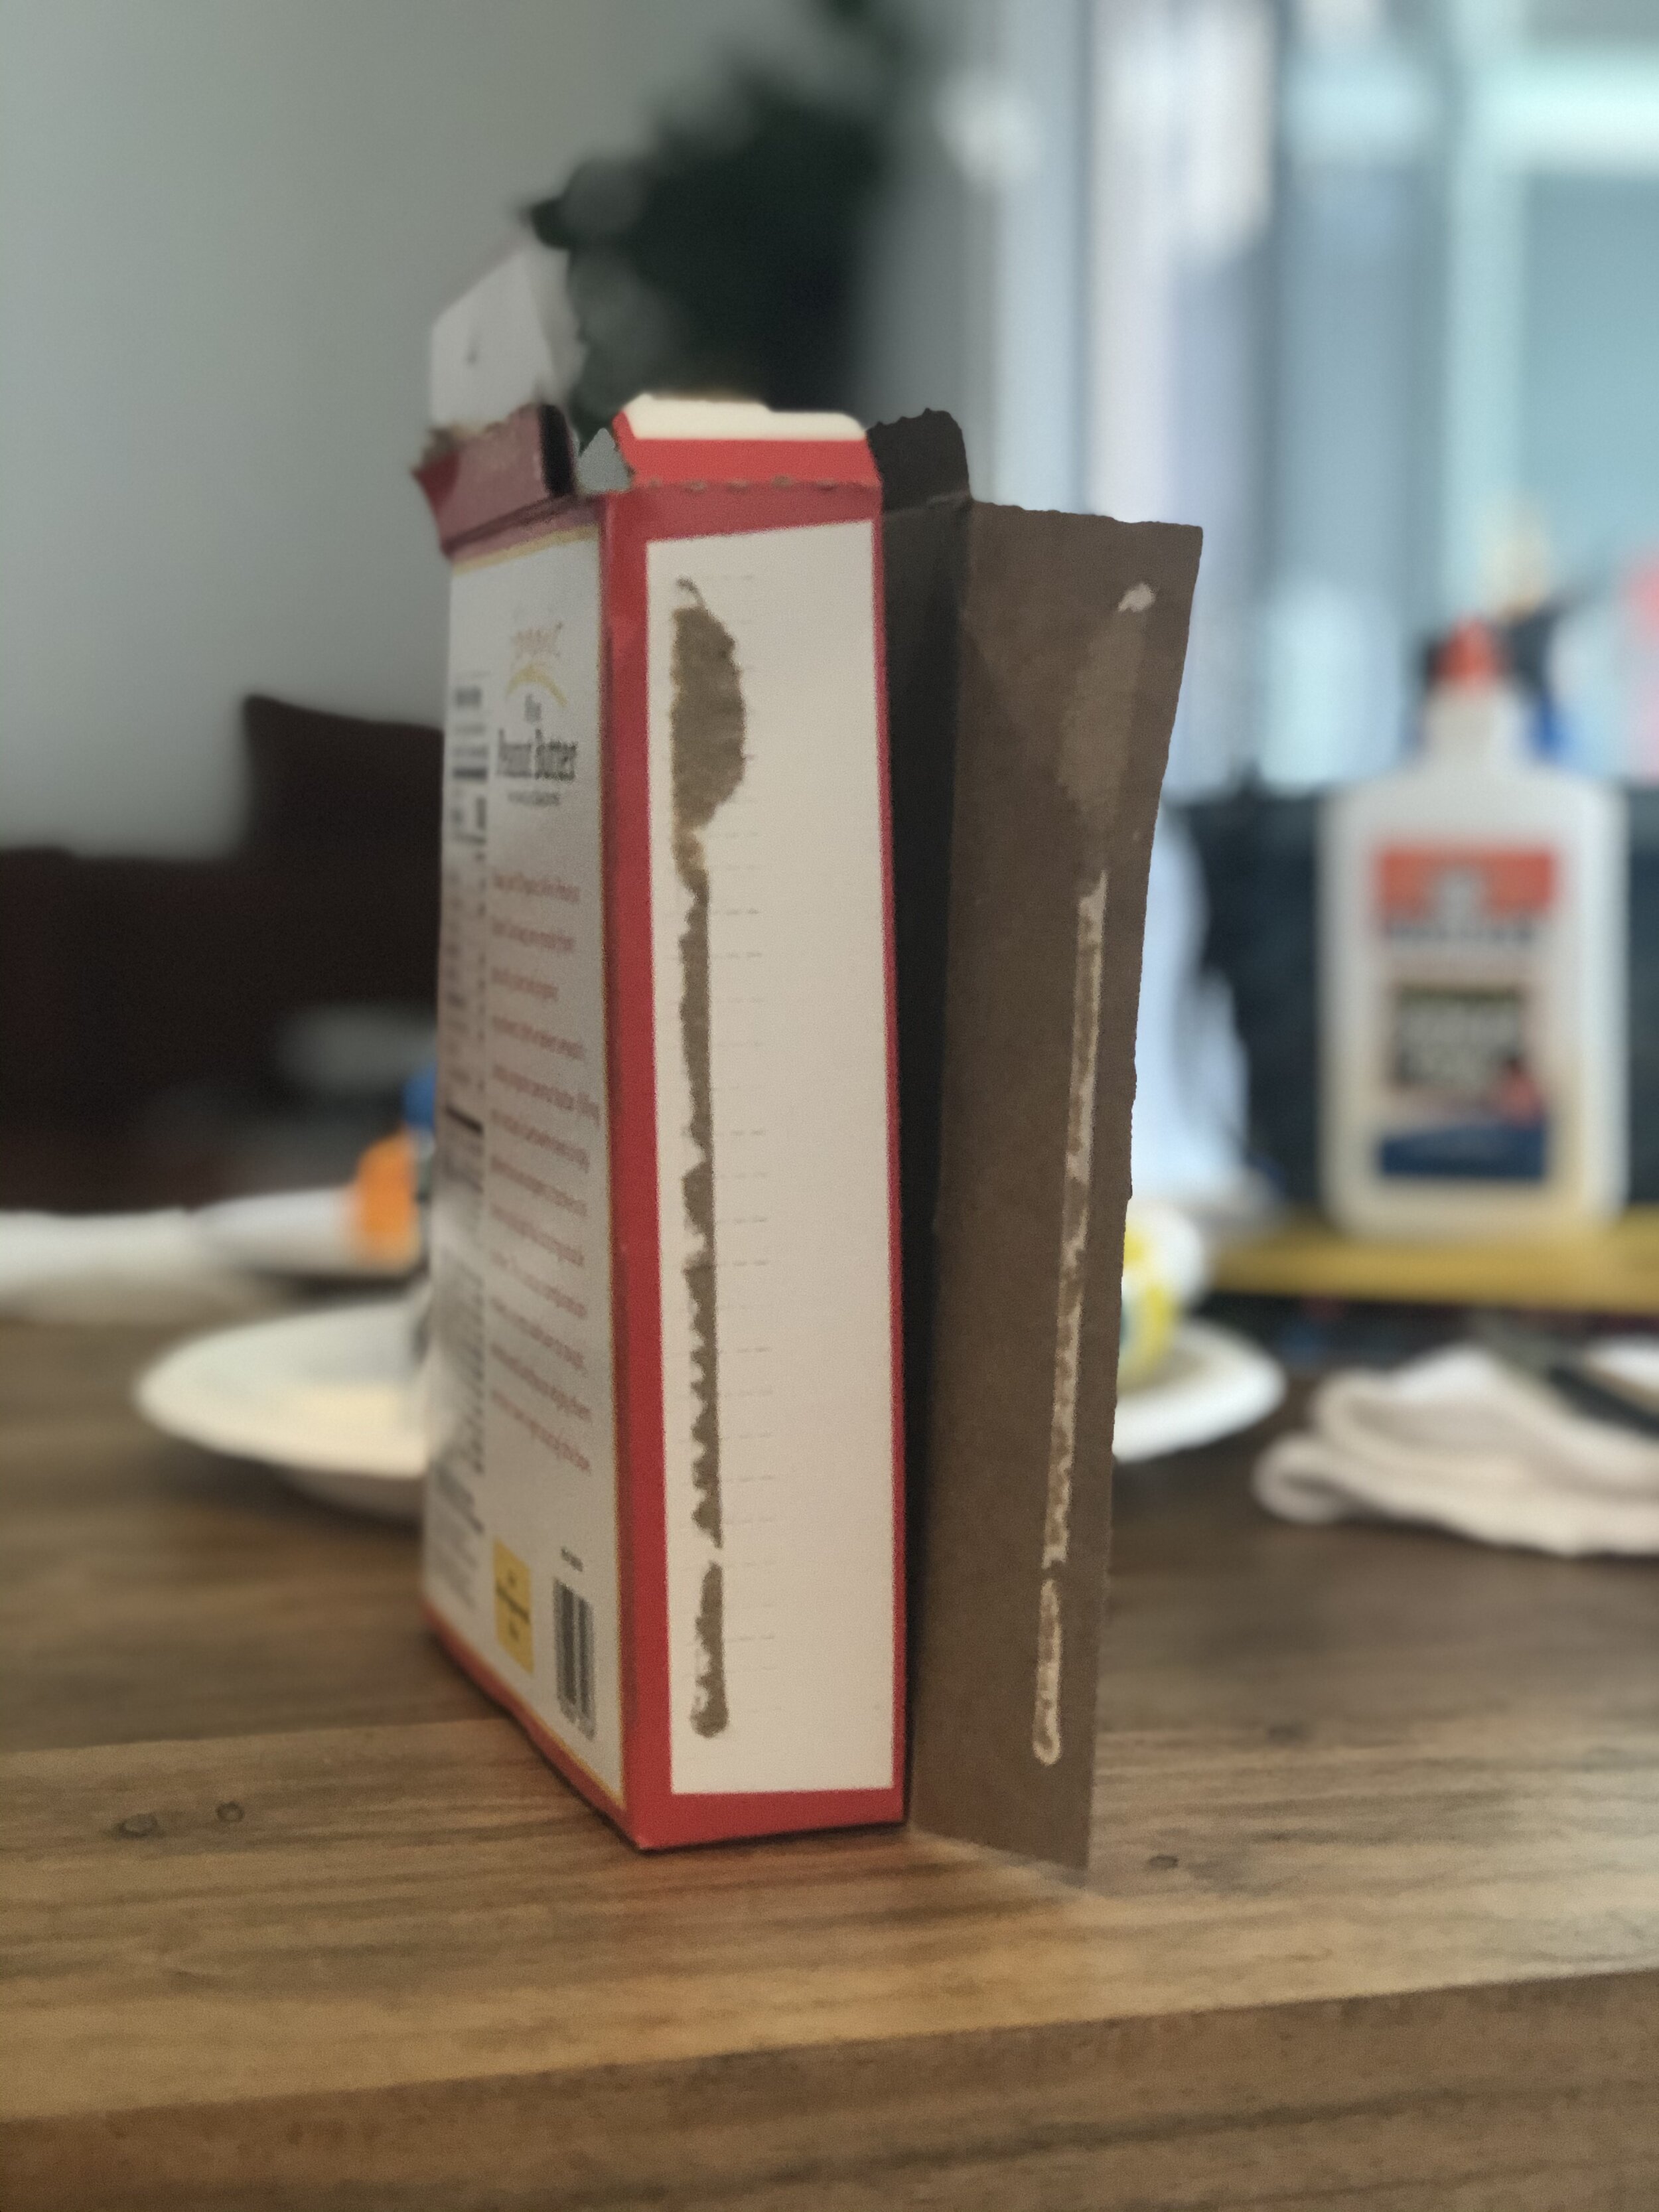

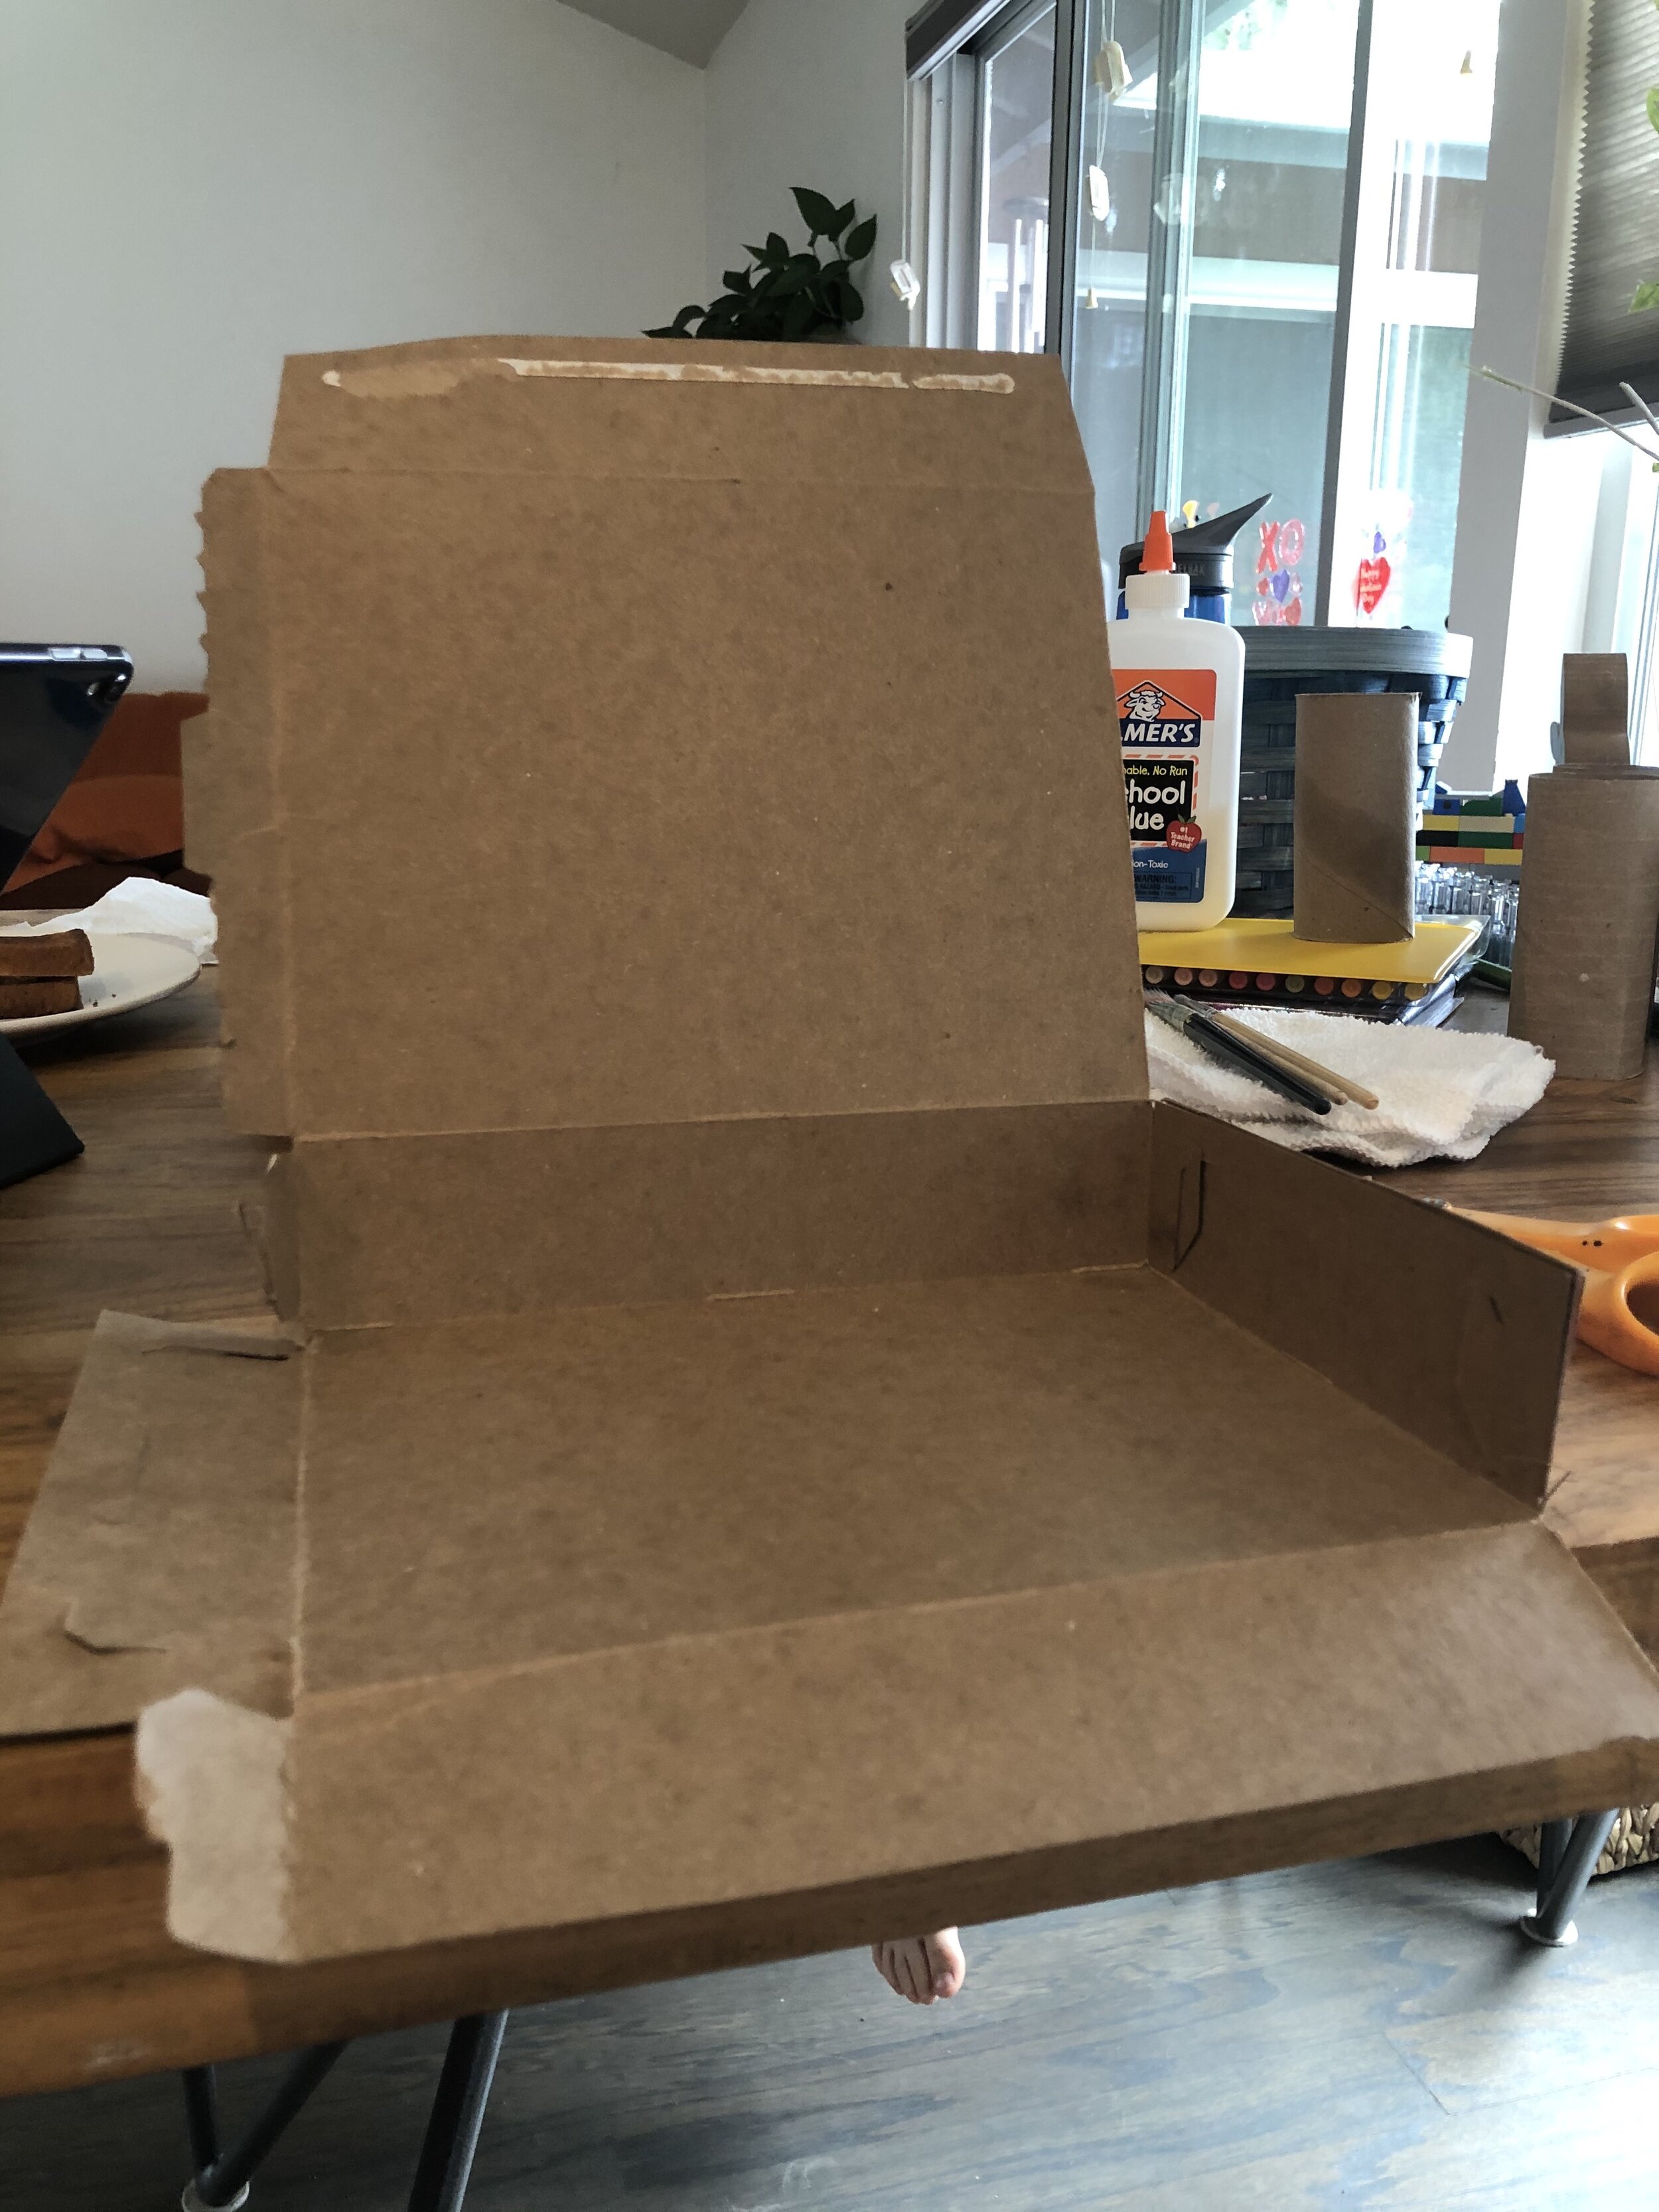
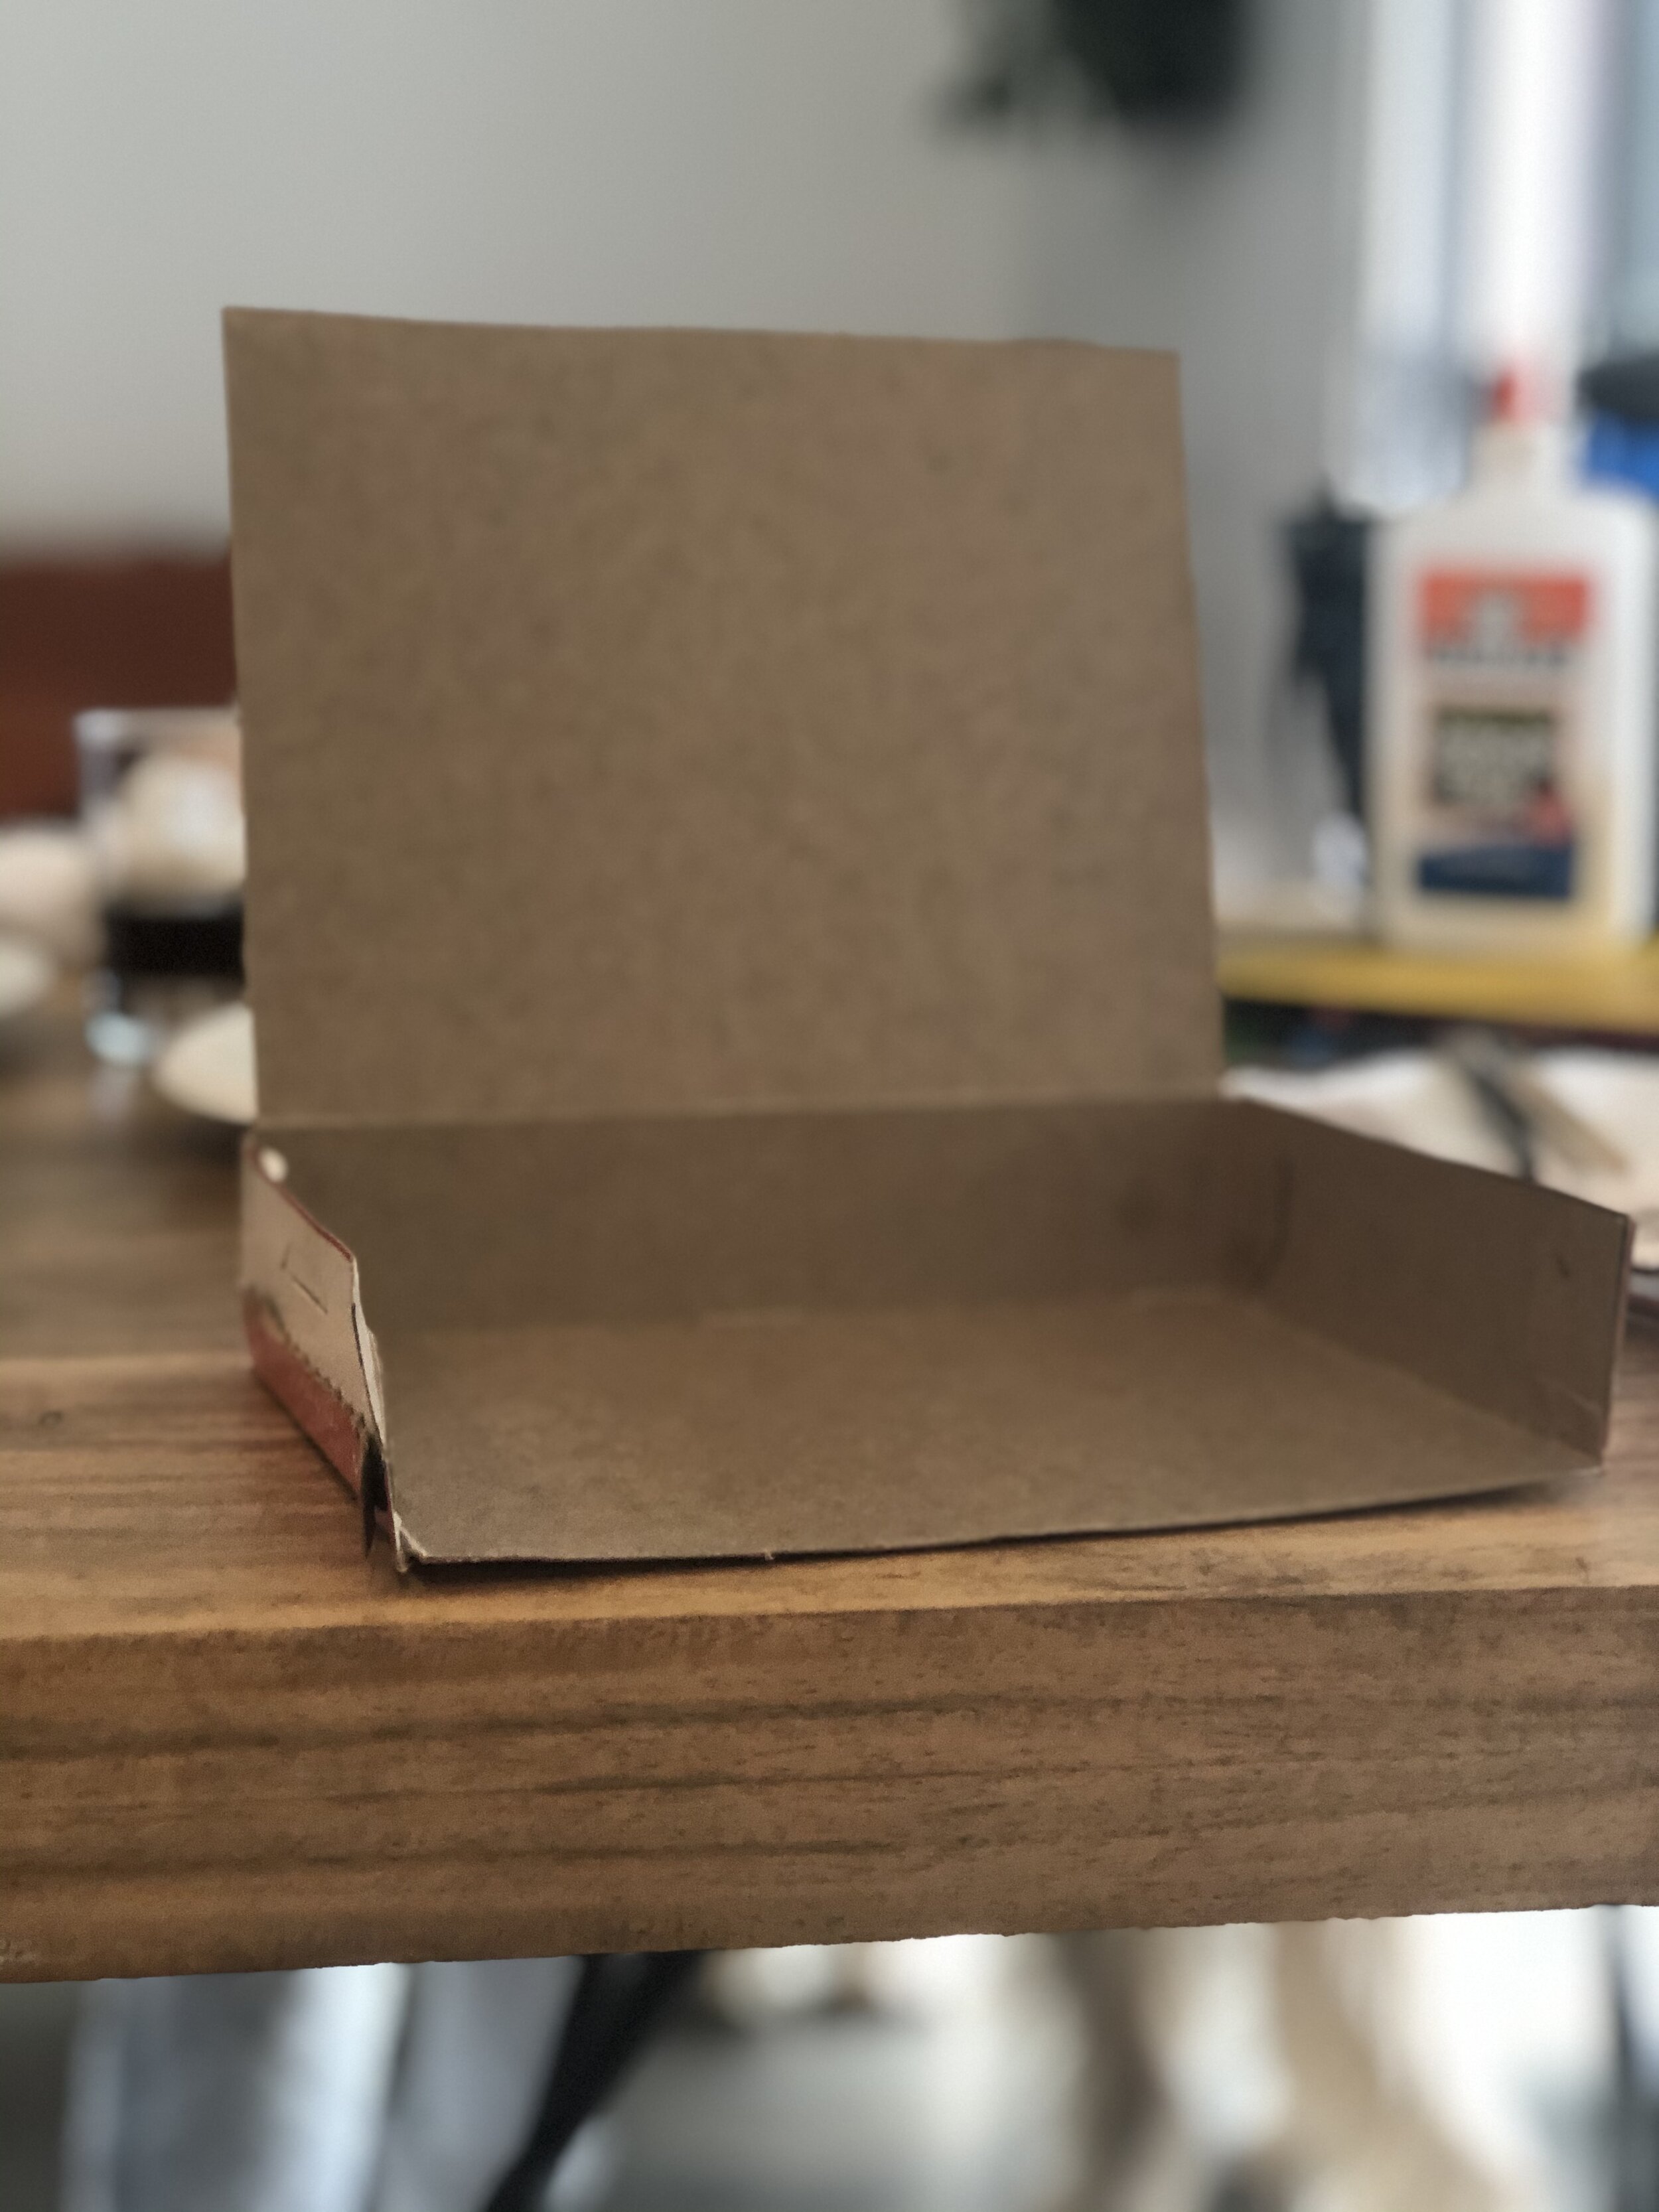
The trick is to open/peel the side panel and then cut the front of the box along the sealed bottom panel (pic 2). The front panel will then left up/away (pic 3). Trim the rough edges and then reposition and tape the top flap (the flap when you first opened the box prior to eating the contents. pic 4).
Next you’ll want to give the toilet paper tubes and the interior of the box a quick coat of white paint. This acts like a primer and allows your colors to really pop!

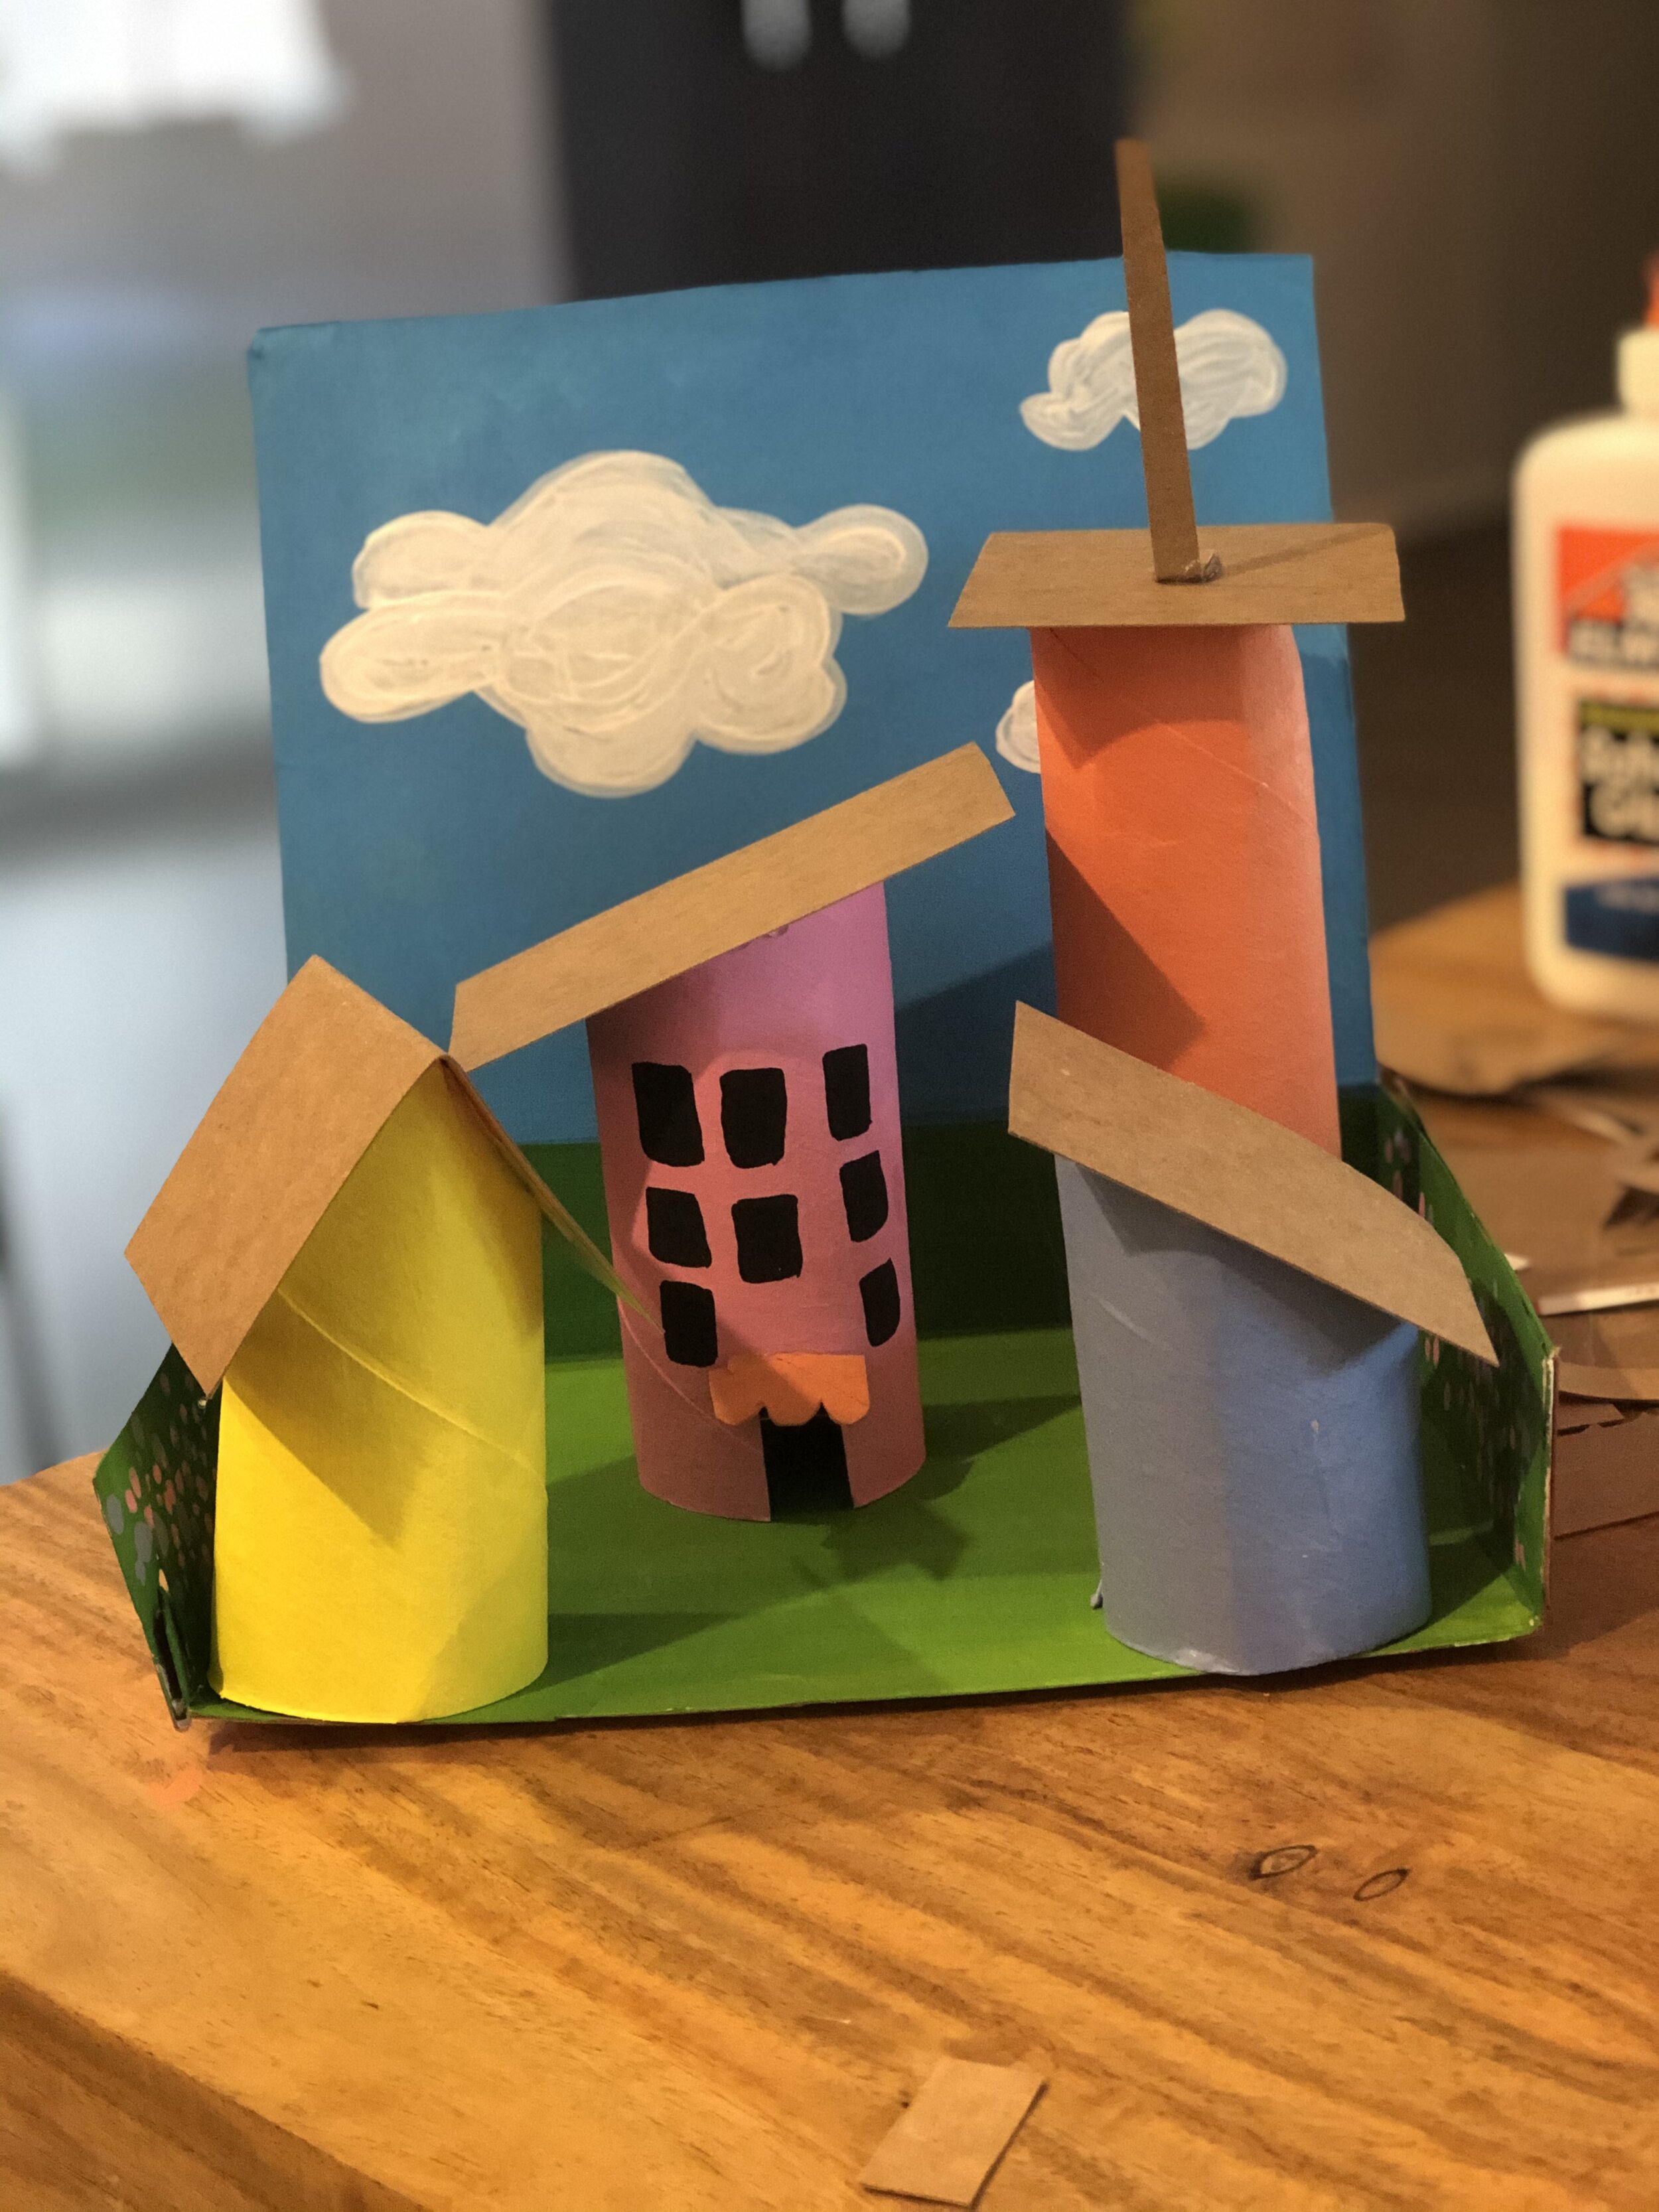
From here you’ll want to paint the interior of your box. I added flowers along the side walls, clouds in the sky, trees in the background and other textural details to the ground. The sky’s the limit with what environment you’d like your little buildings in. I thought about a cohesive color palette and wanted a graphic finished effect. Again, anything goes and color mixing may be easily done on the paper plate with a small squirt of paint.

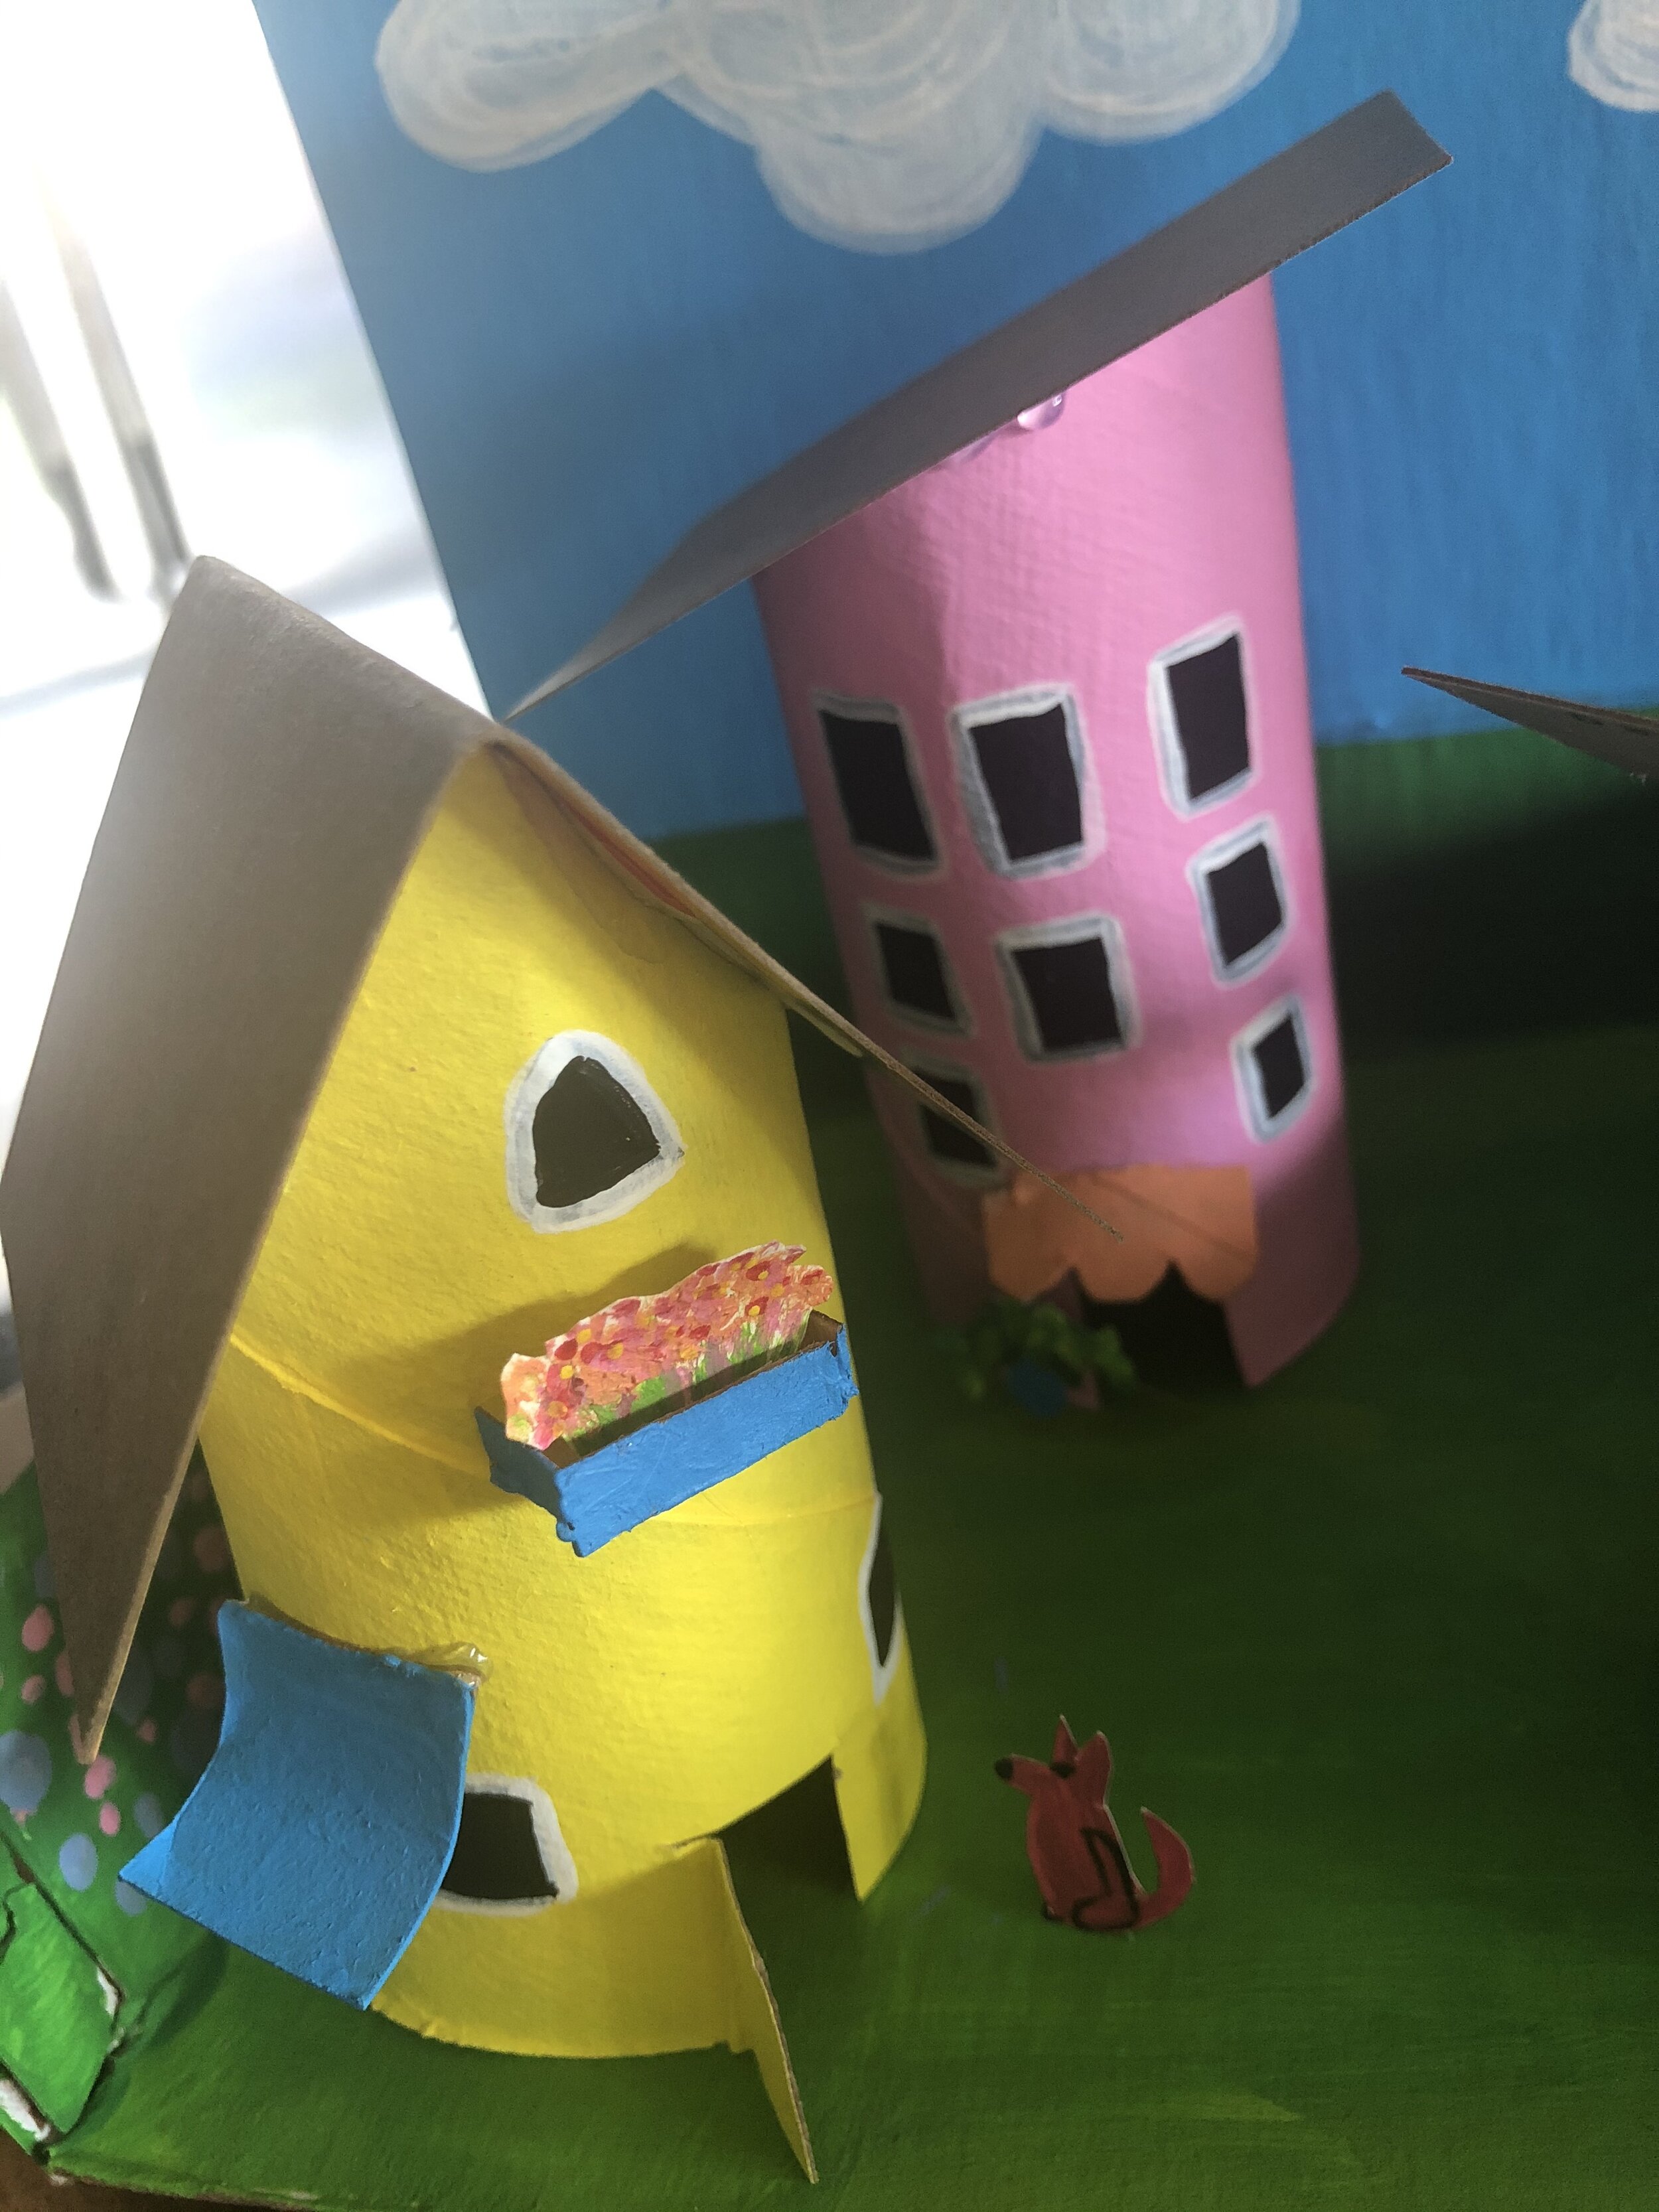
From here, you can paint your buildings. And the tops of the buildings were made from another cereal box’s cardboard, cut to squares and affixed to top. You can see how I cut a couple of those tubes on a slant.
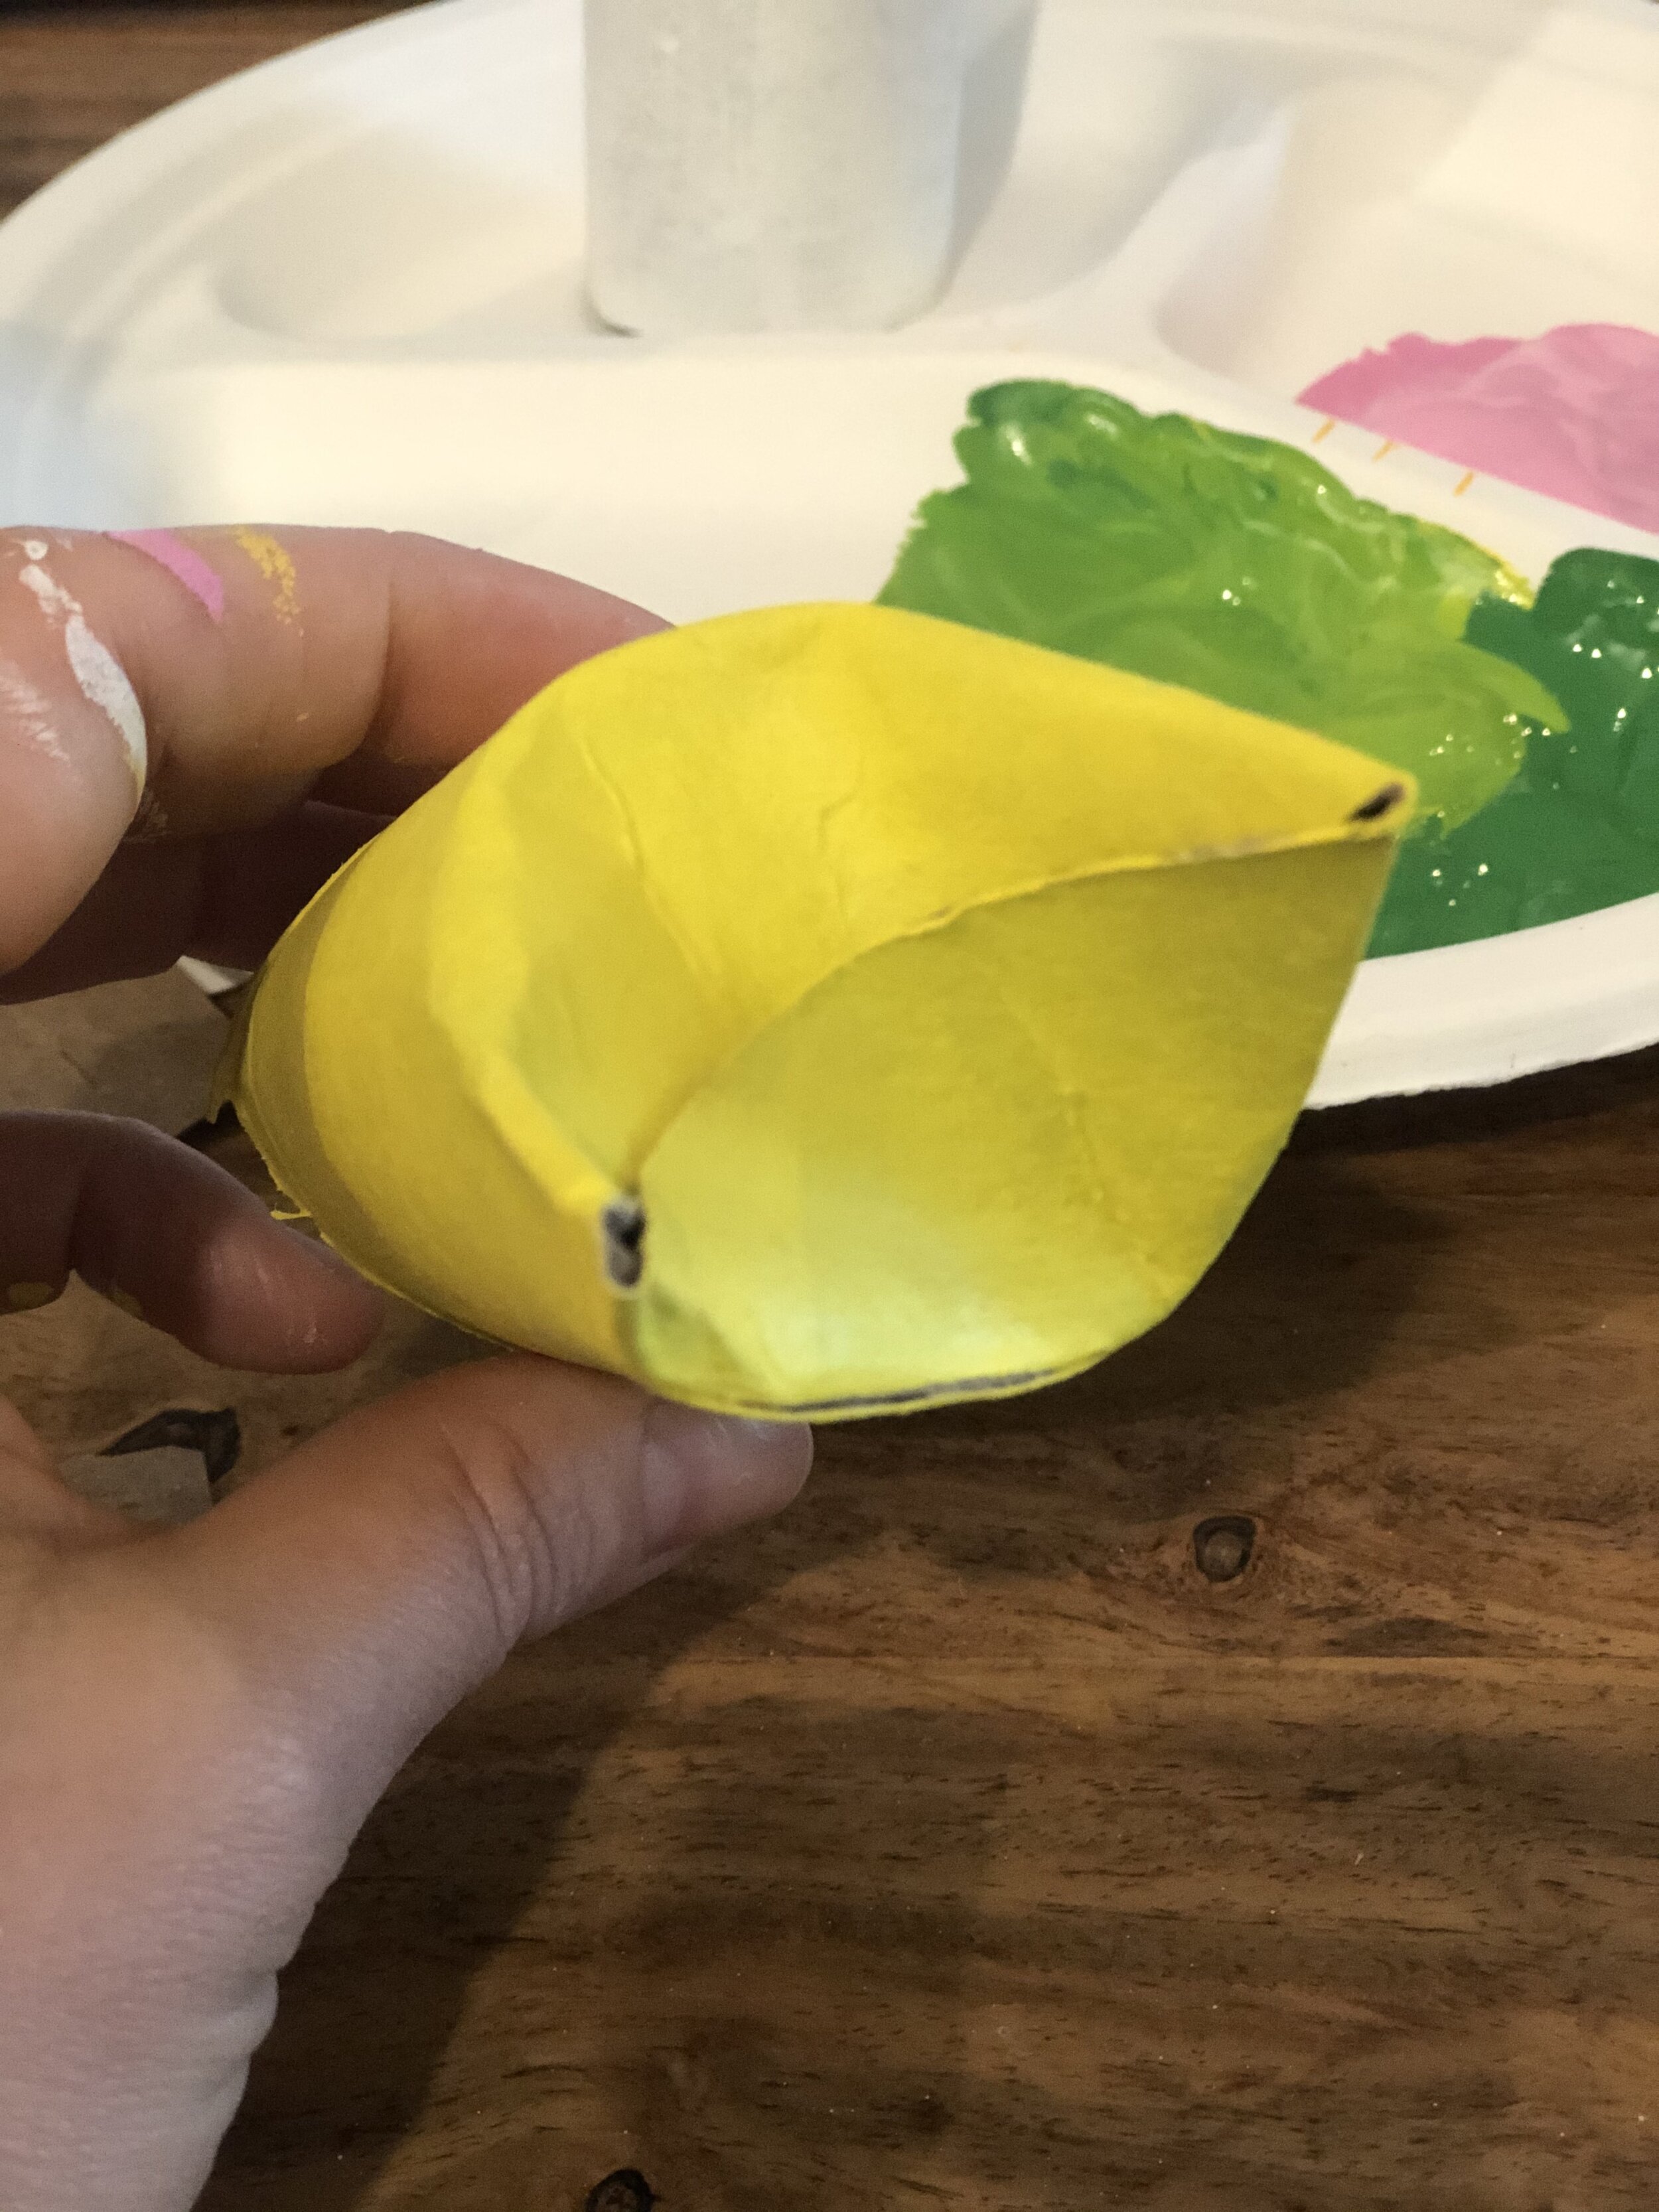
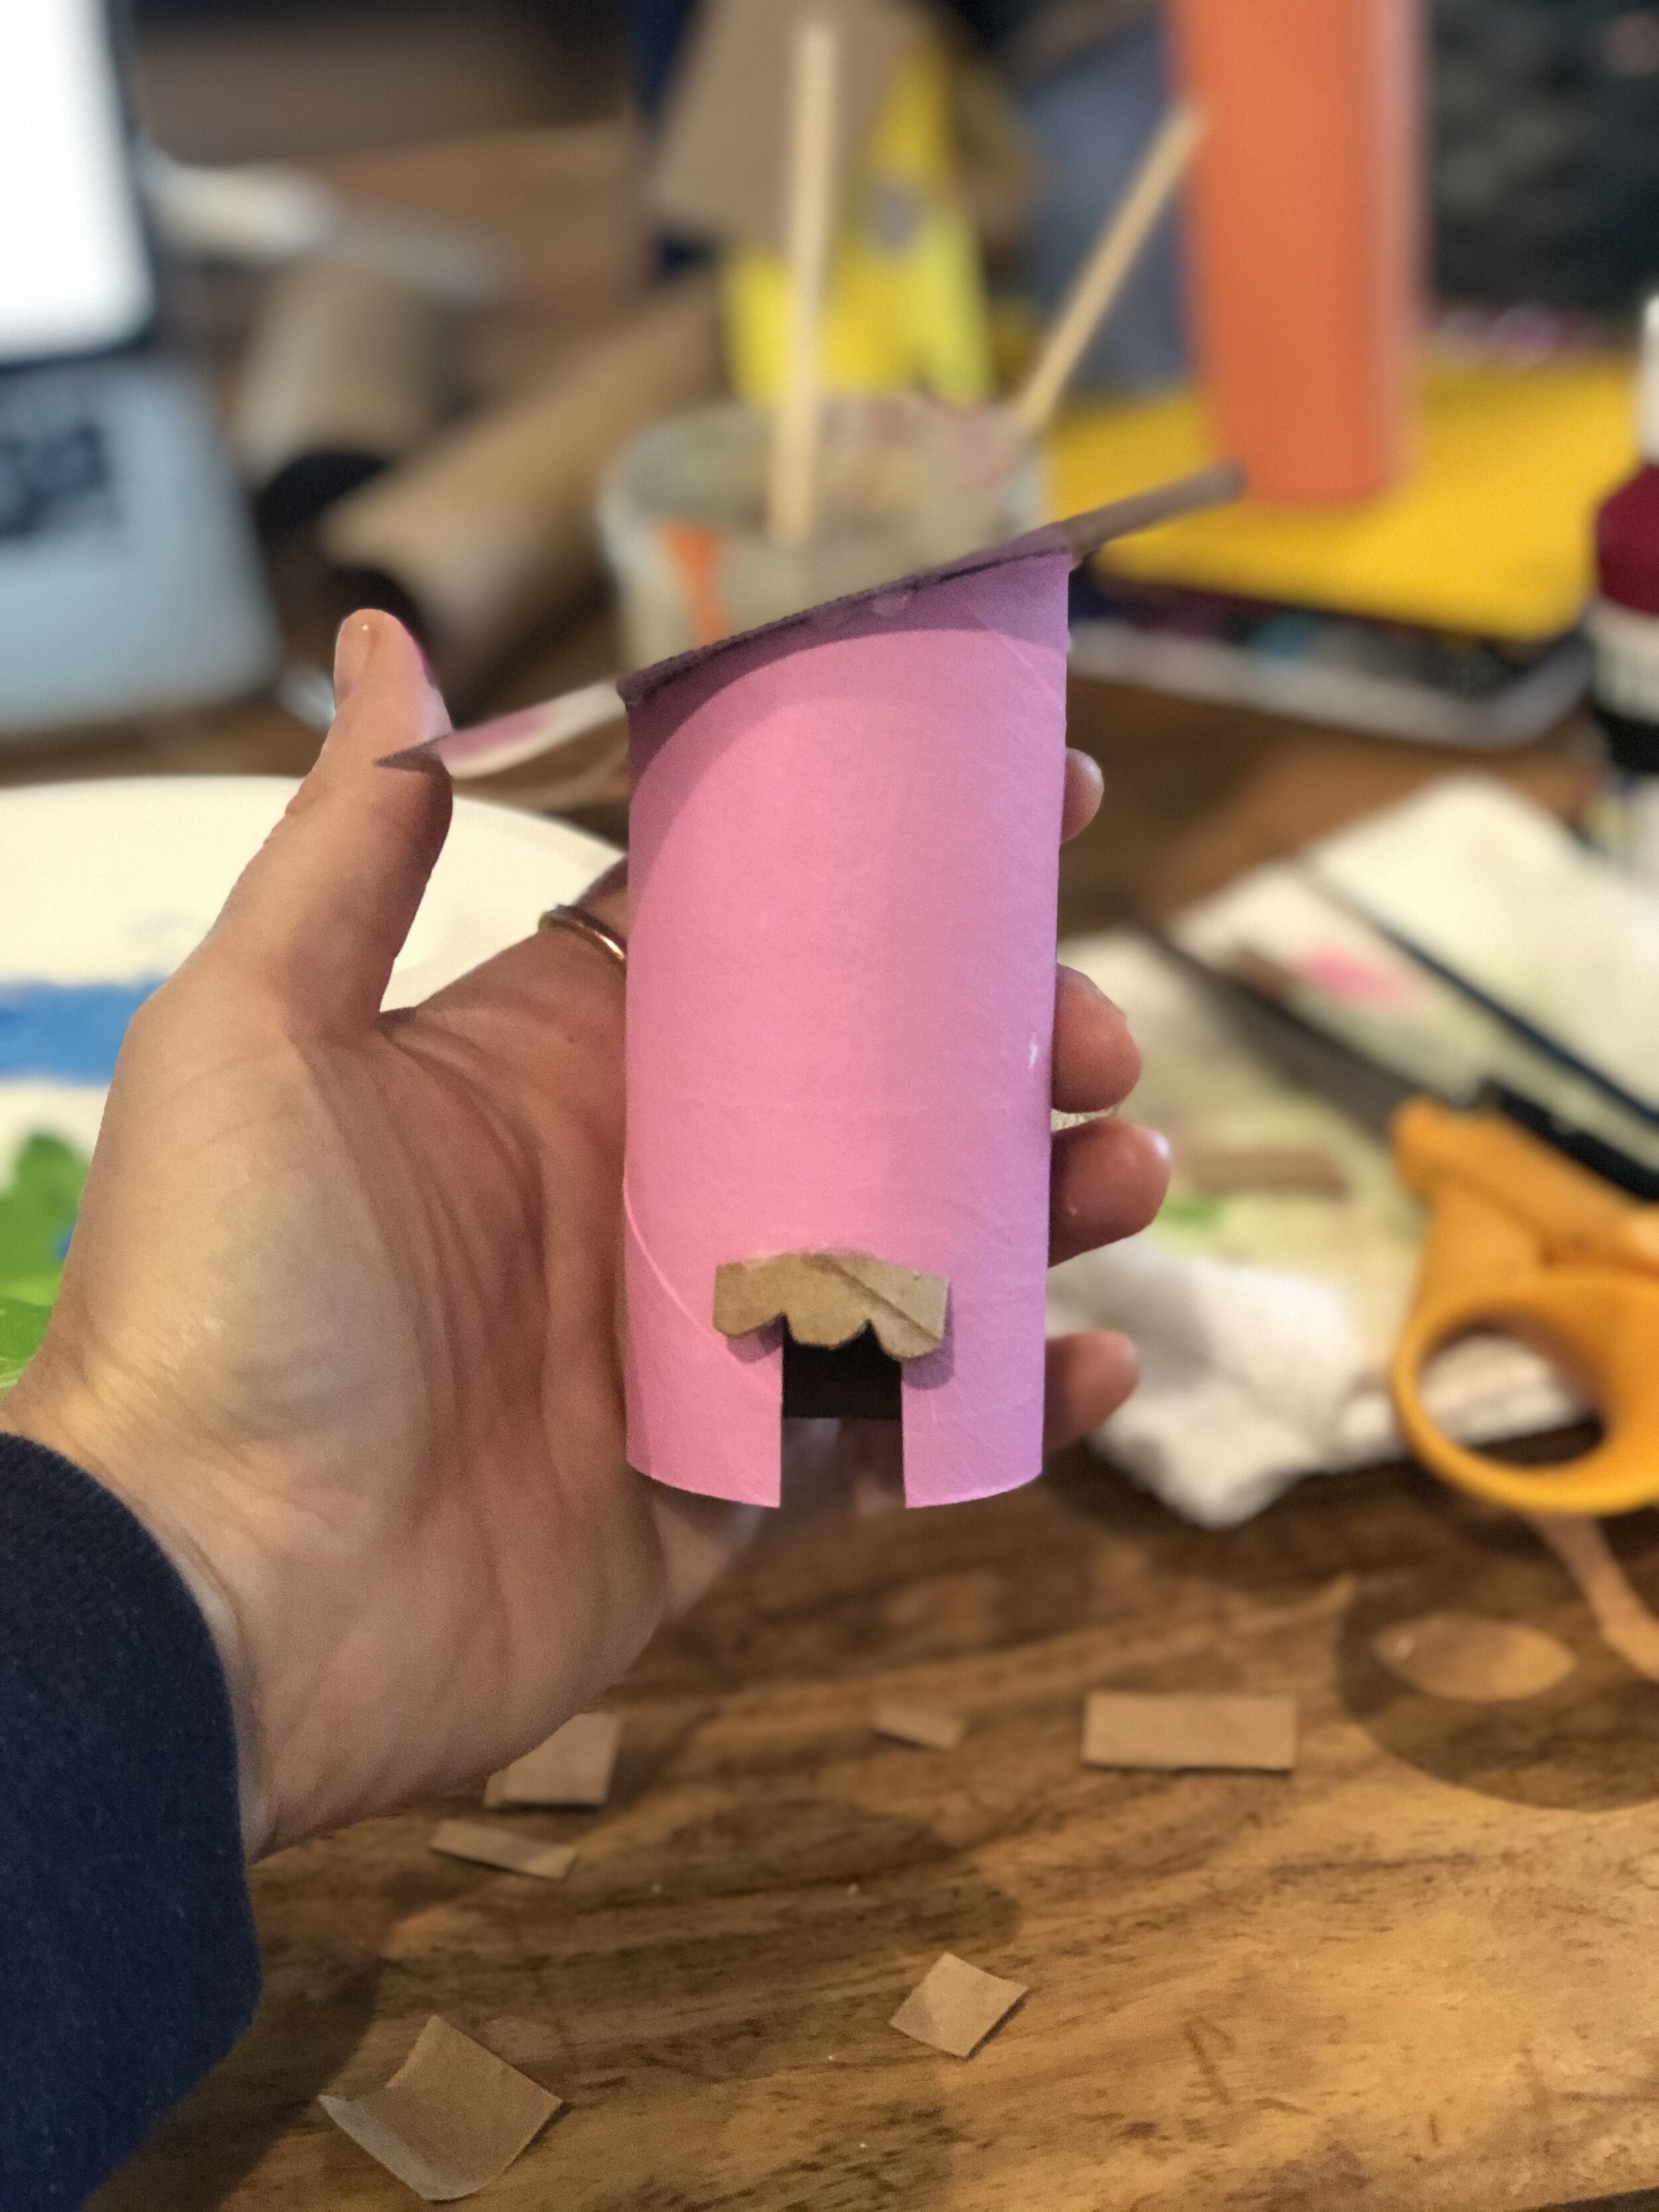
The pic above on the left shows how I folded the yellow building in to create an A-frame roof. Pic 2 shows a detail of an awning I added to the pink house. Pic 3 is how I worked and arranged as I went. At no point did I glue the buildings into the land. Leaving them free allows for more play-based activities.
I continued to work, adding details like hanging flower pots (made of heavy weight paper) and a window flower bed. I also made a little red dog, and added an antenna to the tall orange building.
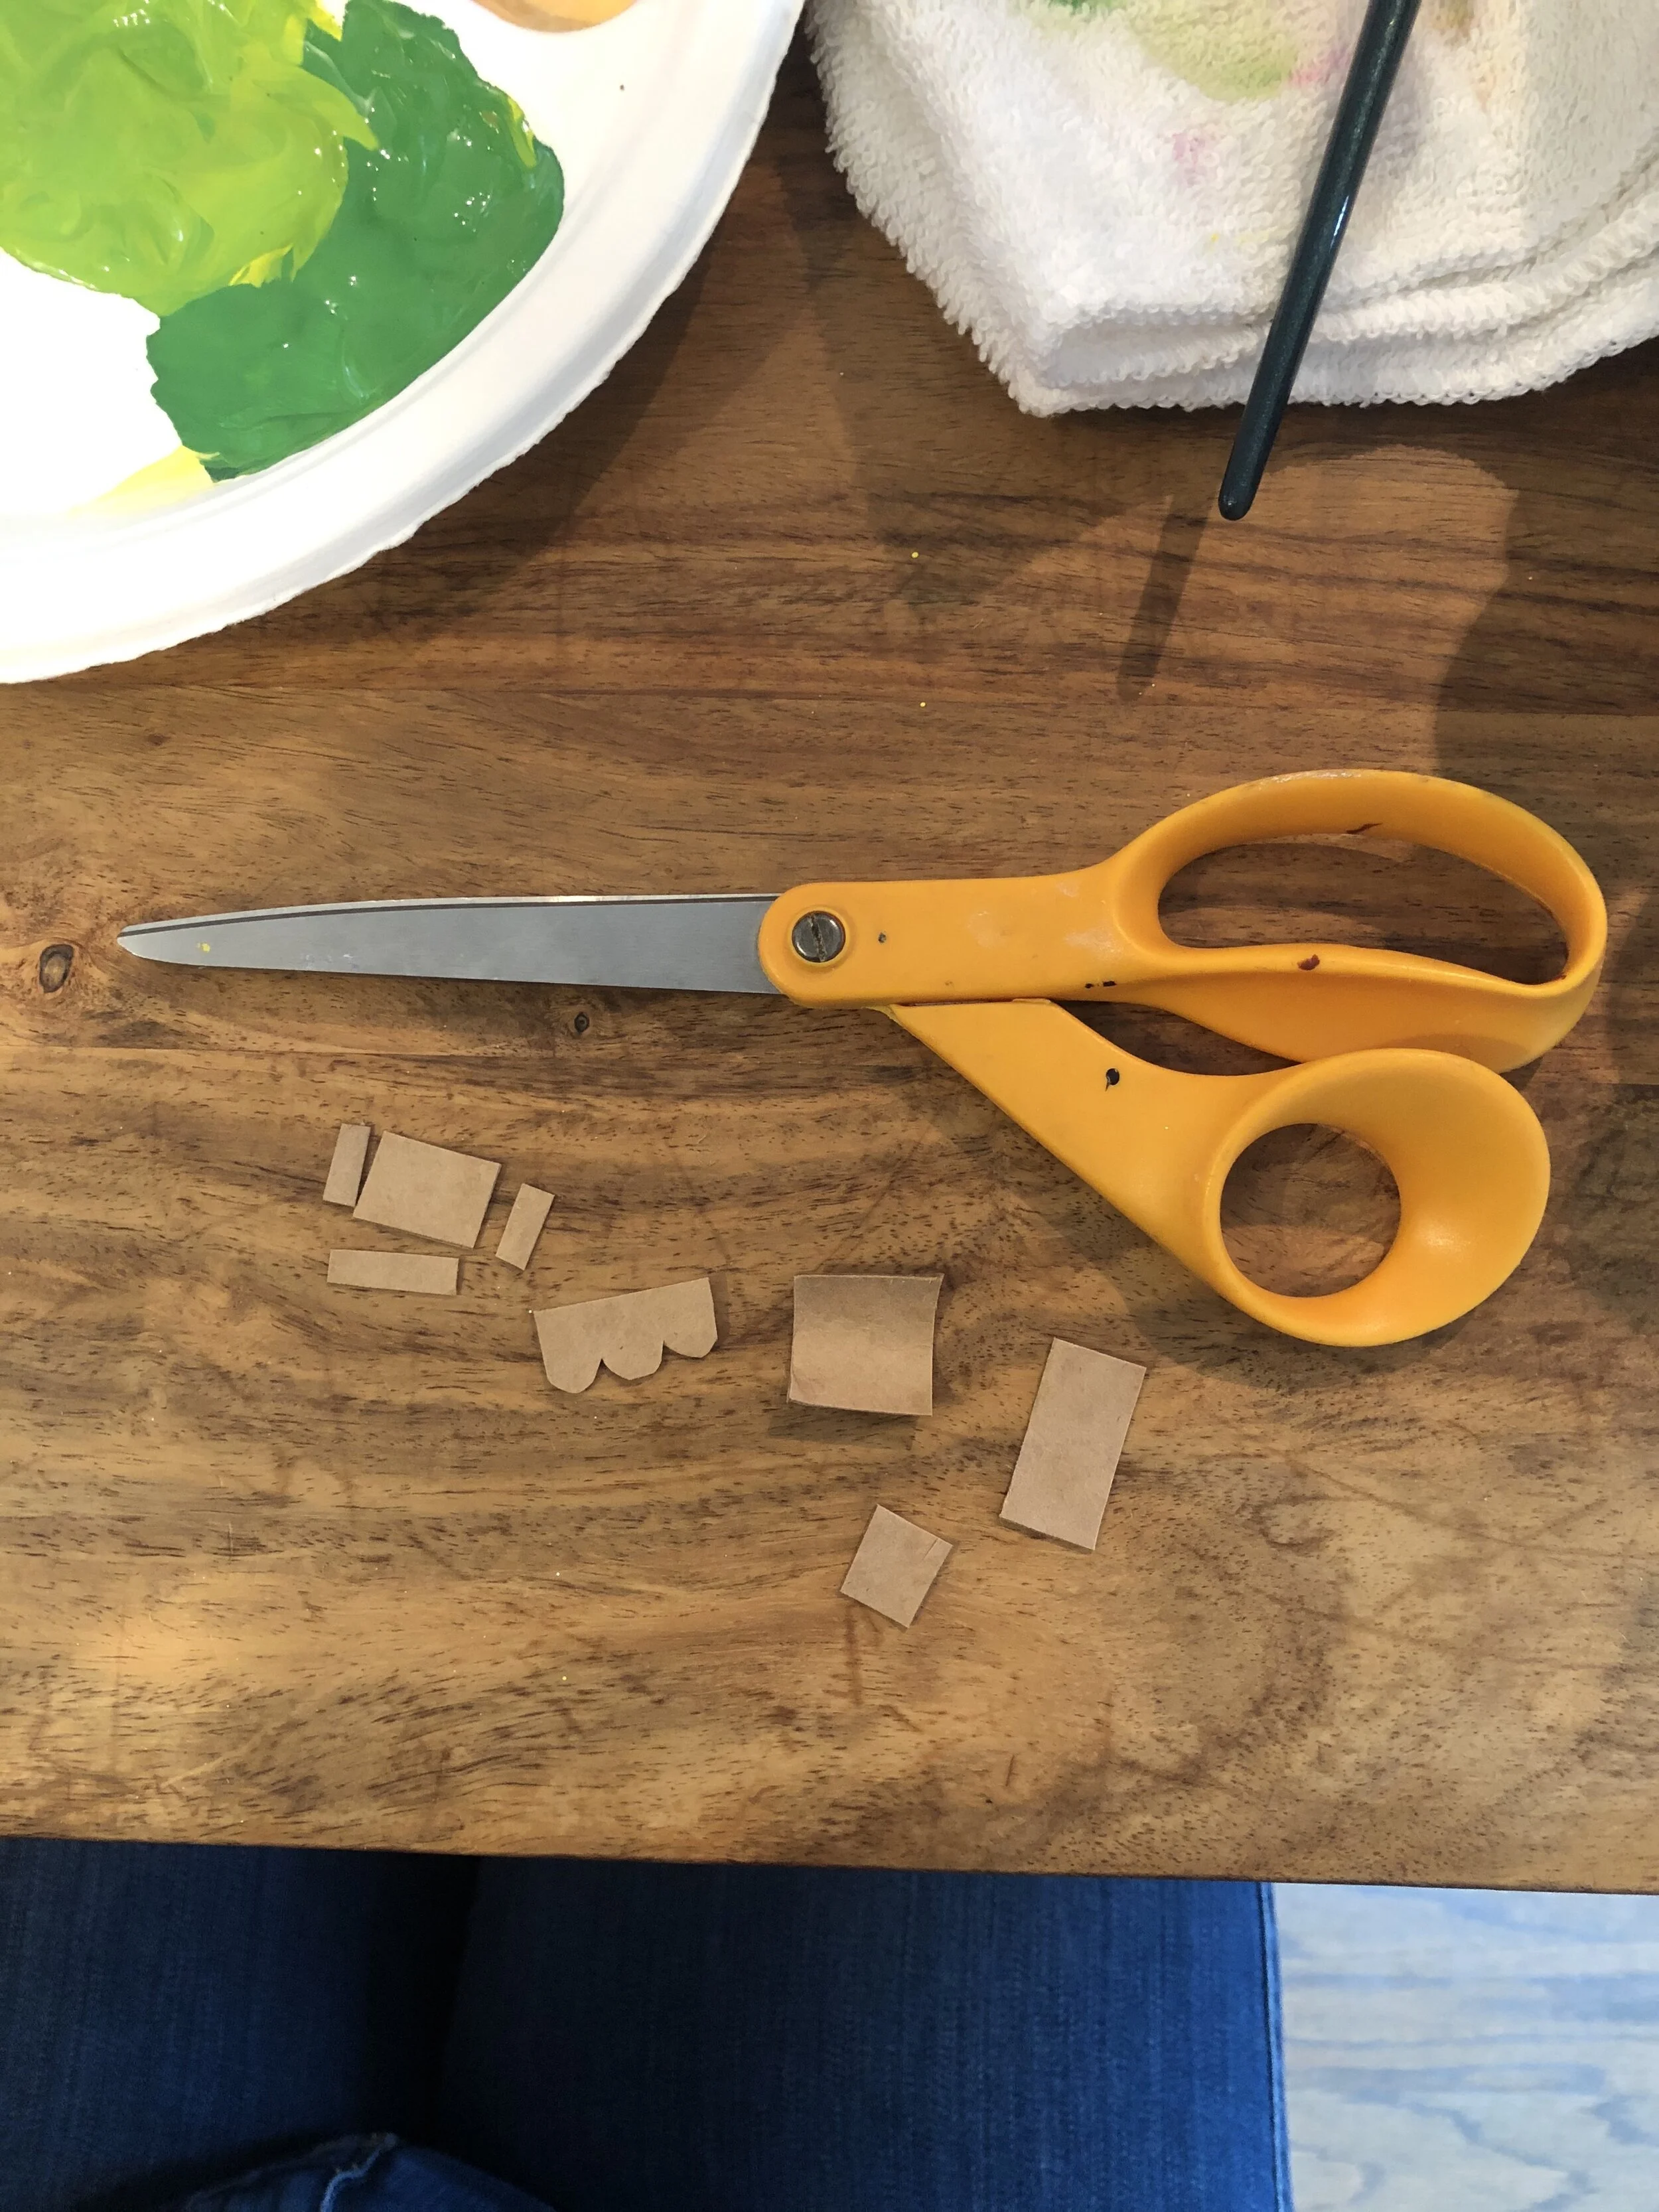
small cardboard pieces to be used for awnings and window boxes
From there I continued with painted details, like windows and window frames, as well as cutting openings for doors once the paint dried.

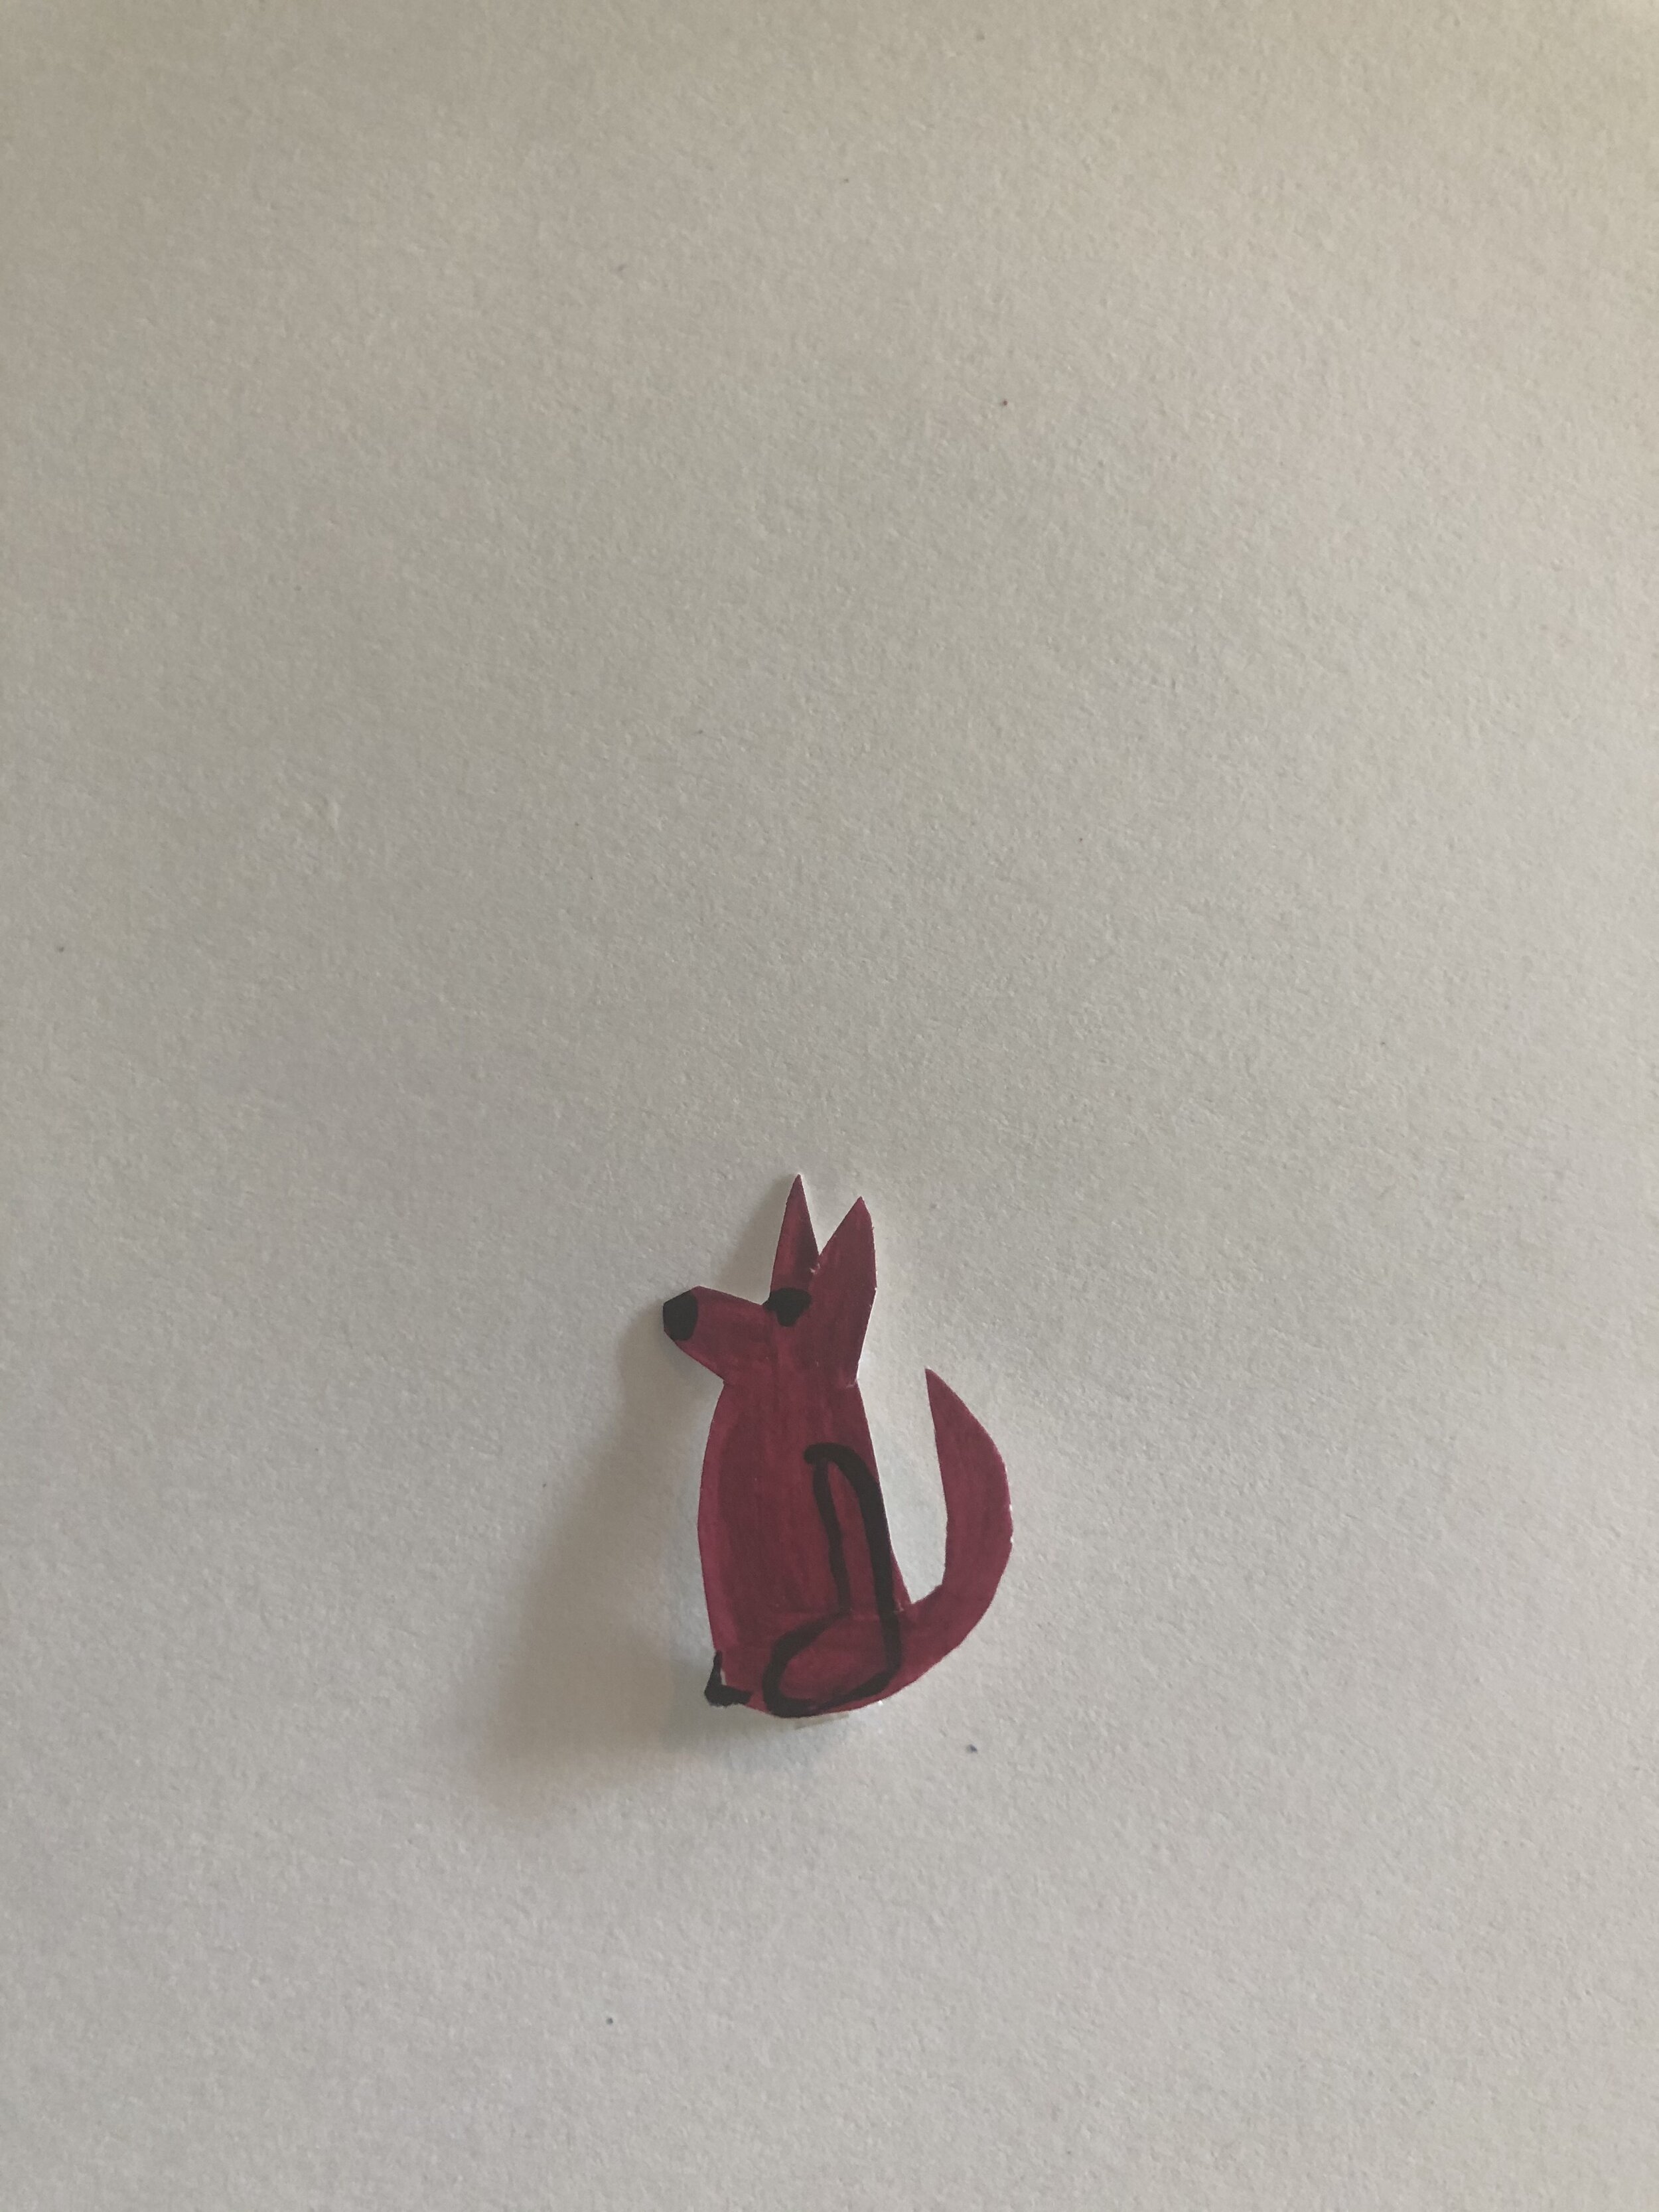
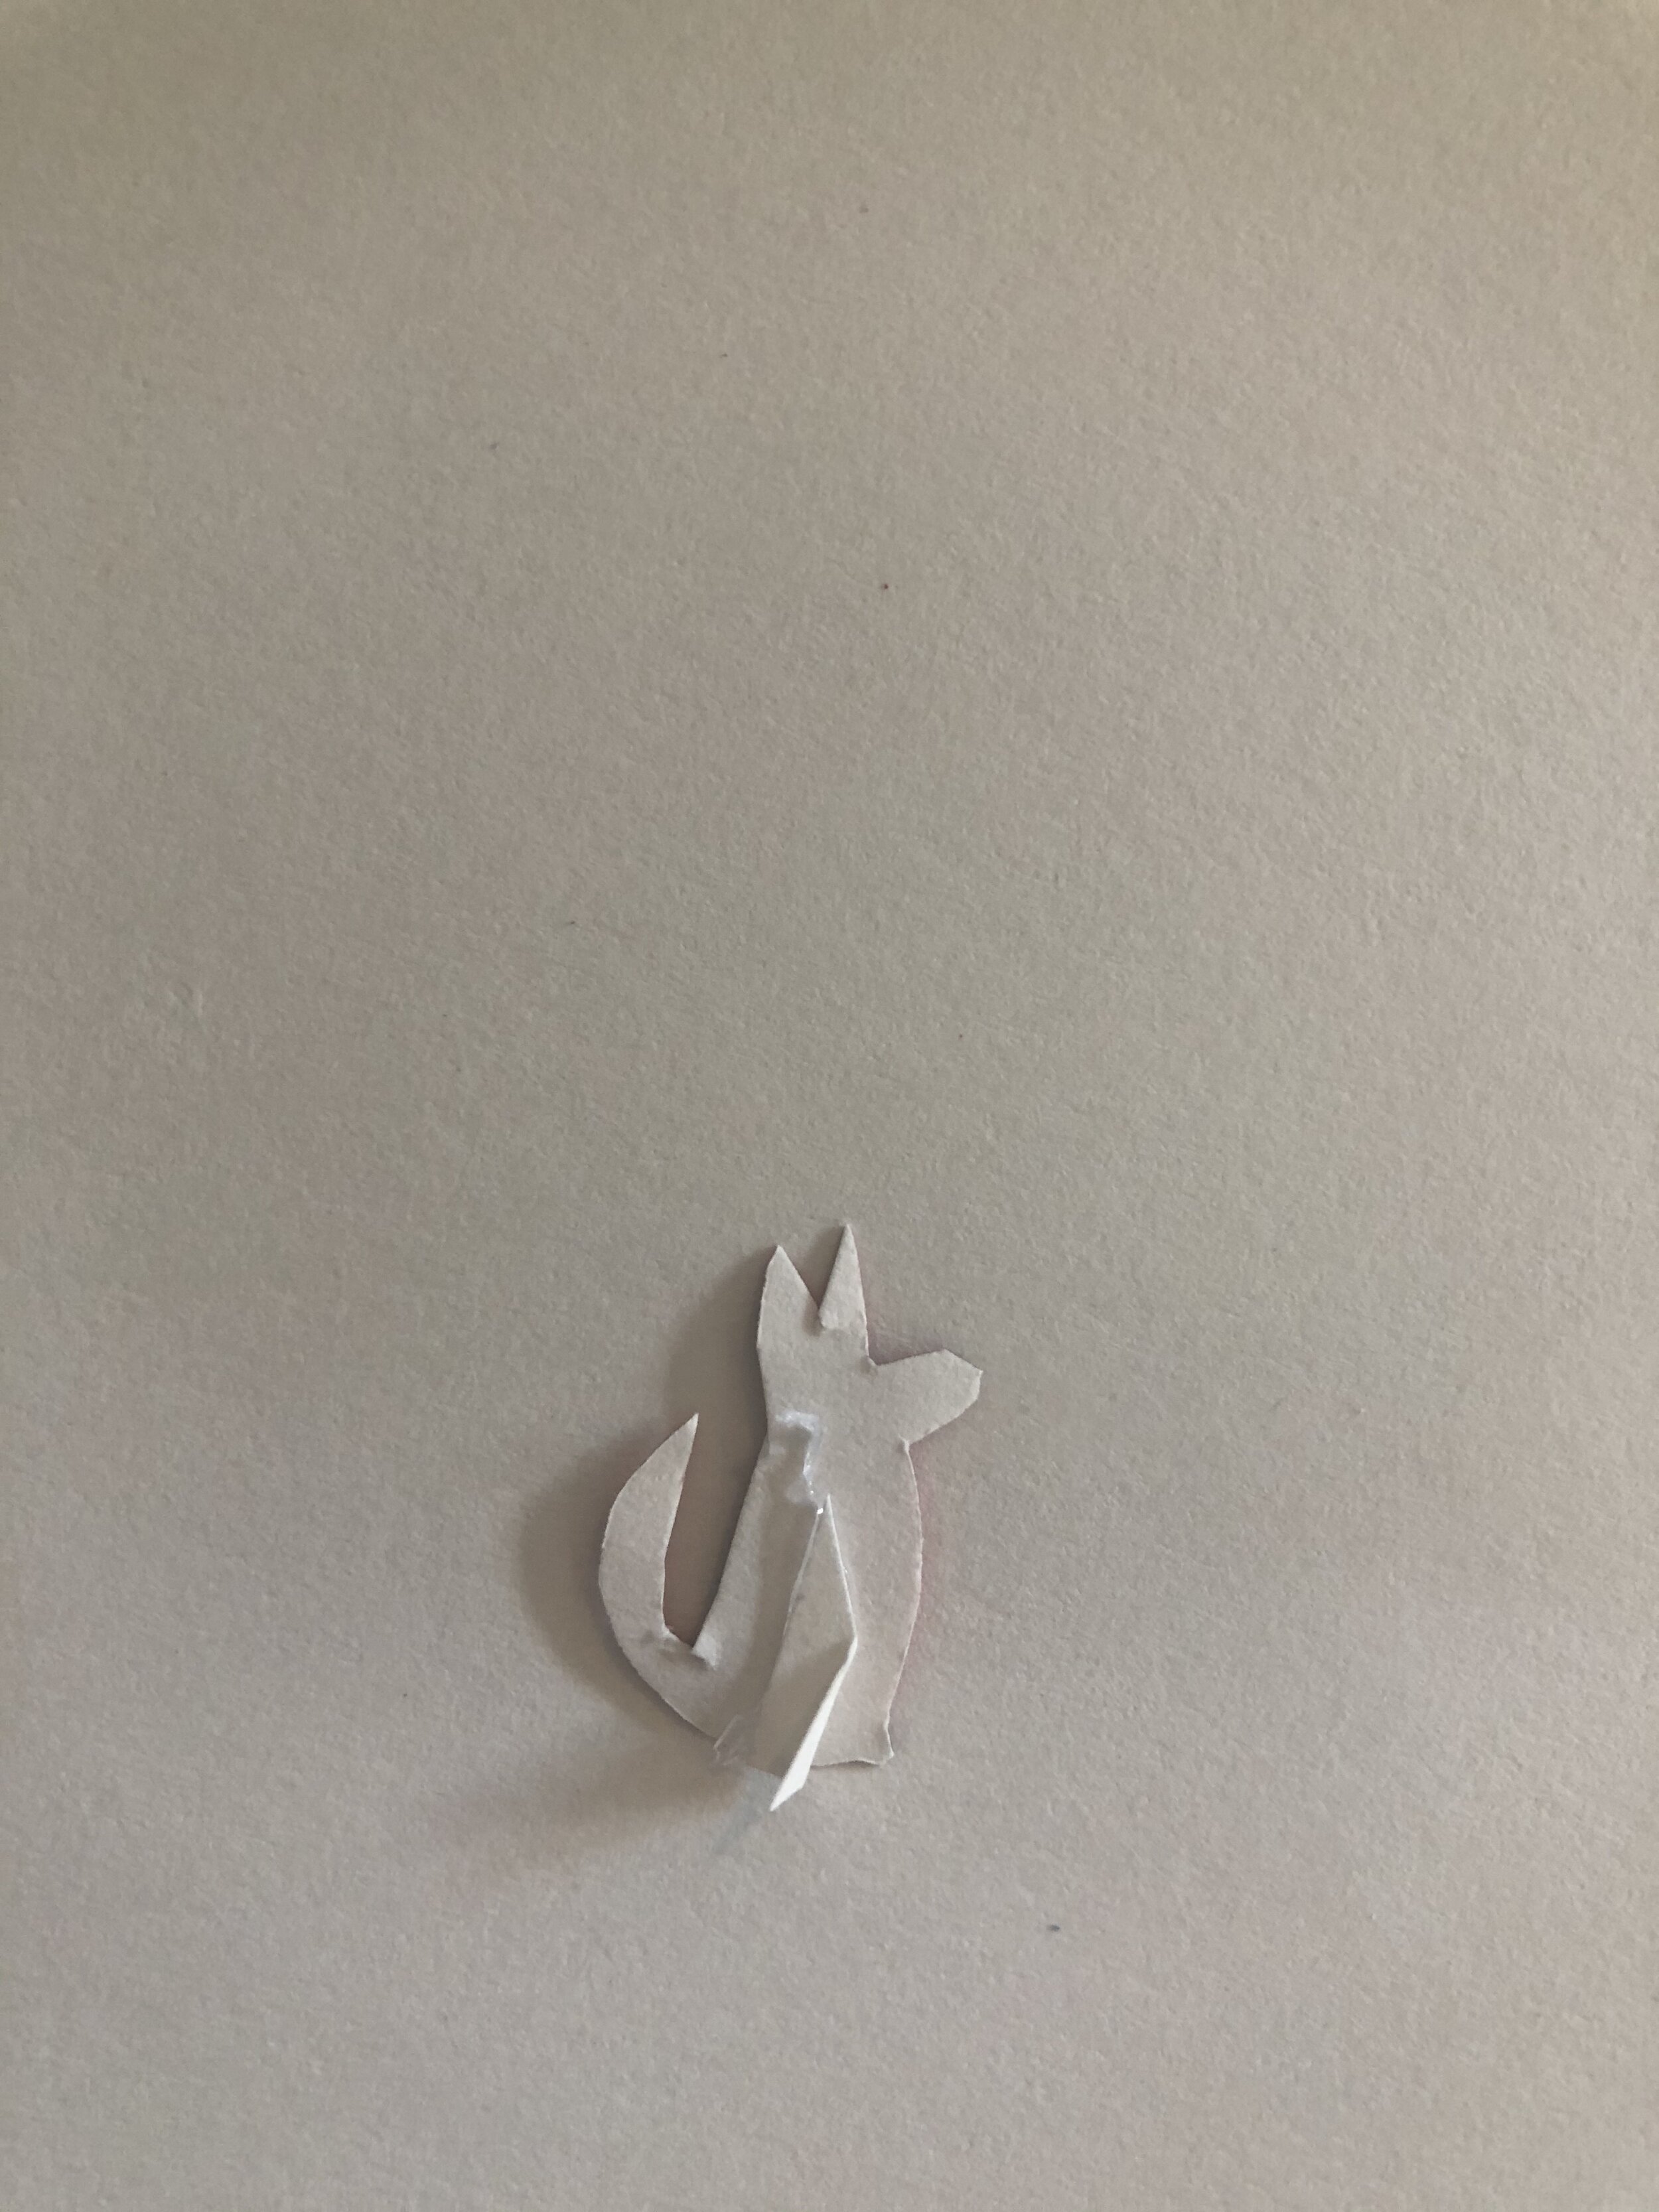
I made the little red dog stand by glueing a little paper tab to the back of it.
And there you have it! The options for play are endless and found objects and toys available at home create more integrated play. Enjoy!