Your Hand in Mine
Working my kiddo, I revamped our Warm+Cool Color Handprint Keepsake that’s been a studio favorite over the years to bring you a lovely Mother’s Day gift idea. The possibilities with this are truly endless. I see one hand in color, one in black and white with zentangle-y patterns. I think it also just keeps on giving…kid hand stacks for Father’s Day and Grandparents Day. It’s just so good.
I am more than happy to answer any and all questions about specific materials. In the interest of getting the how-to up before Mother’s Day, I am not including brands or affiliate links.

Here’s the supply list and how-to. You will need:
For the handprint:
warm and cool color markers
scissors
black pen
For the background:
gluestick
heavy watercolor paper
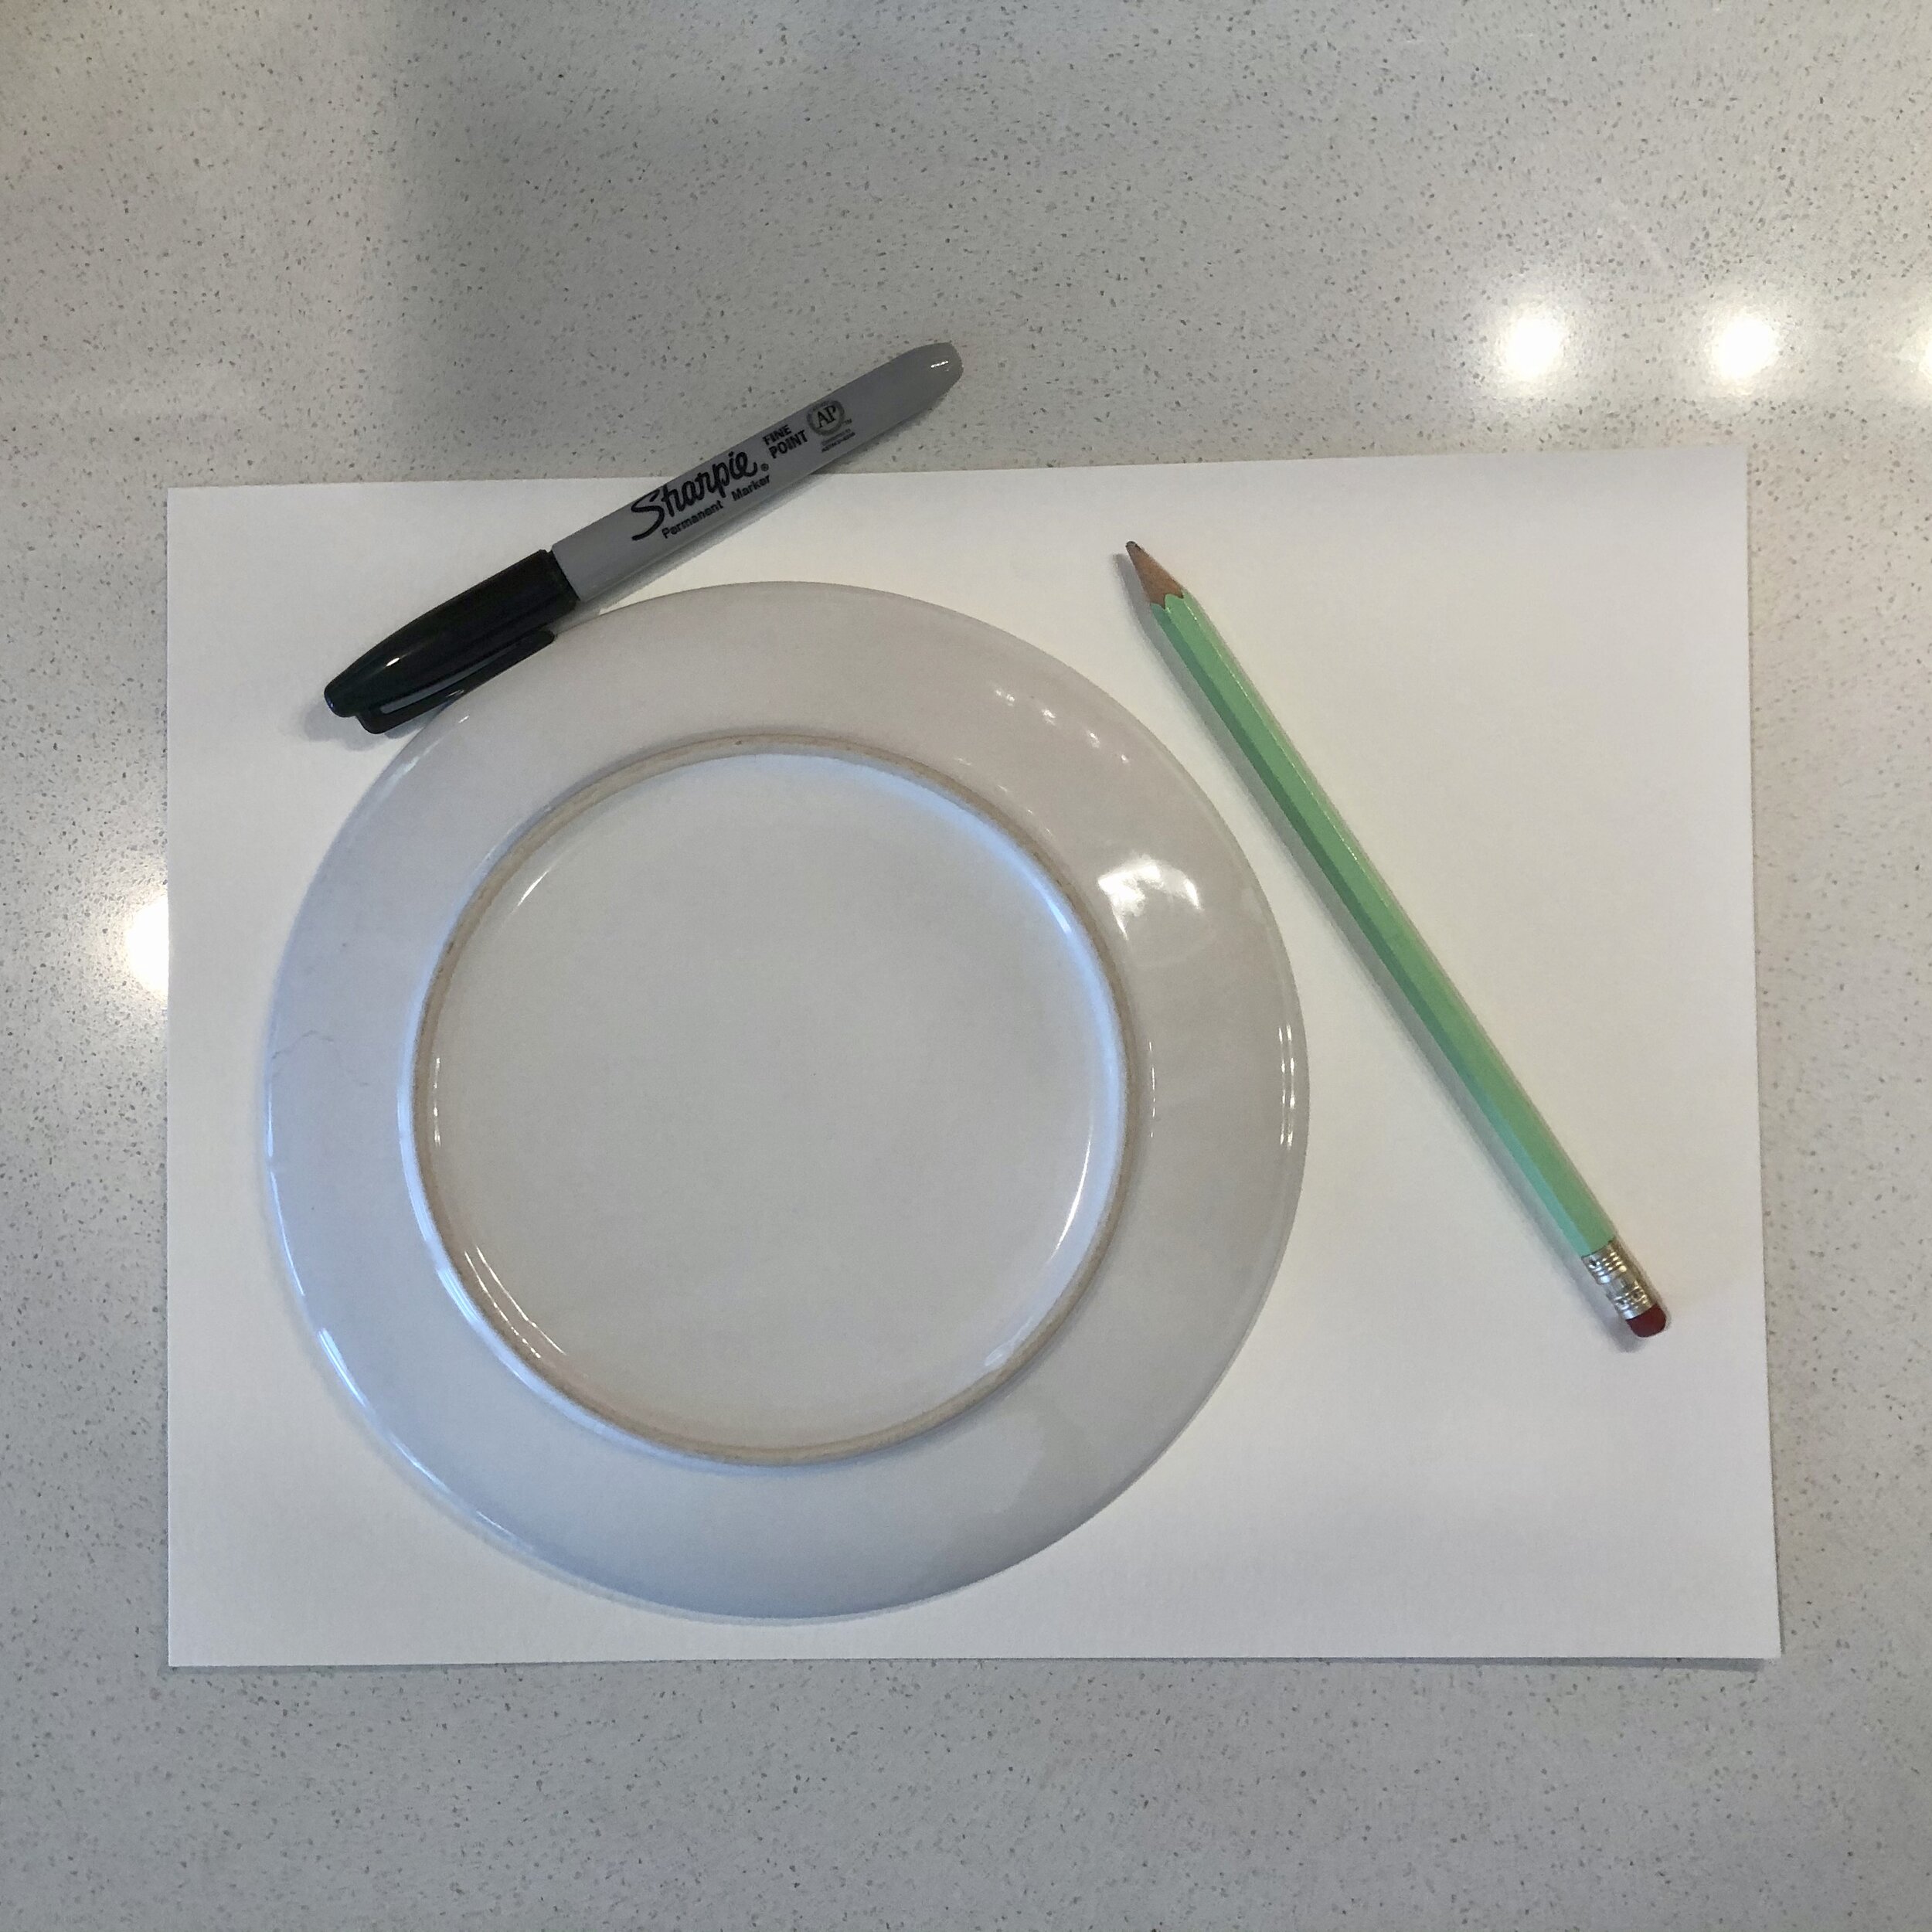
circle template (I used a salad plate)
watercolors
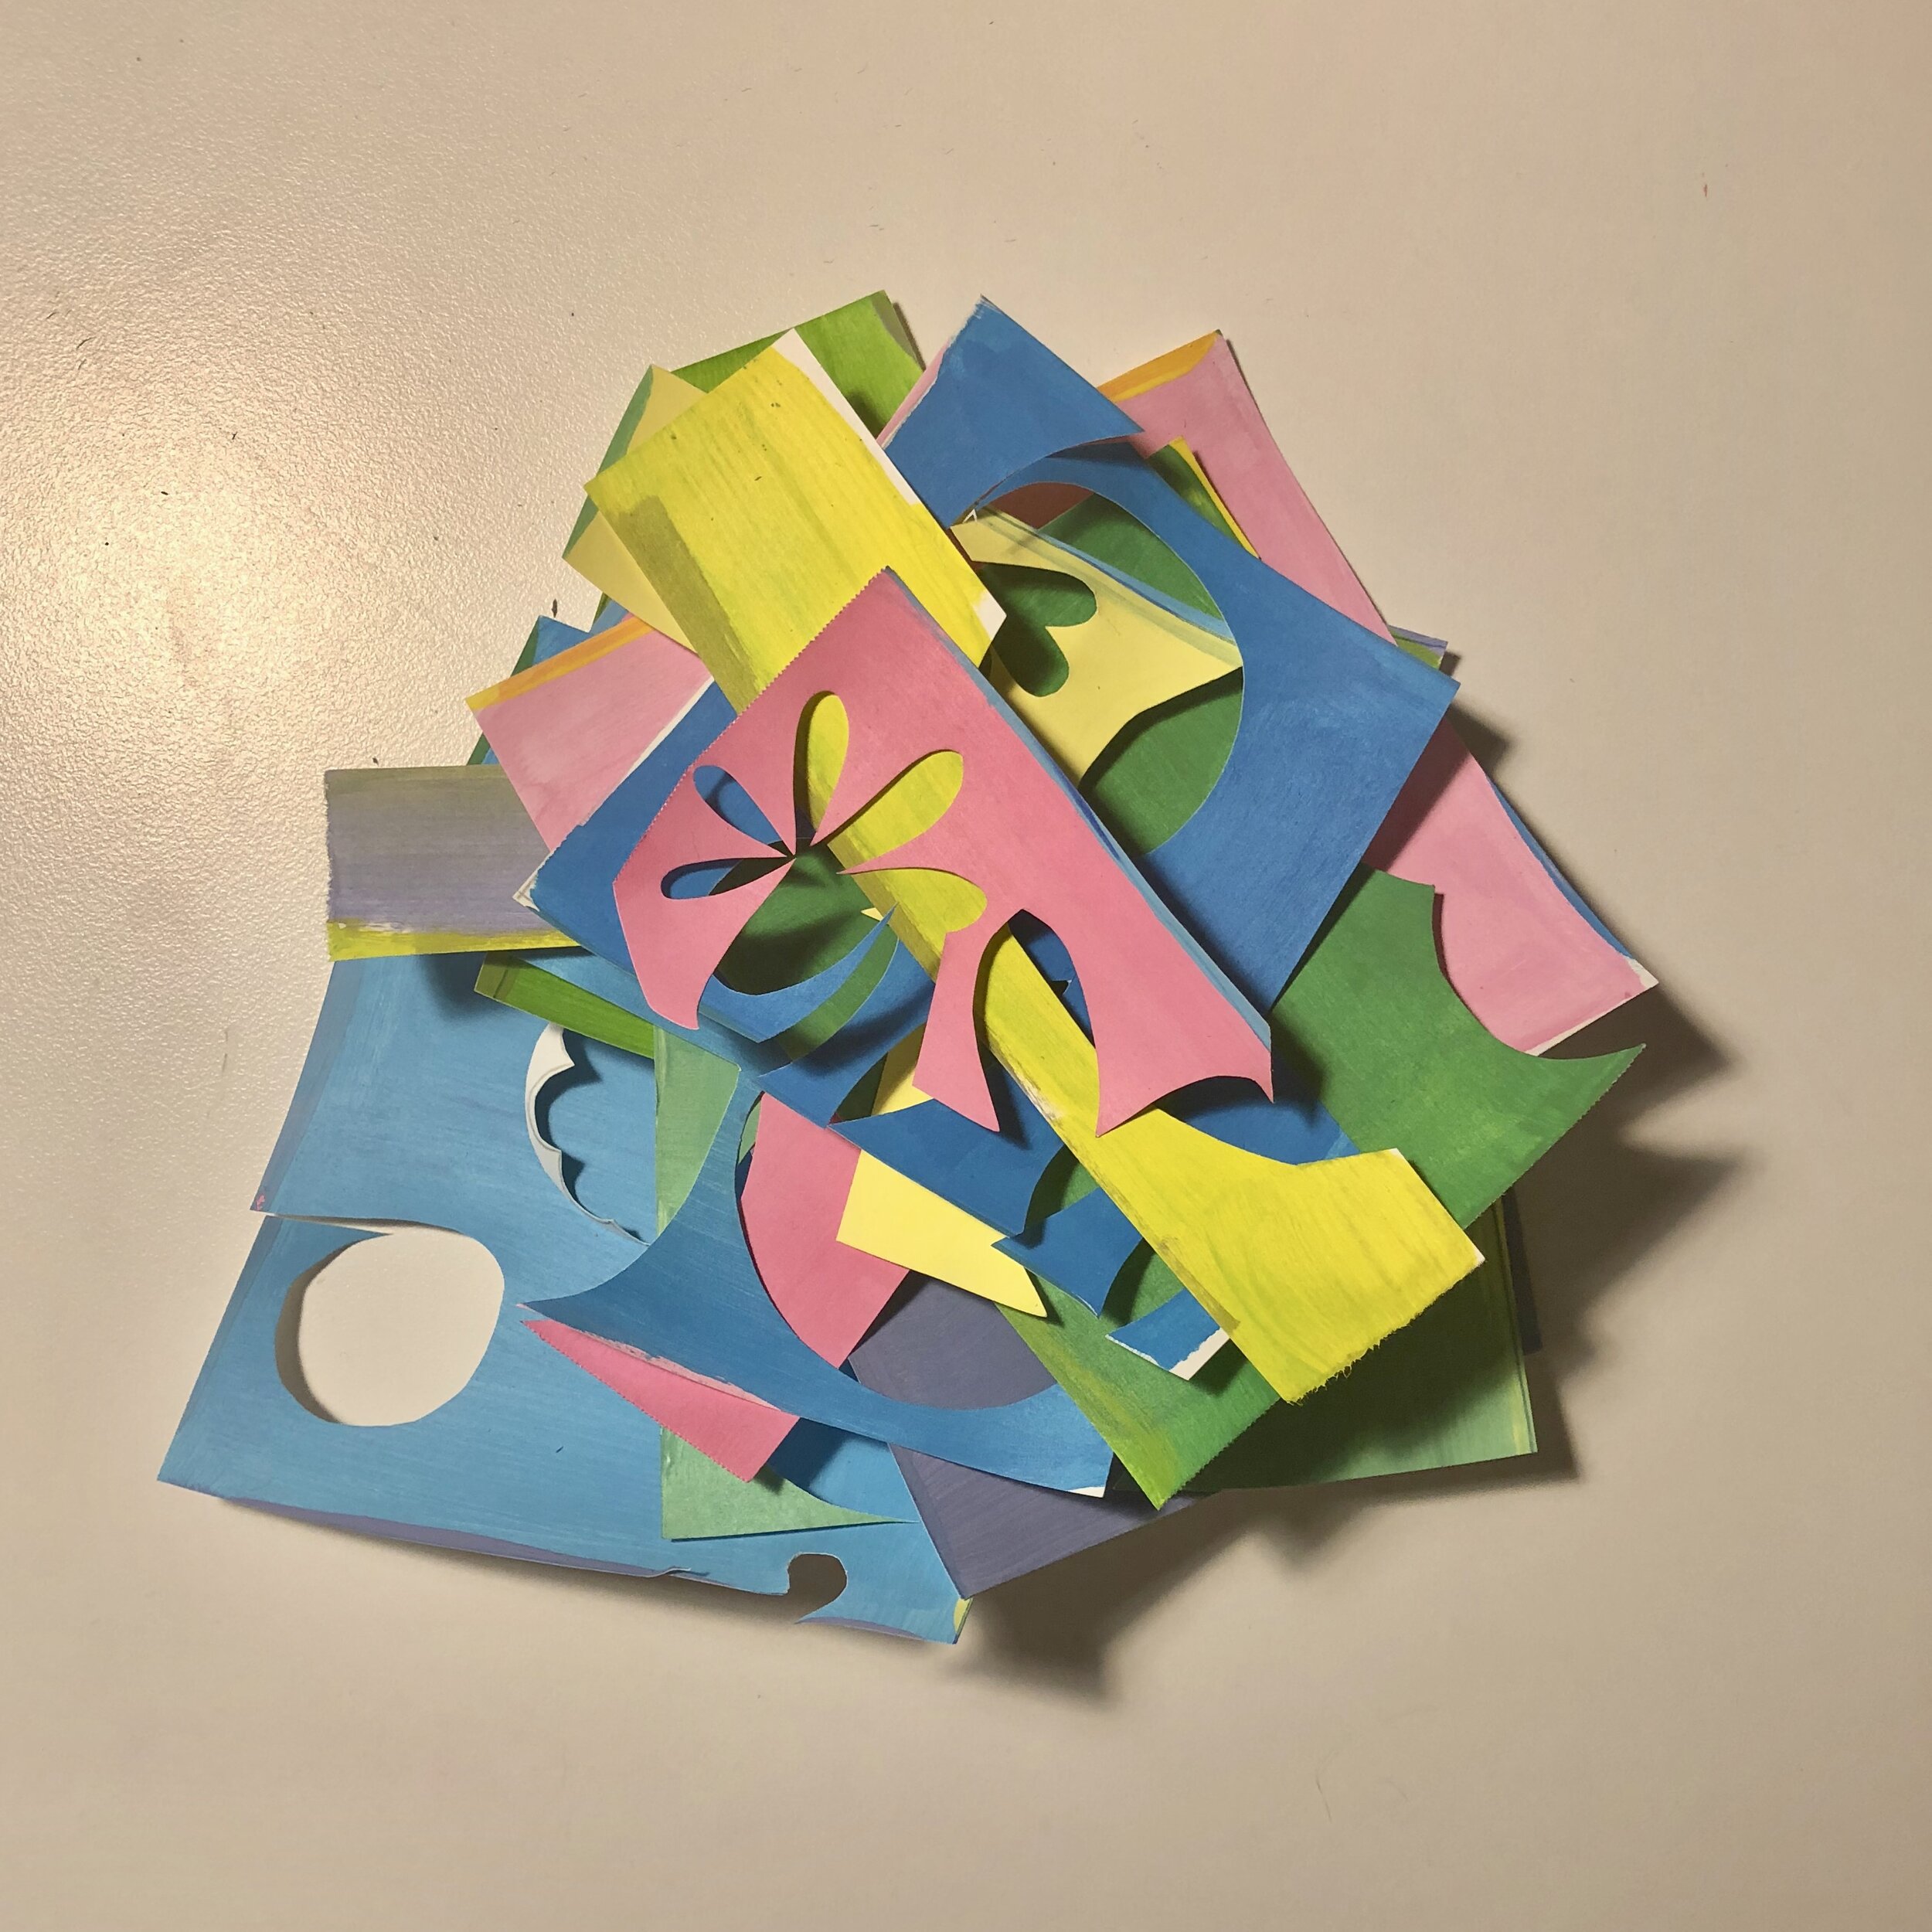
colored paper (for the flowers)…I used painted paper from a previous project
hole punch and string or ribbon
Directions:
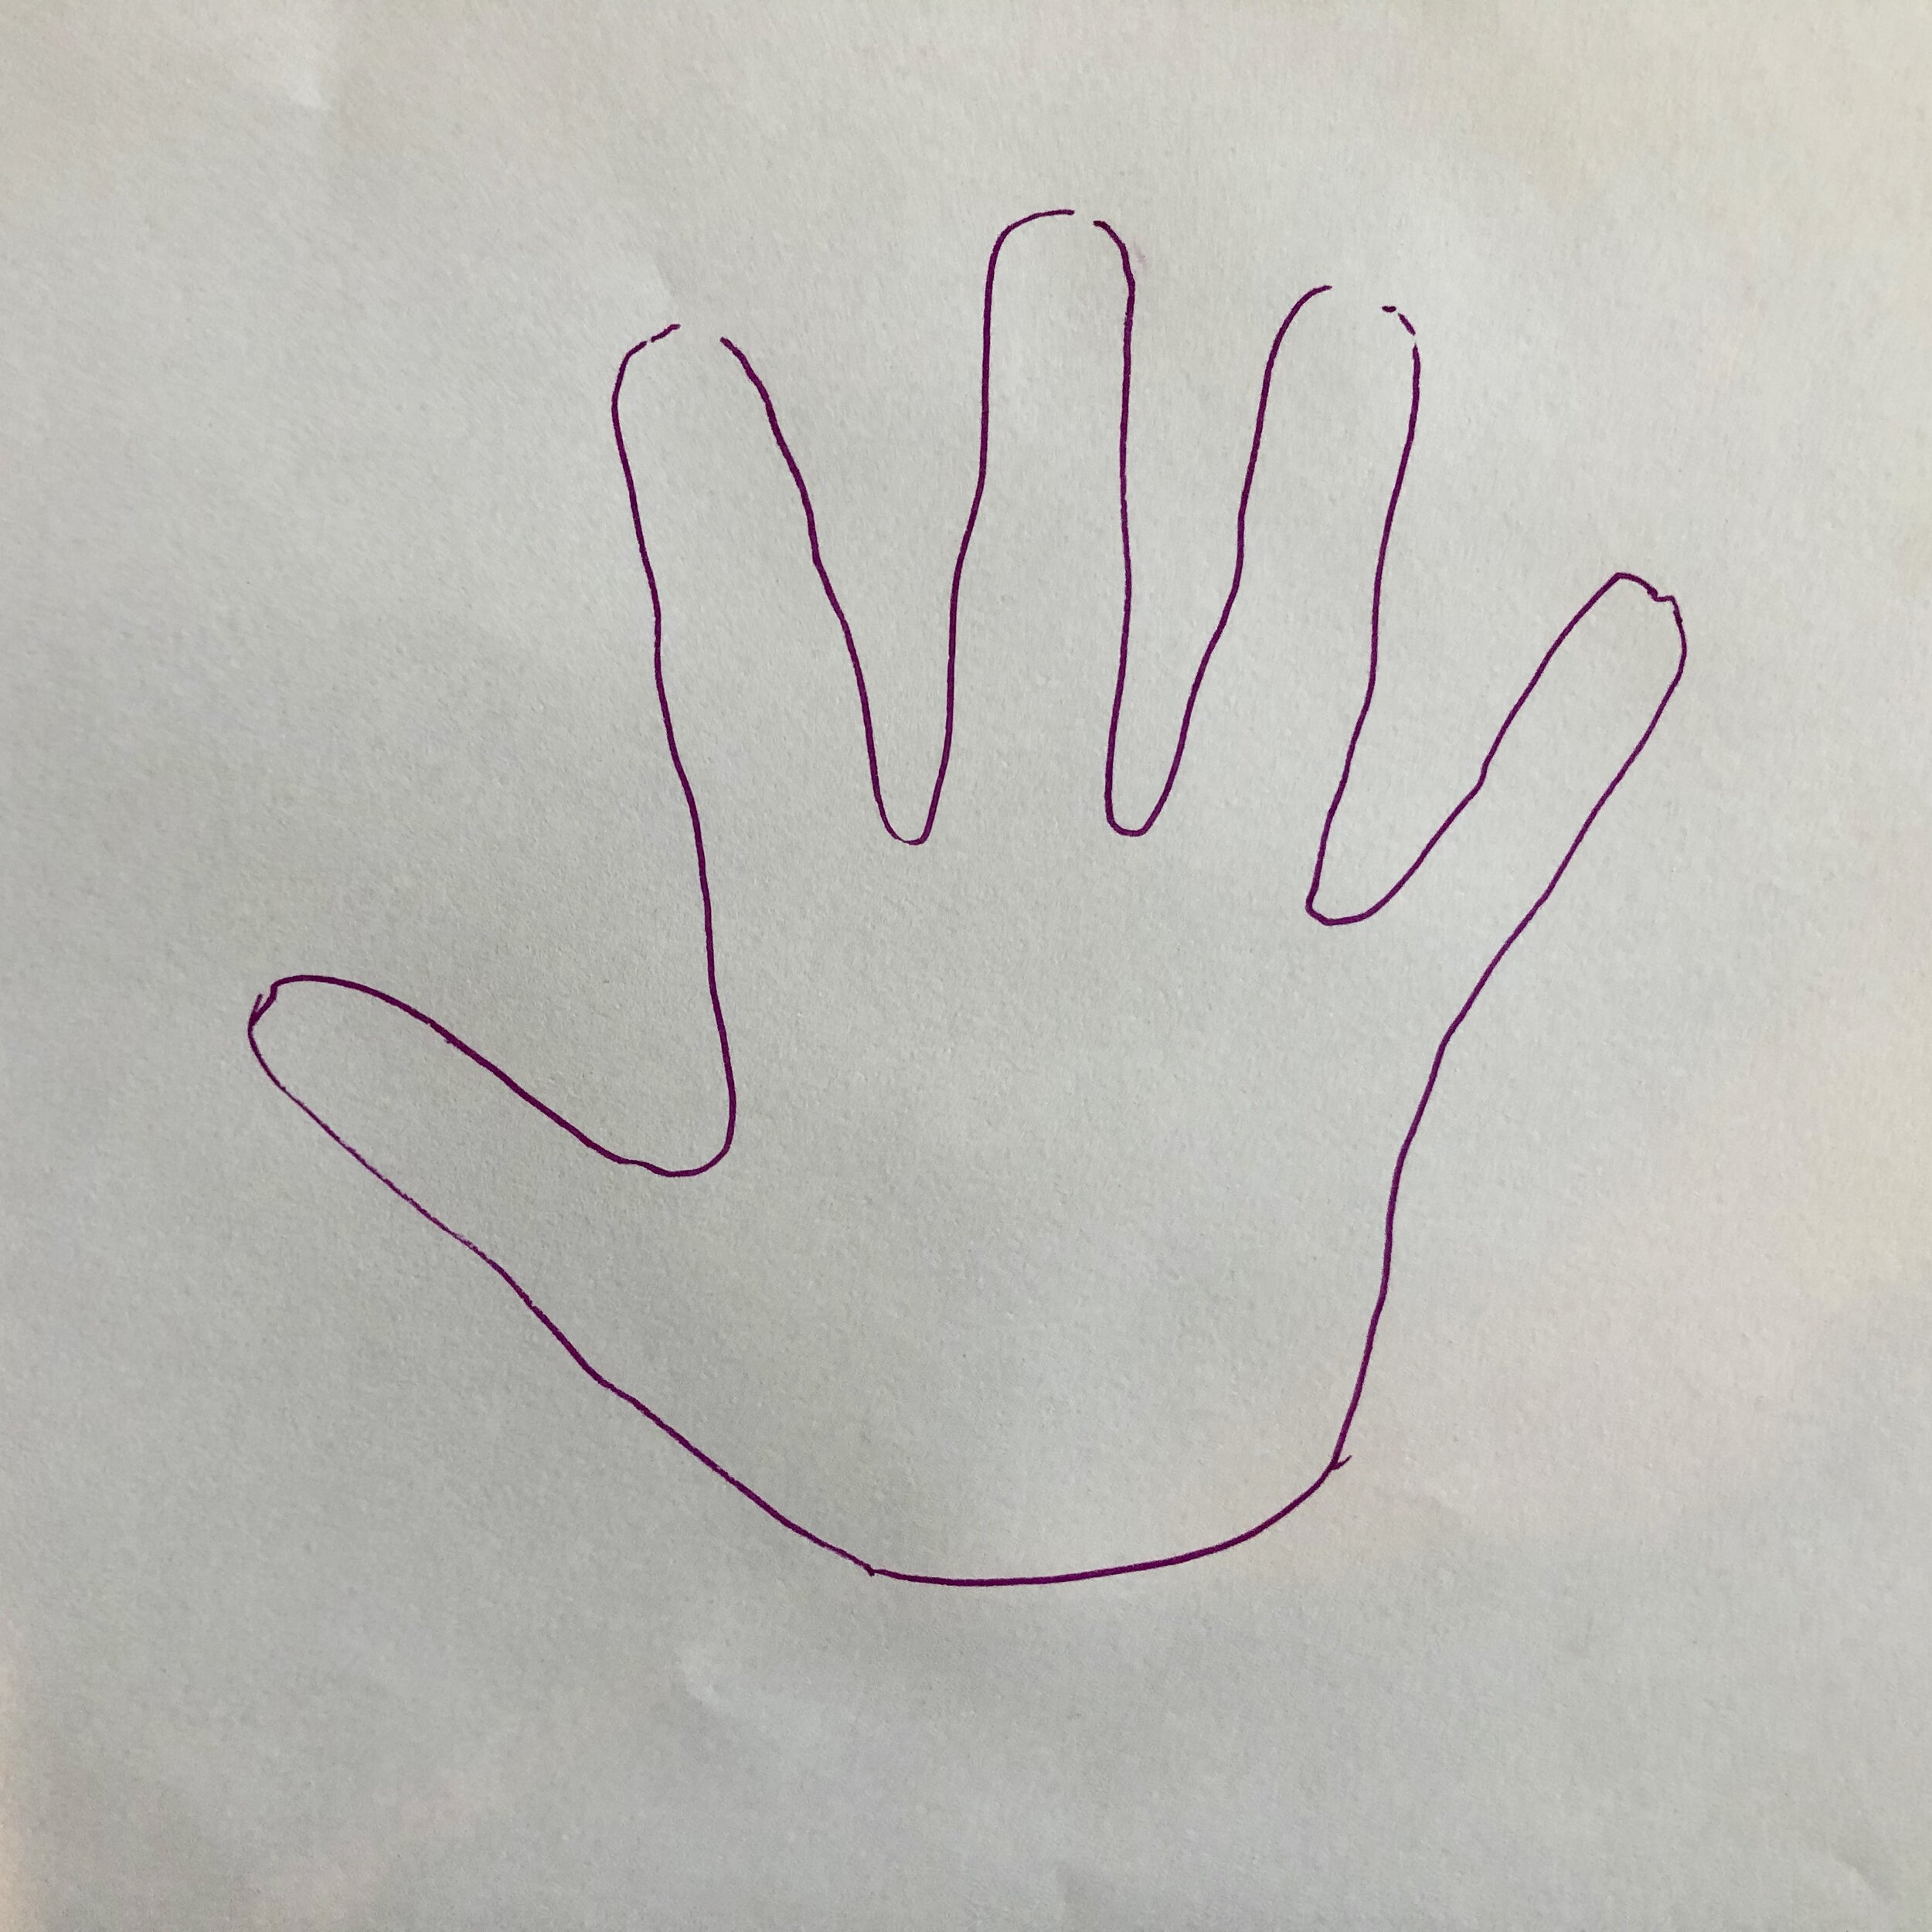
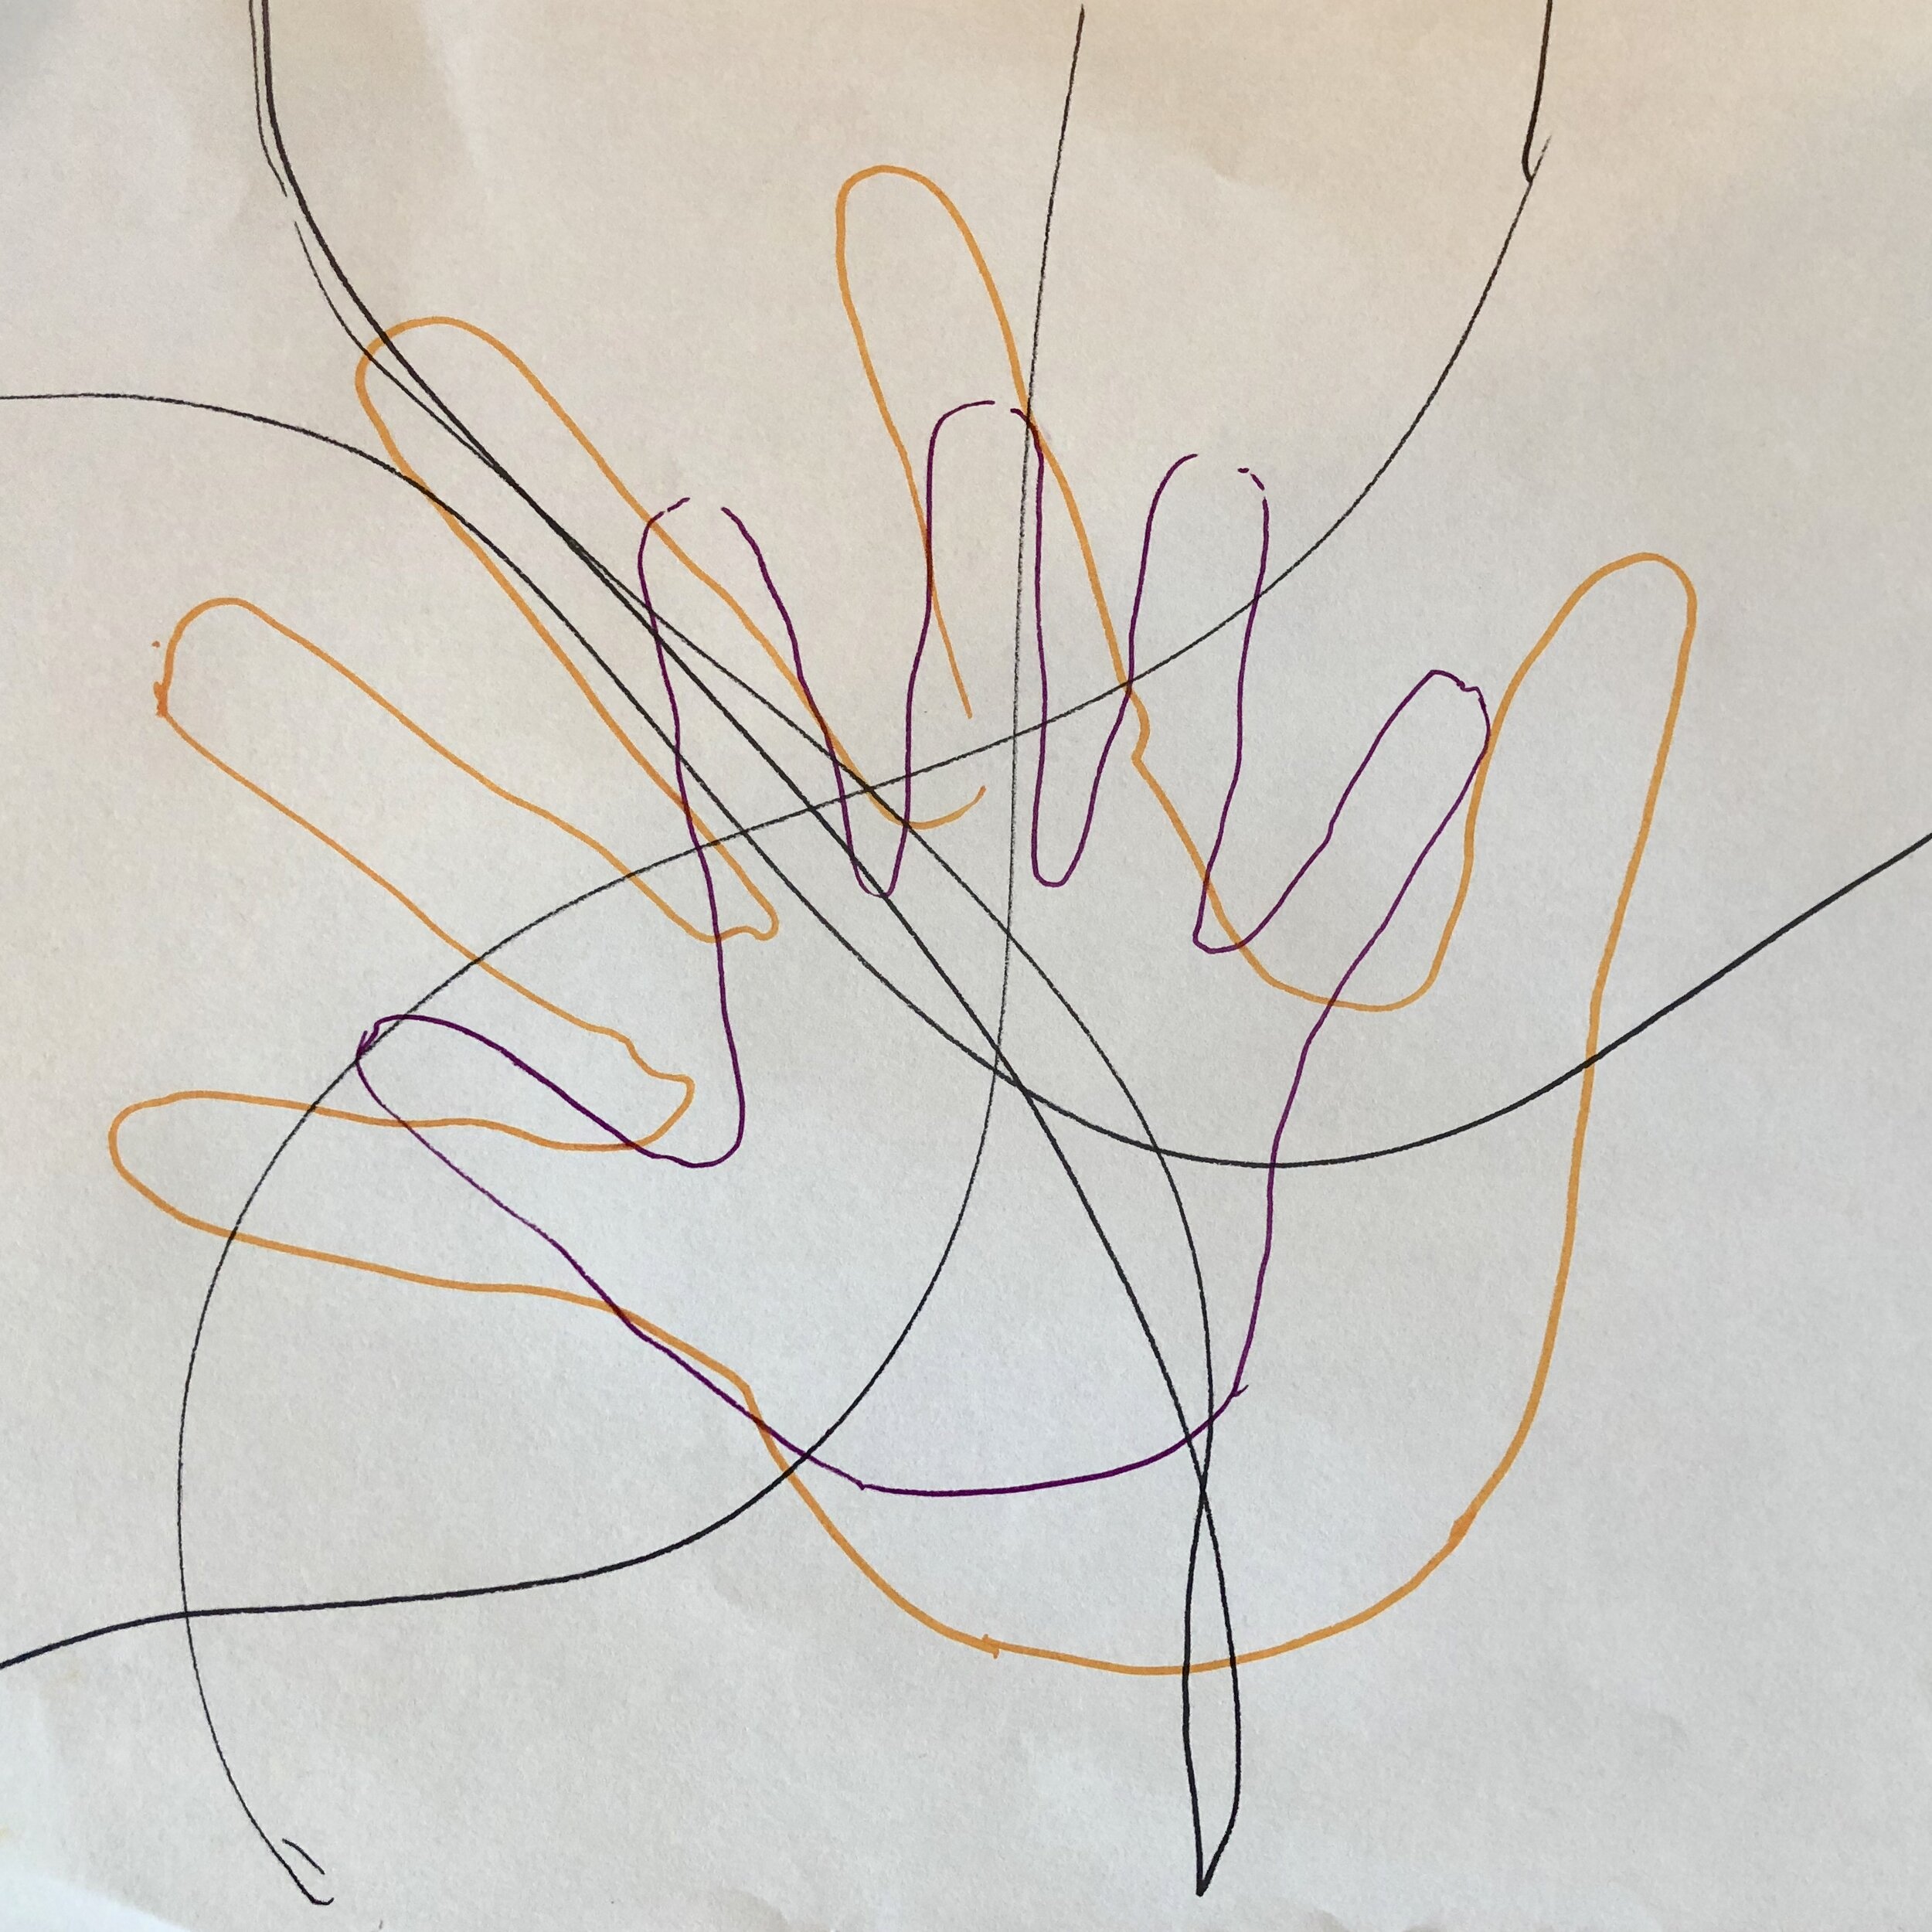
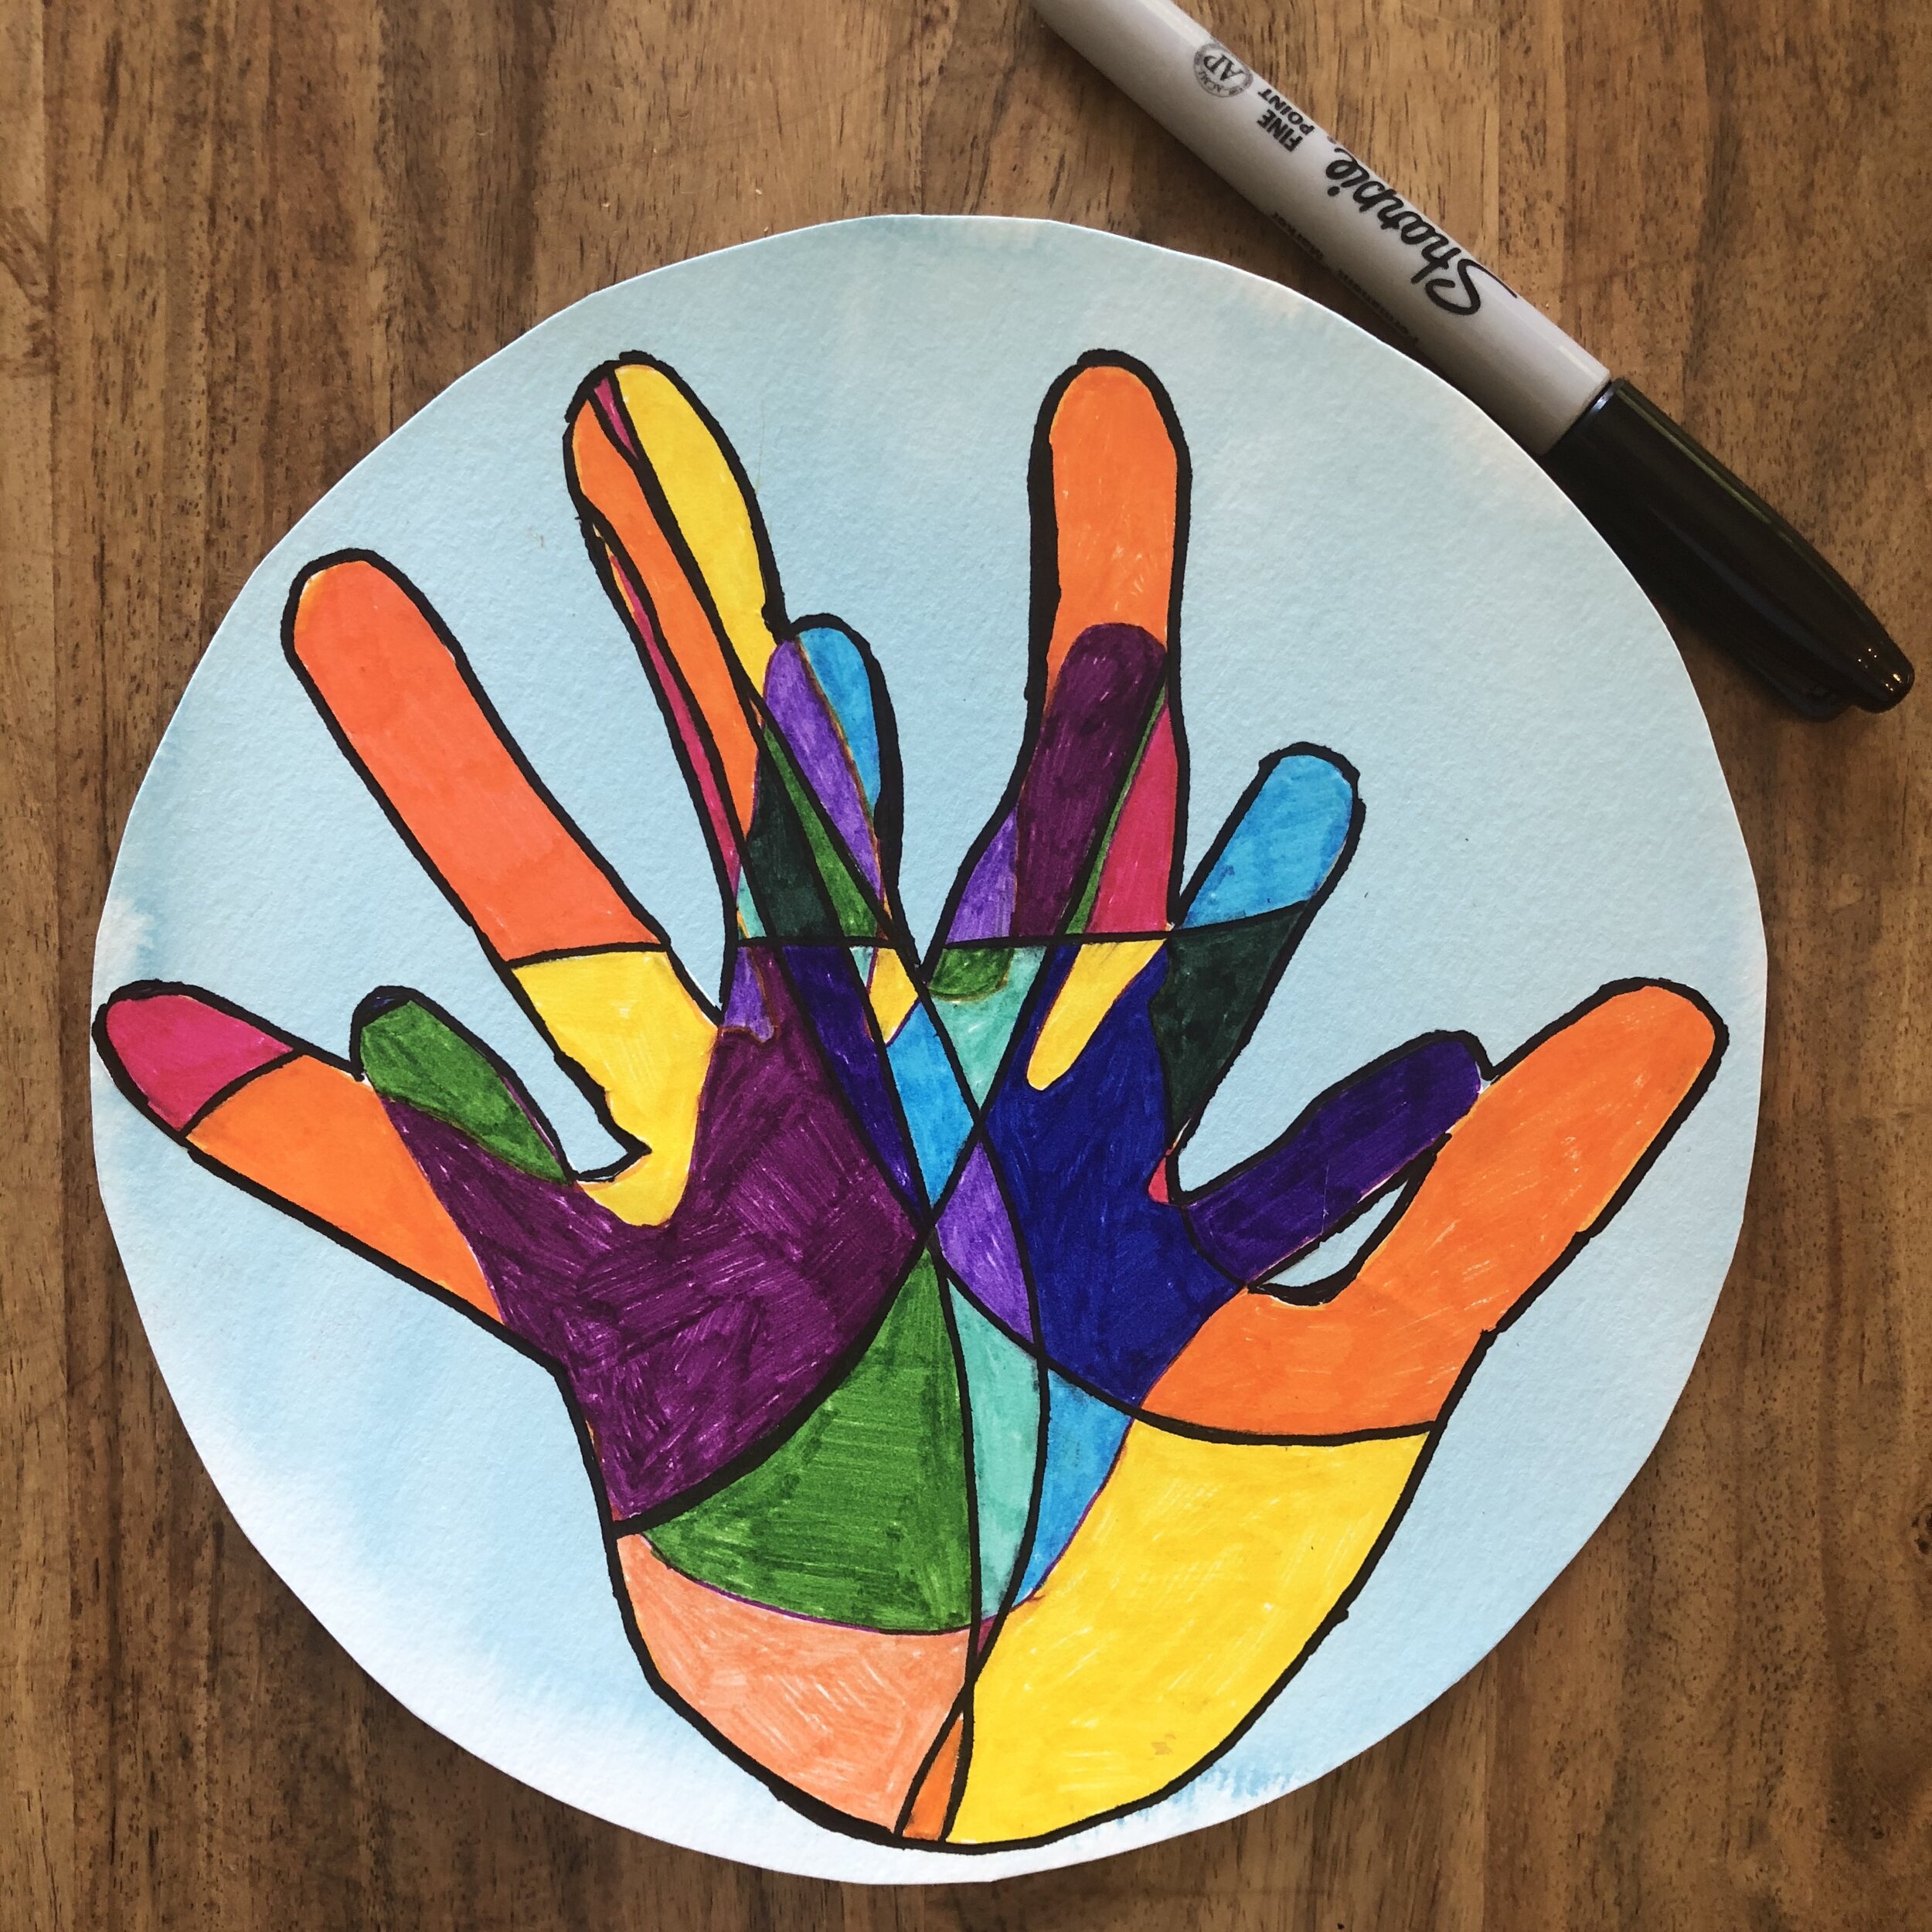
1. Outline child’s hand in a warm or cool color marker (left pic, below)
2. Outline adult’s hand (or second child, etc) in opposite color (right pic, below)
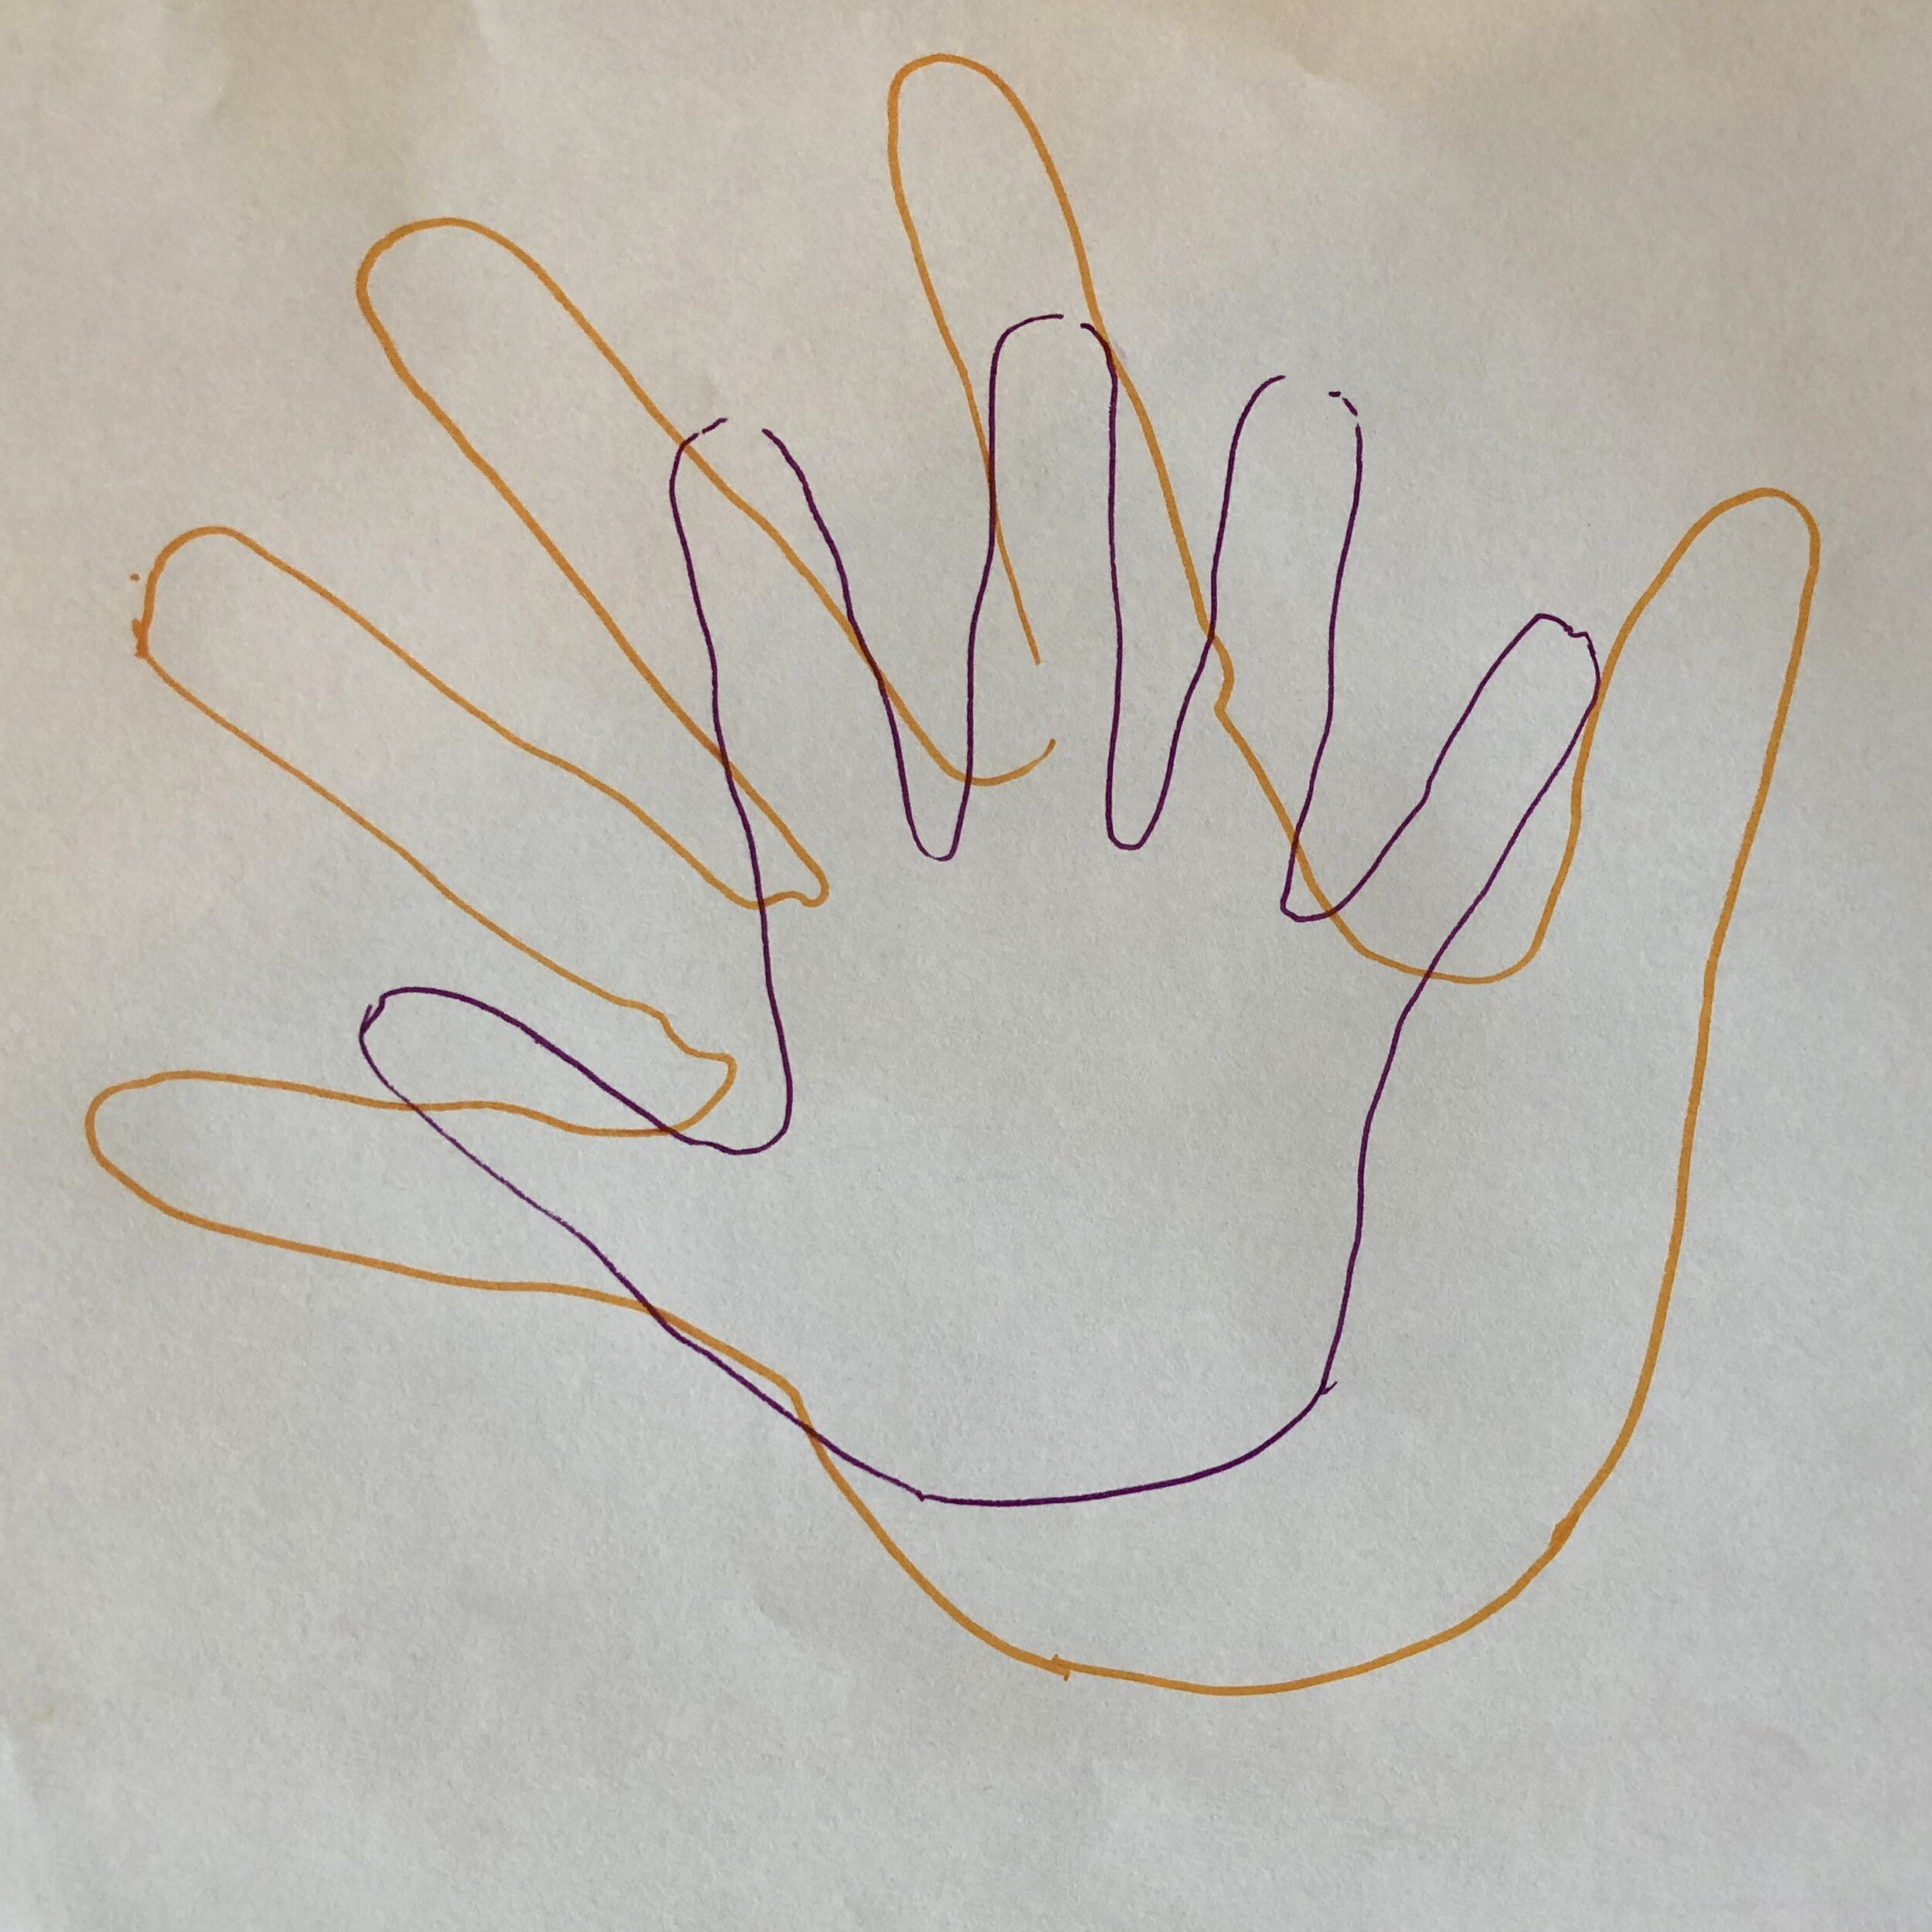
3. Create 5 lines, spanning the paper, with black pen (left pic, below)
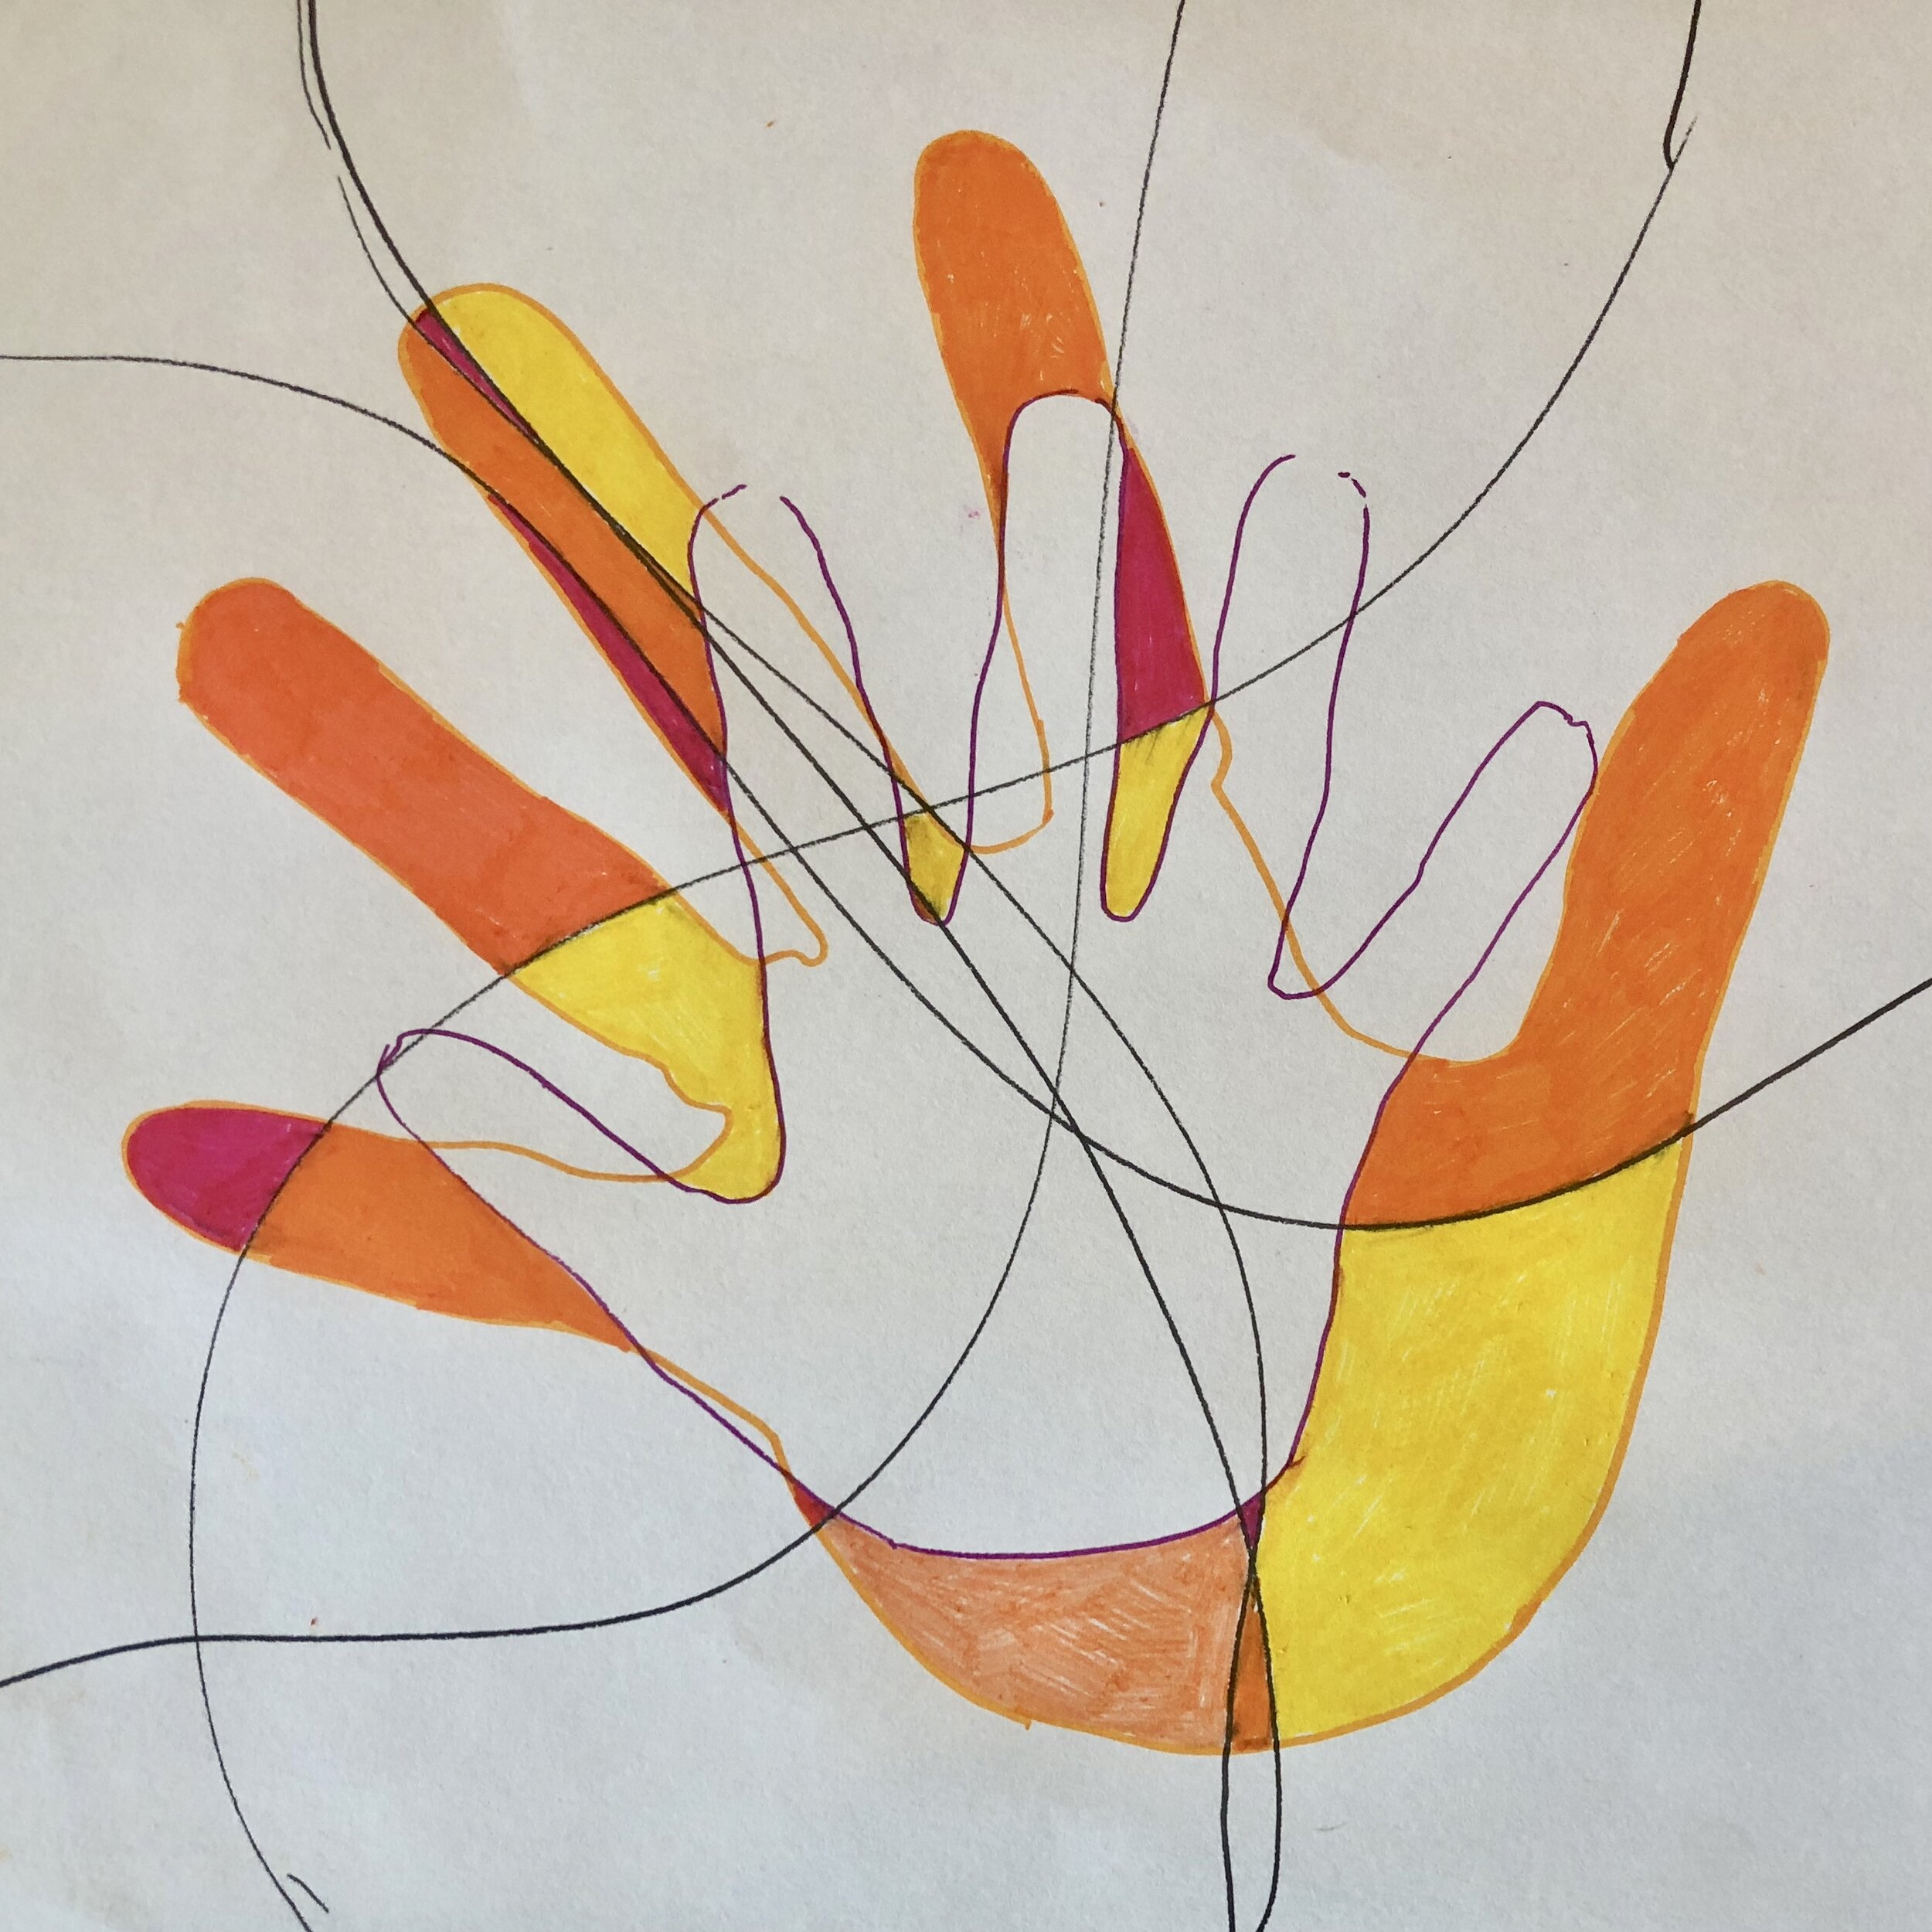
4. Begin to color in adult handprint (this seemed easiest for the littles to identify where they color) (middle pic, below). Make sure the same color doesn’t touch a neighboring area to color. Work in the same color palette (either warm or cool) as your outline.
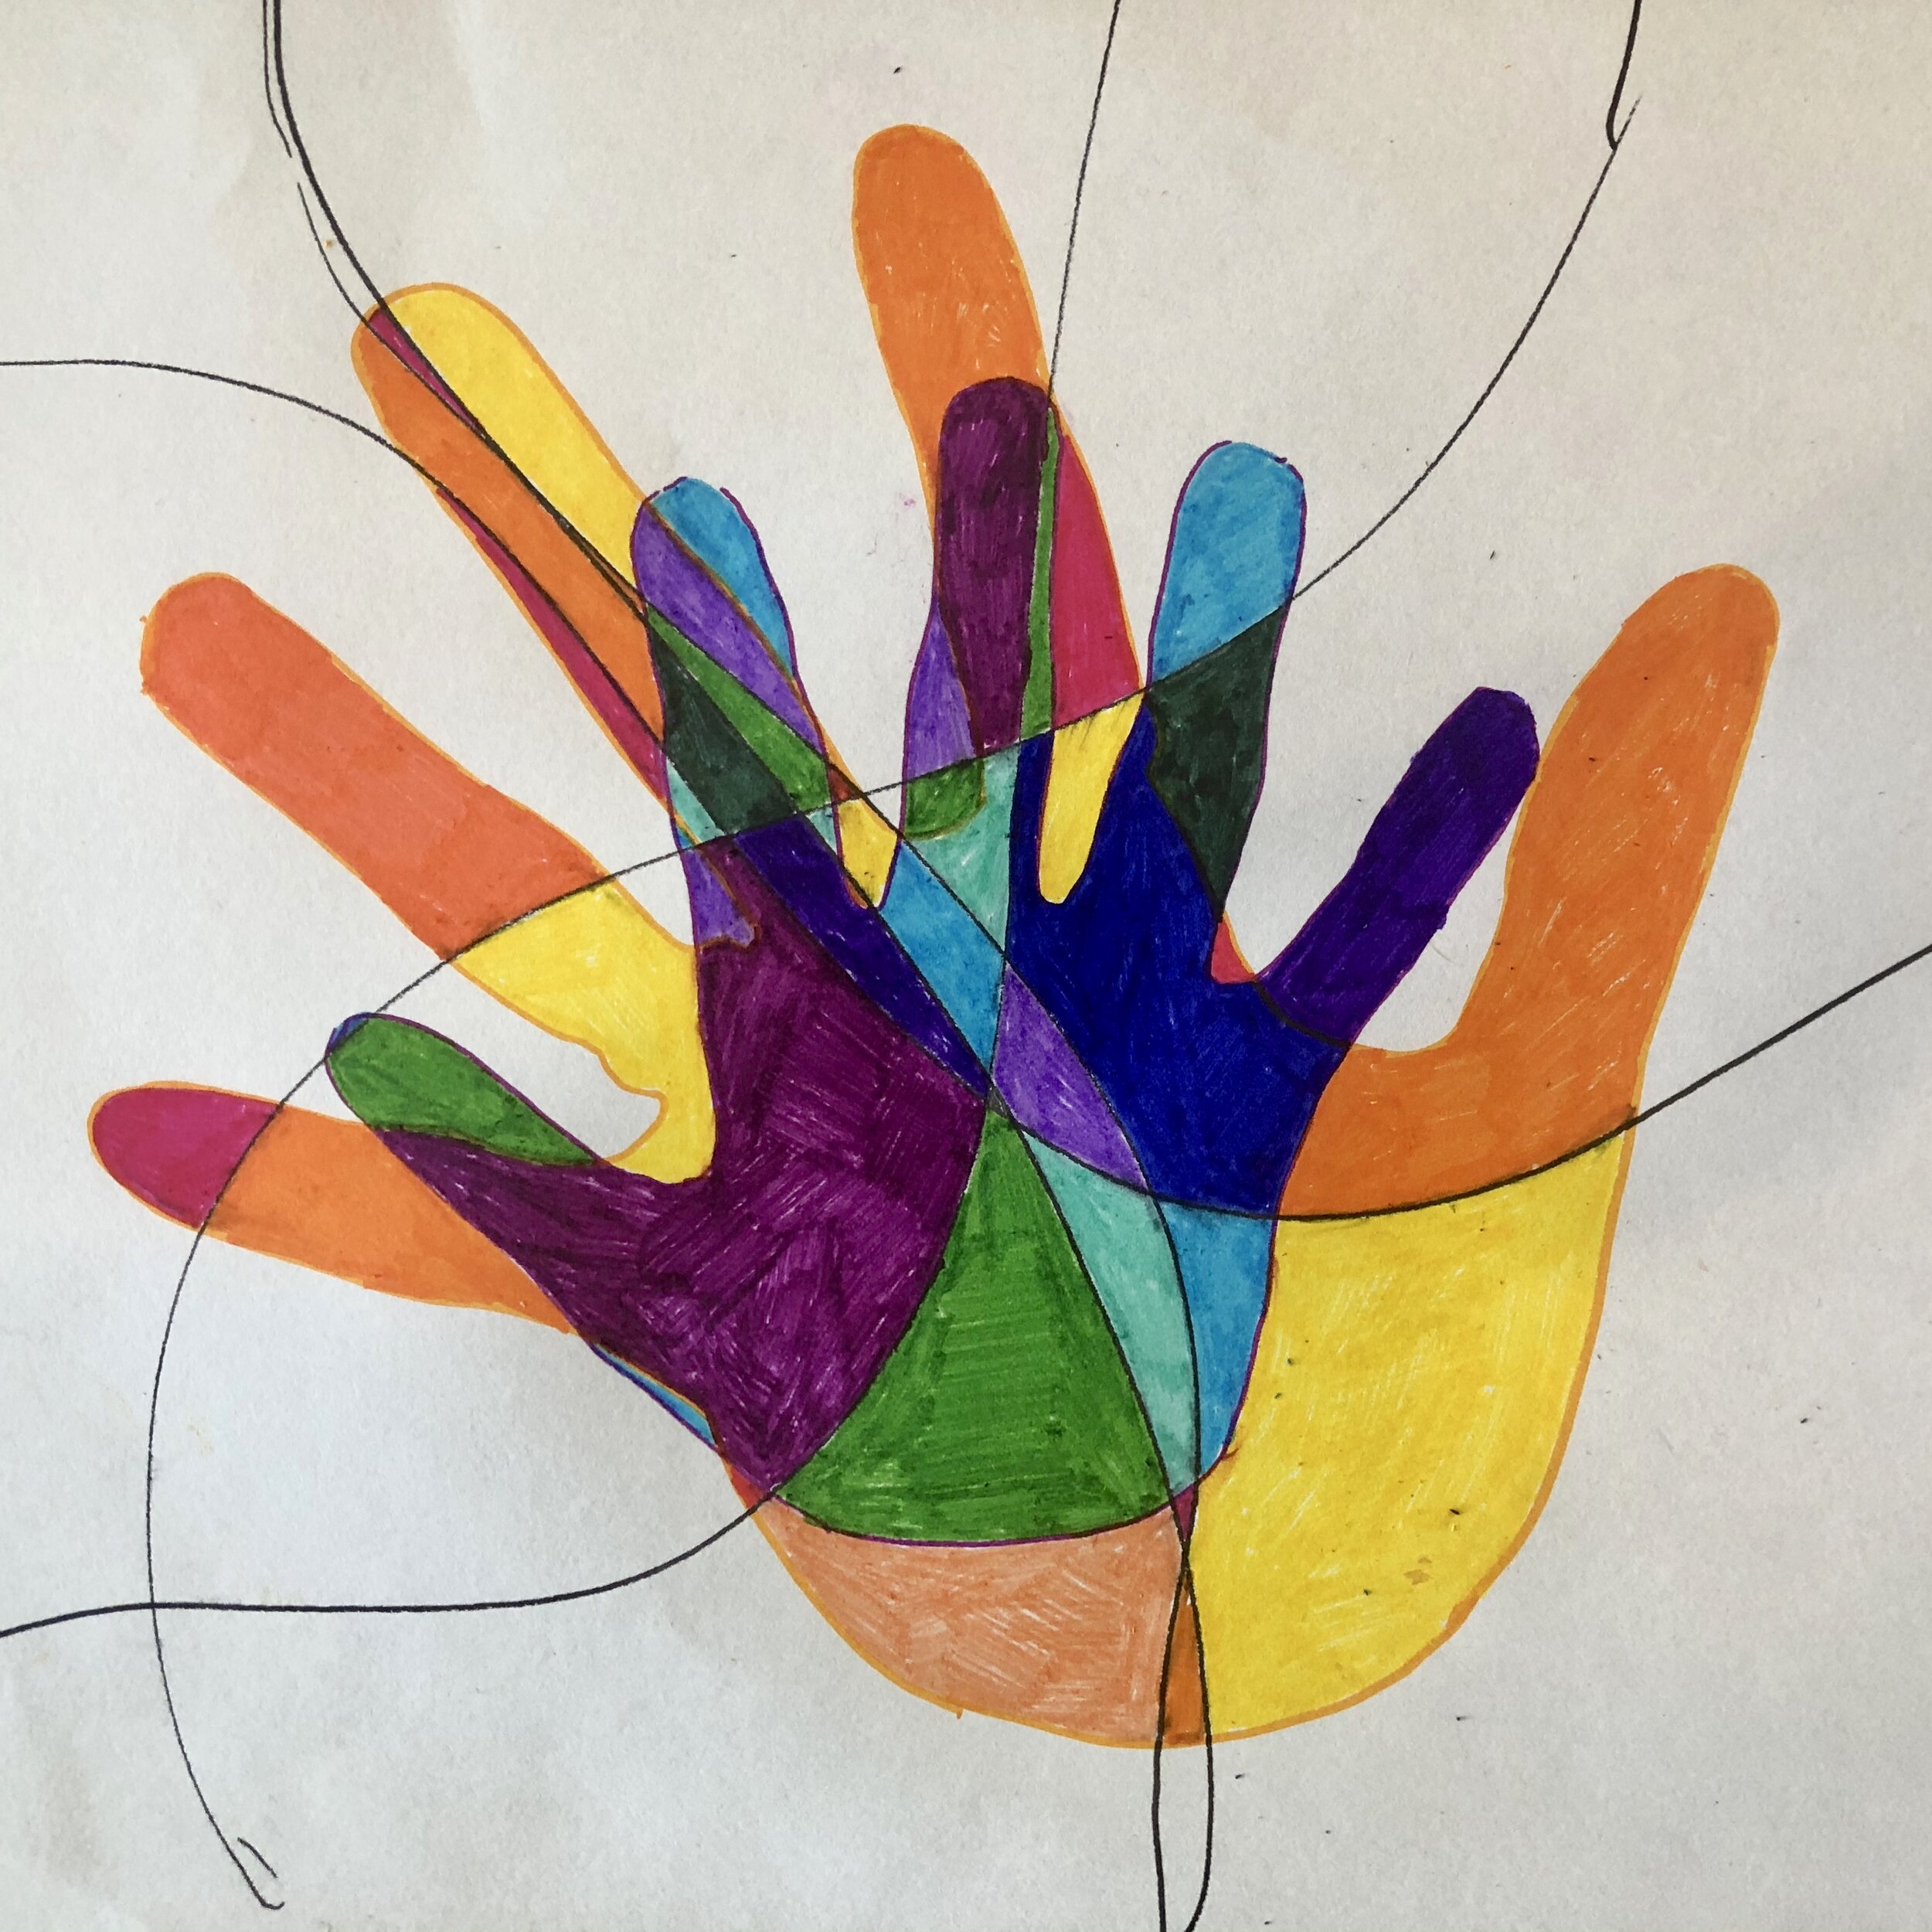
5. Once complete, the interior/child’s handprint will be filled in the same way using opposite colors (right pic, below).
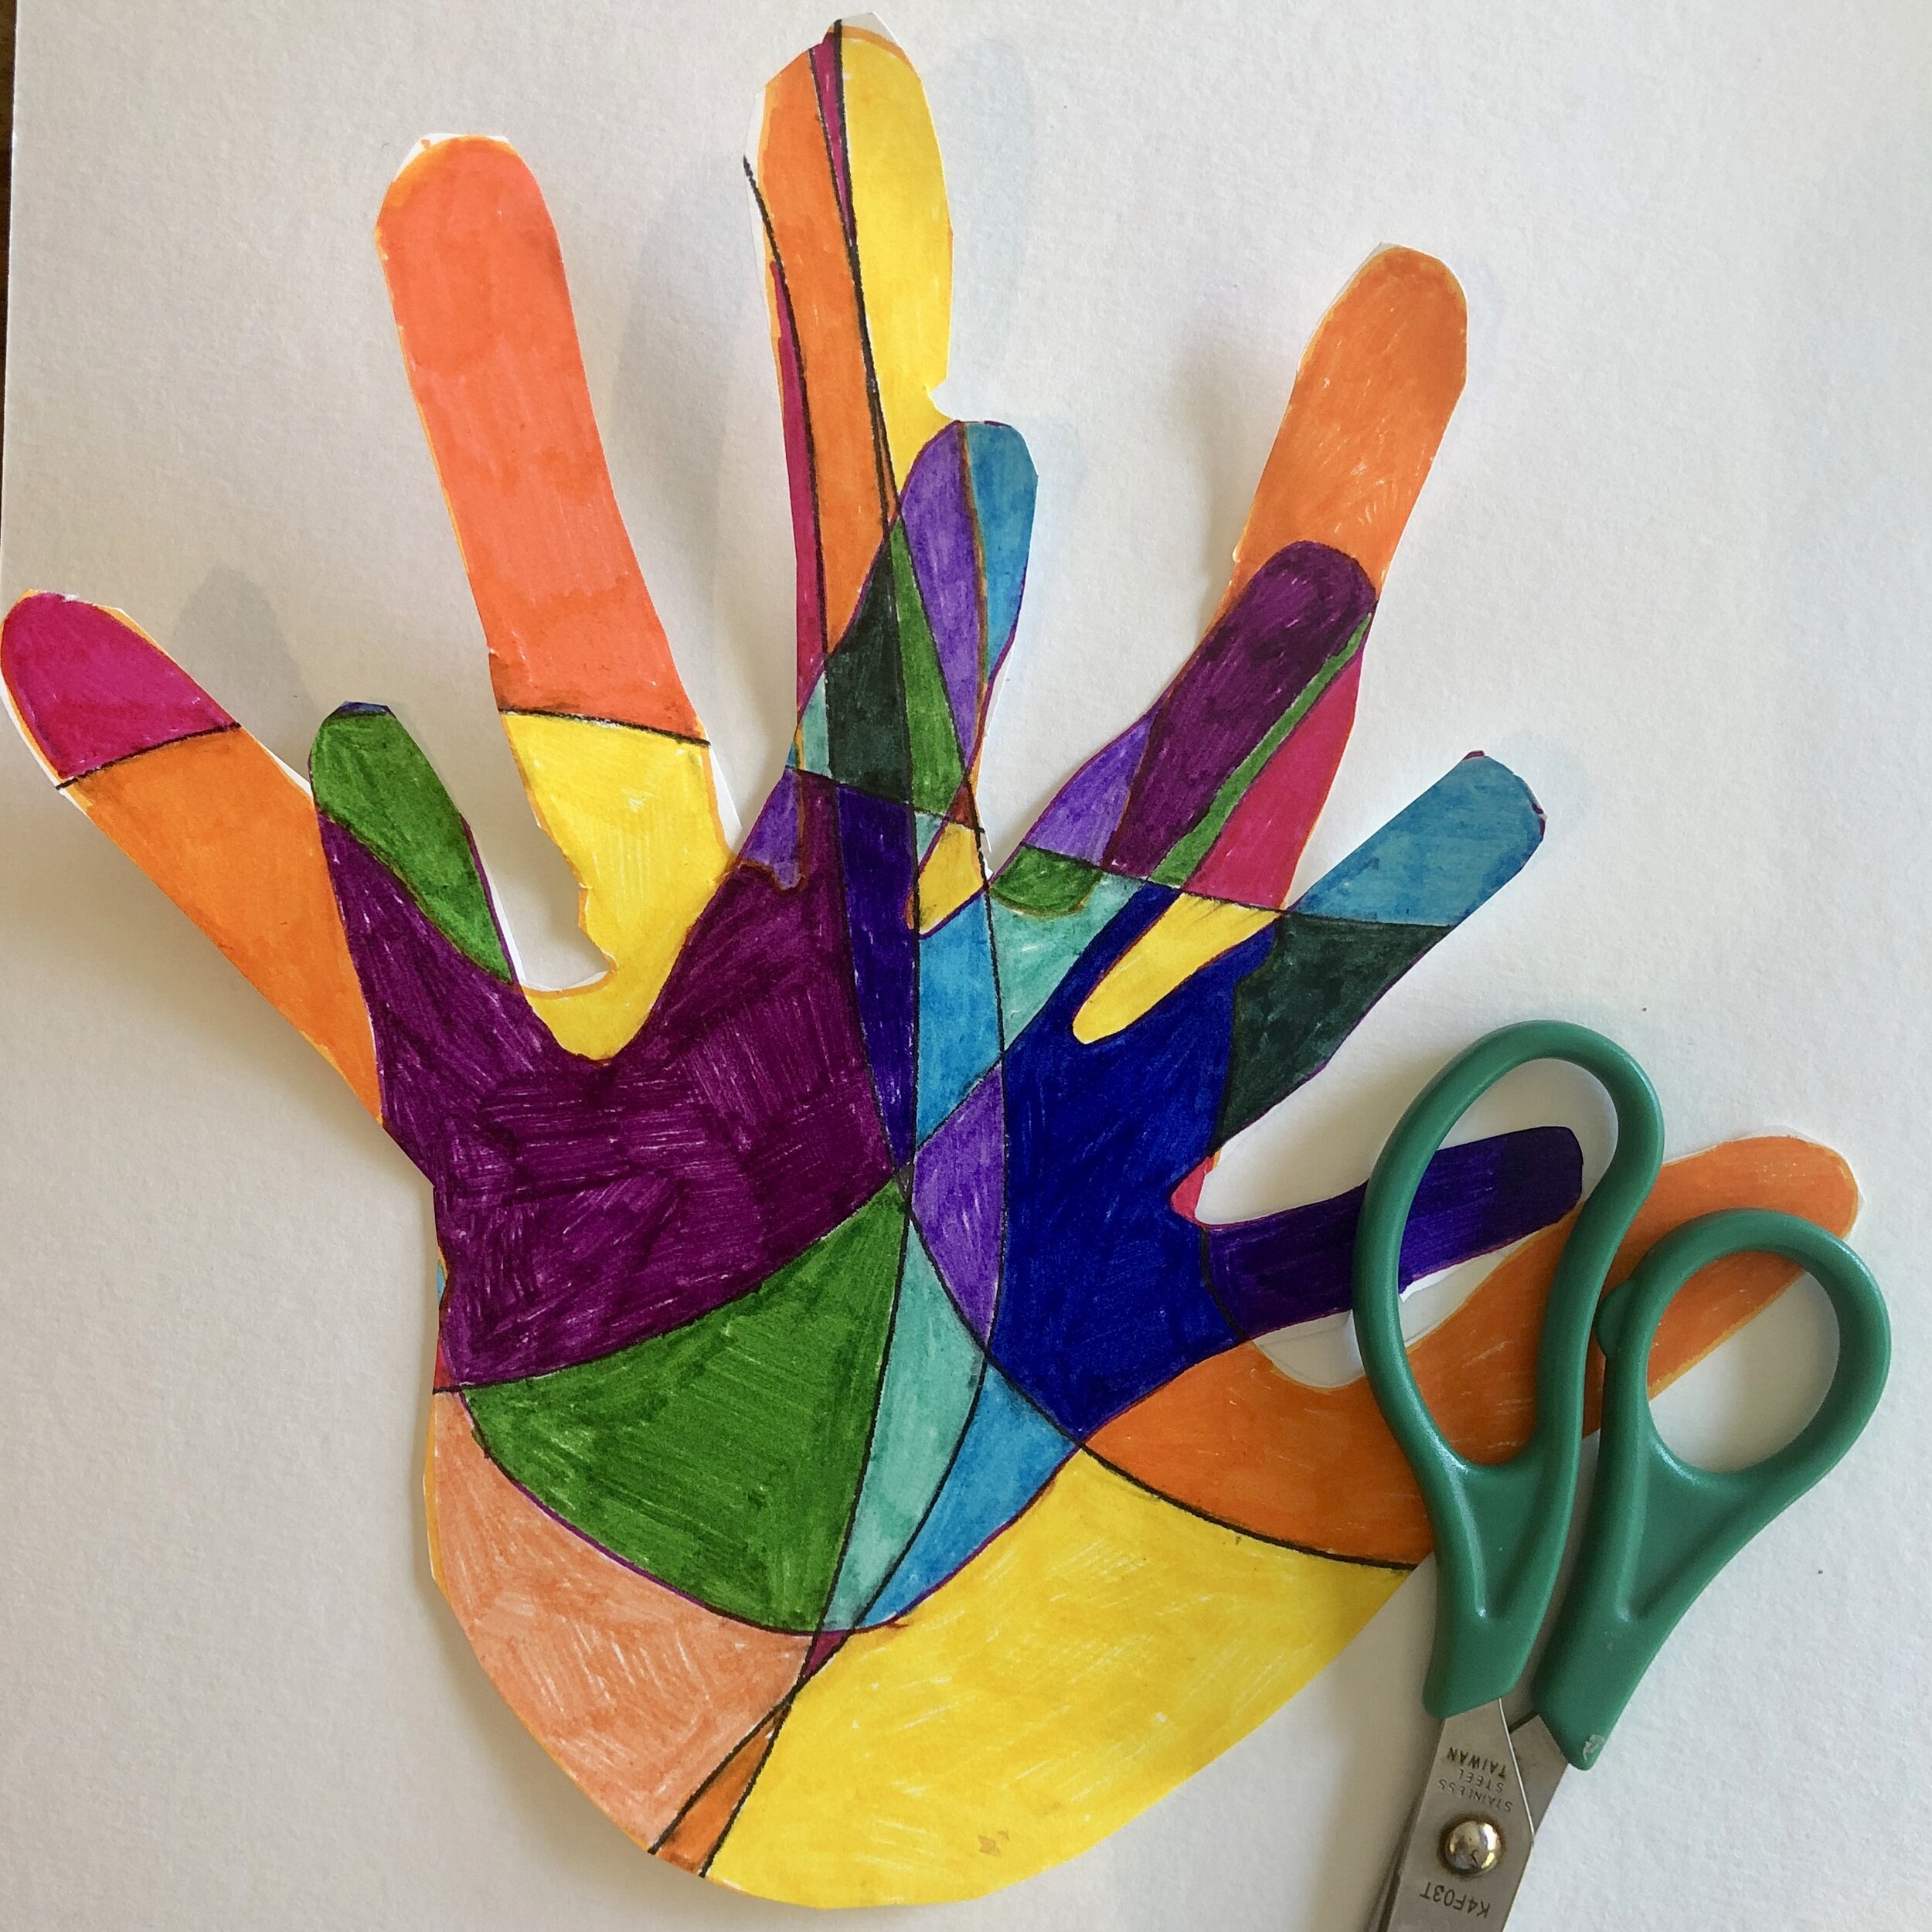
6. Cut out handprints together as one shape (left pic, below)
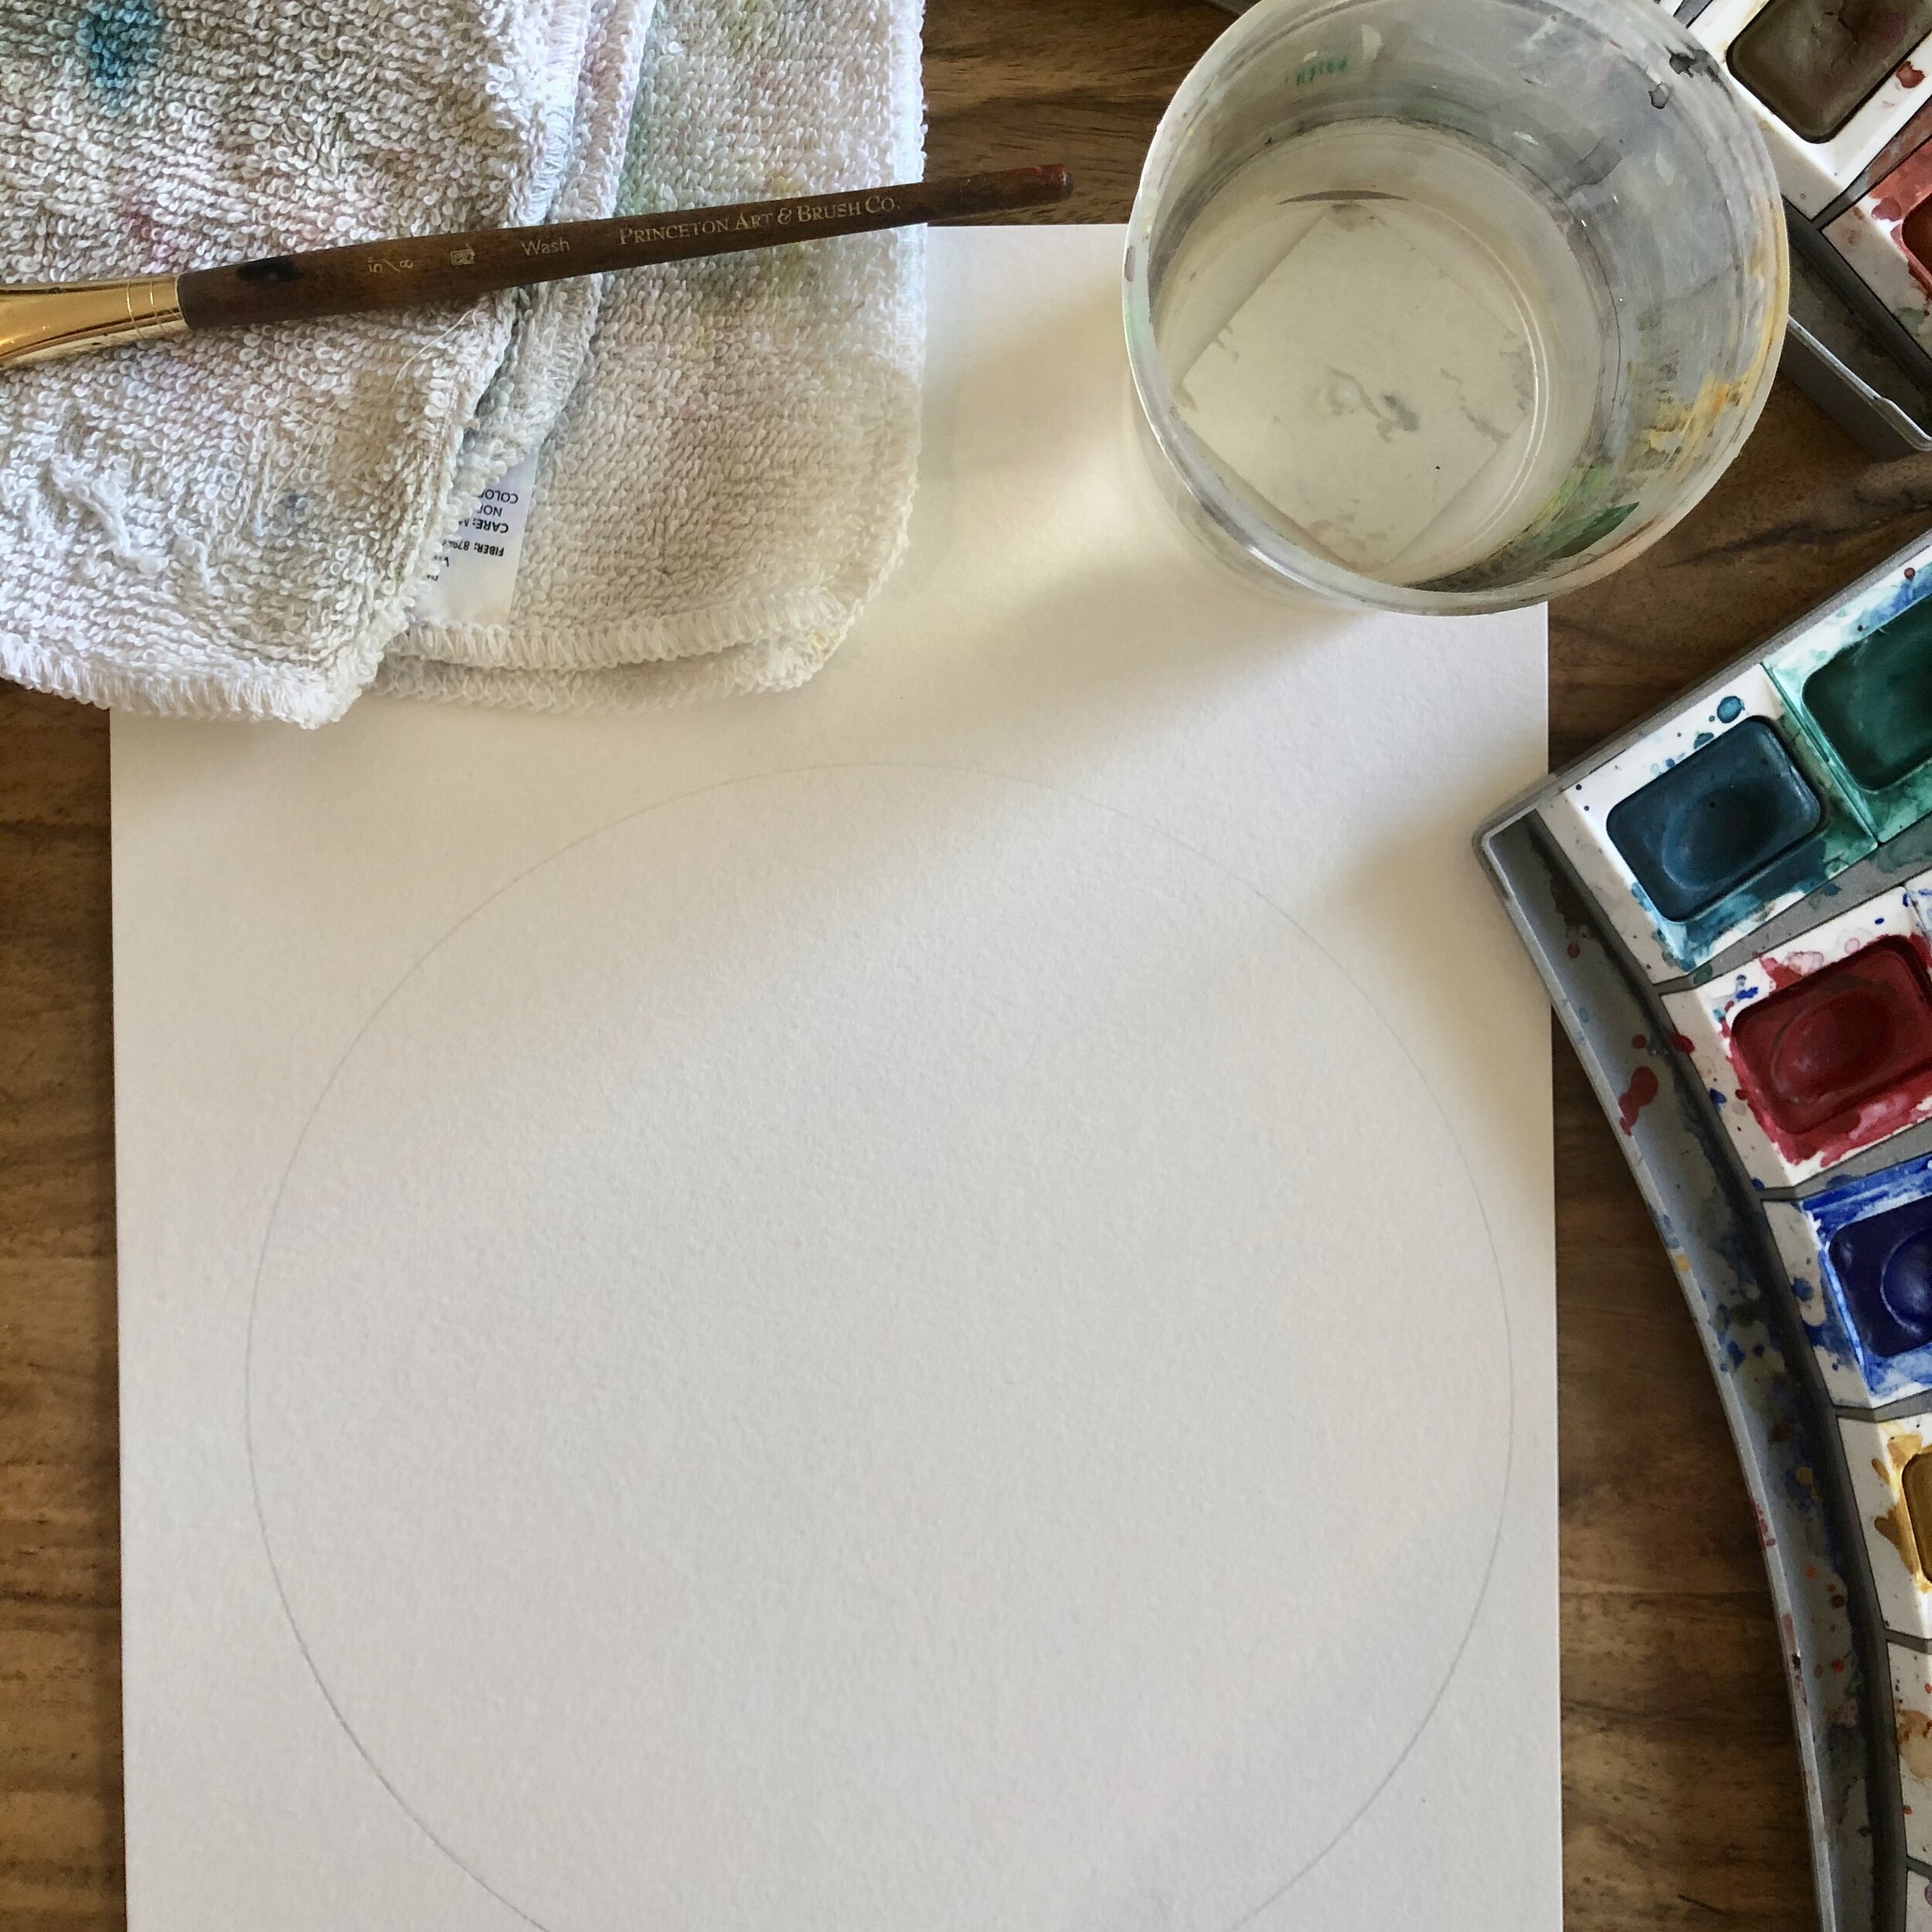
7. Trace around a circle big enough to cover prints on watercolor paper (right pic, below)
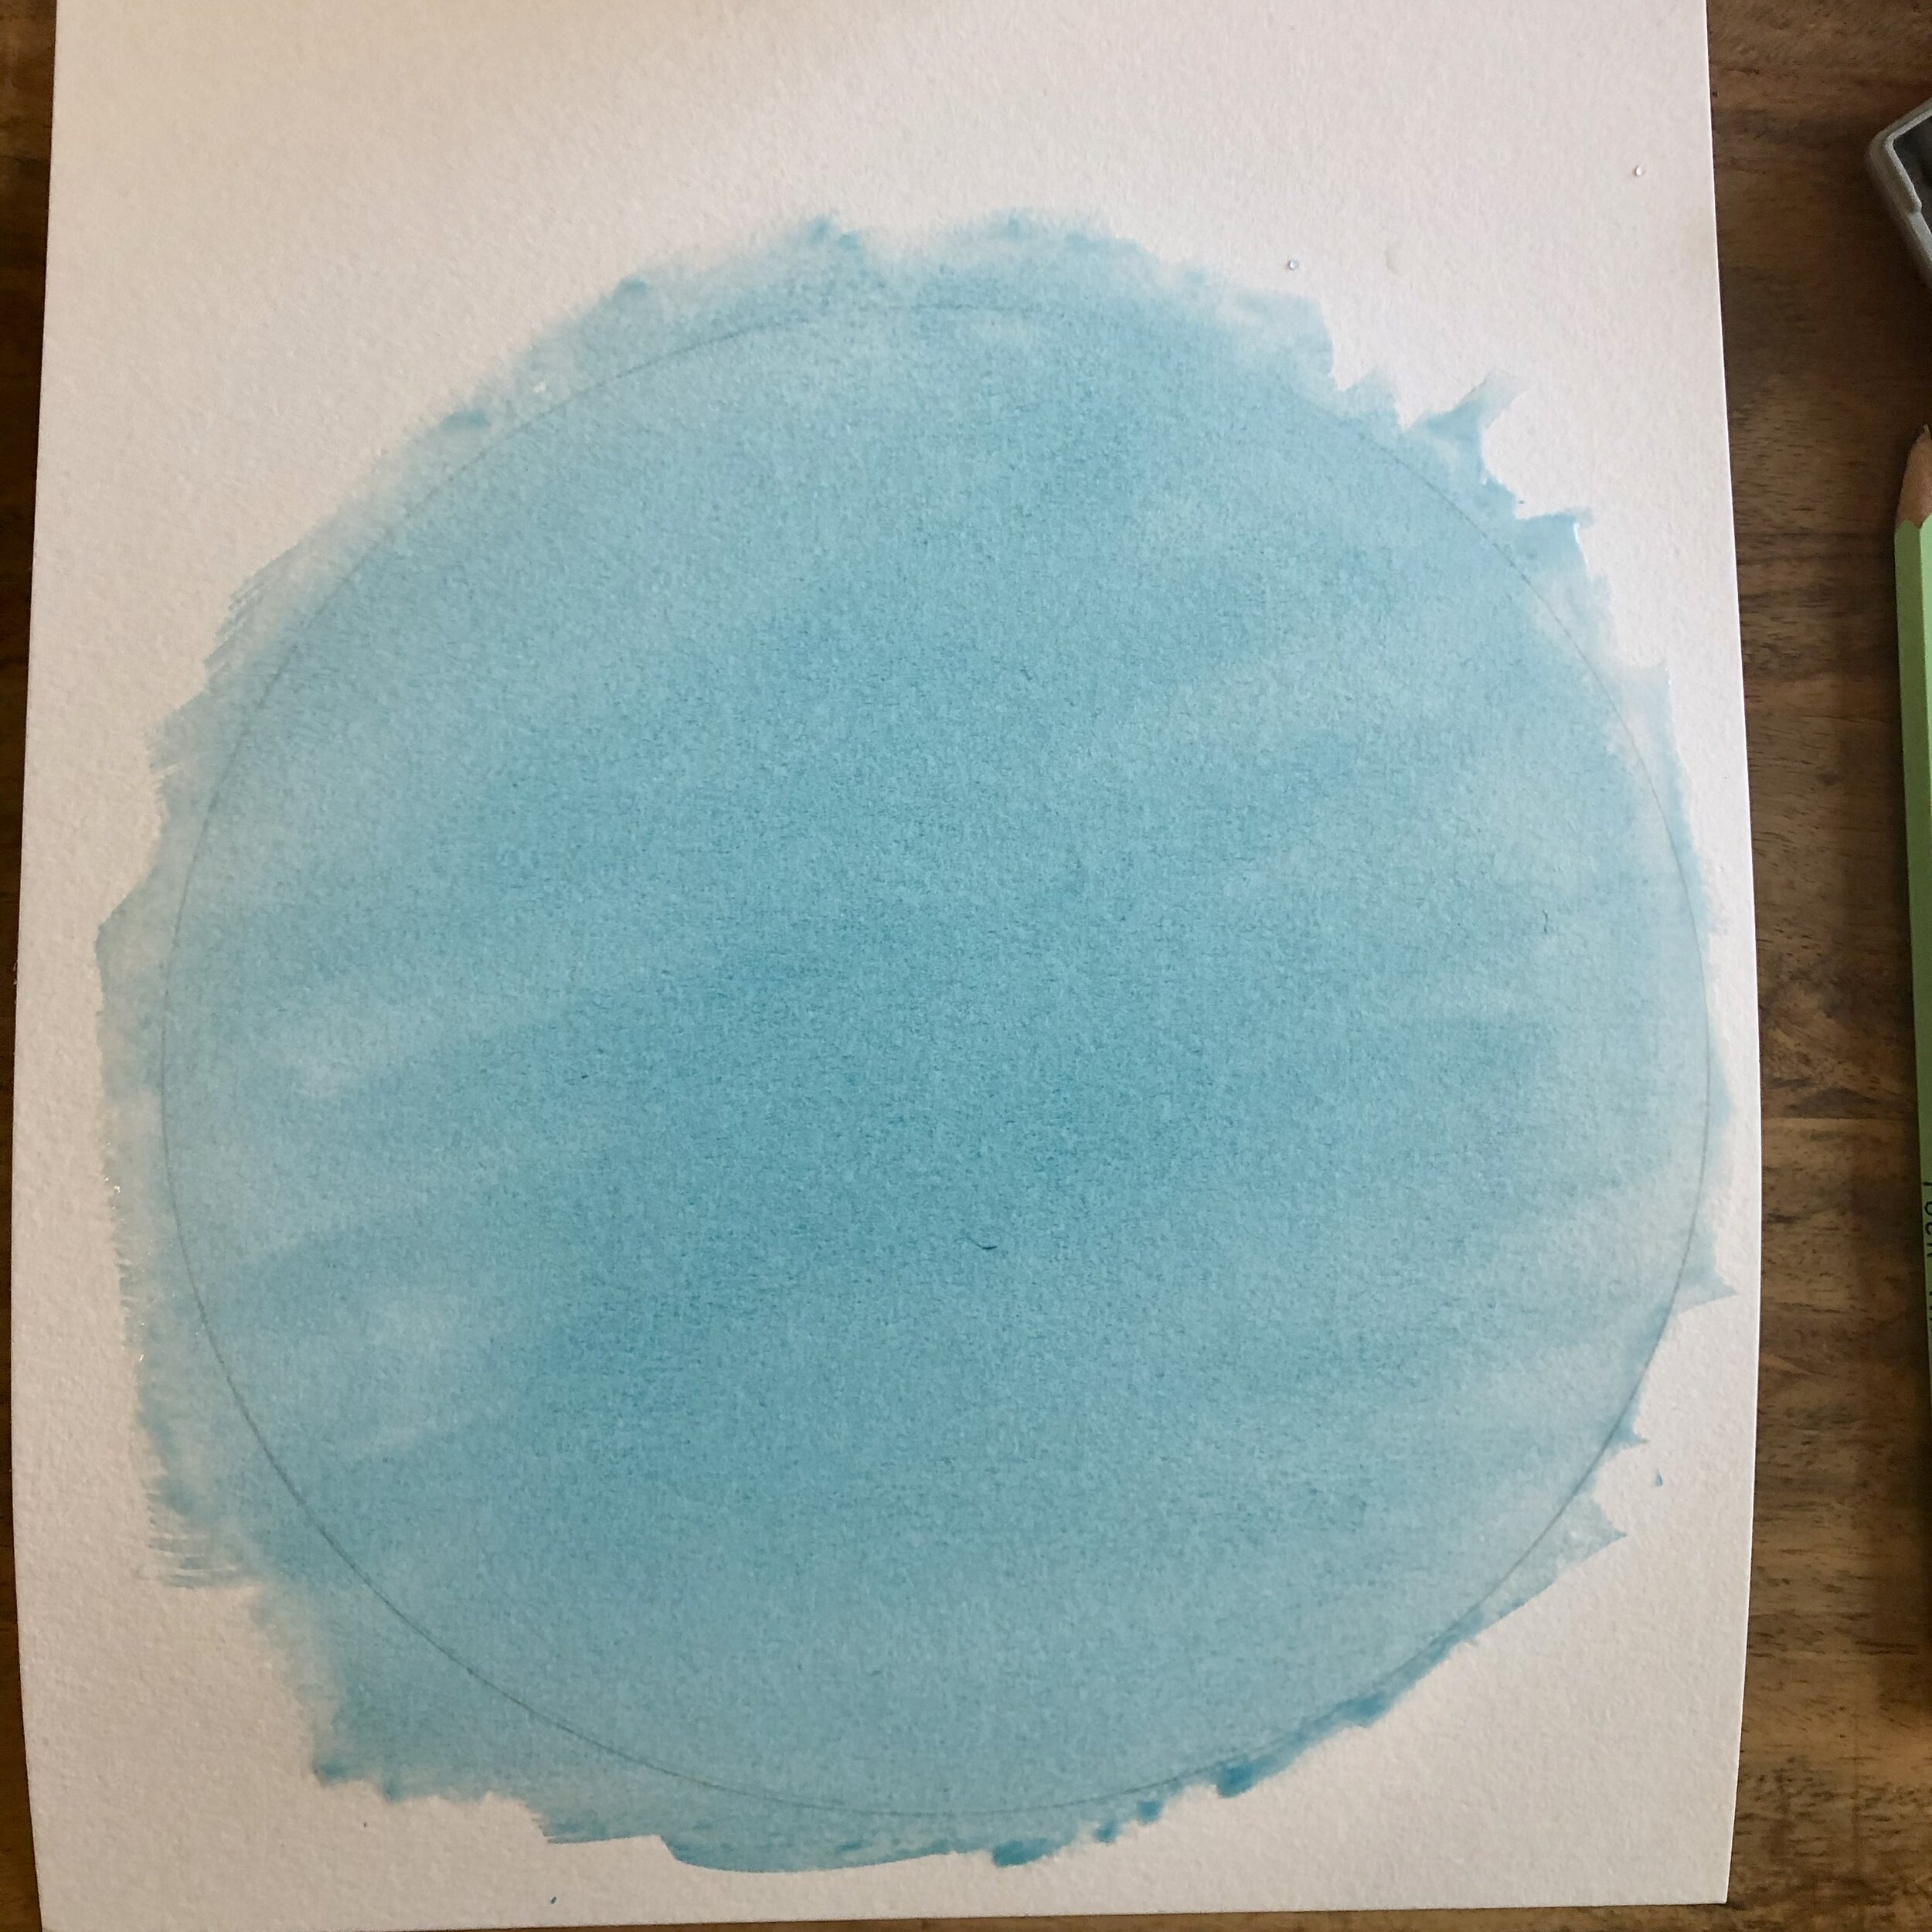
8. Using watercolor paint, fill in circle, let dry (left and middle pics, below), and cut out circle.
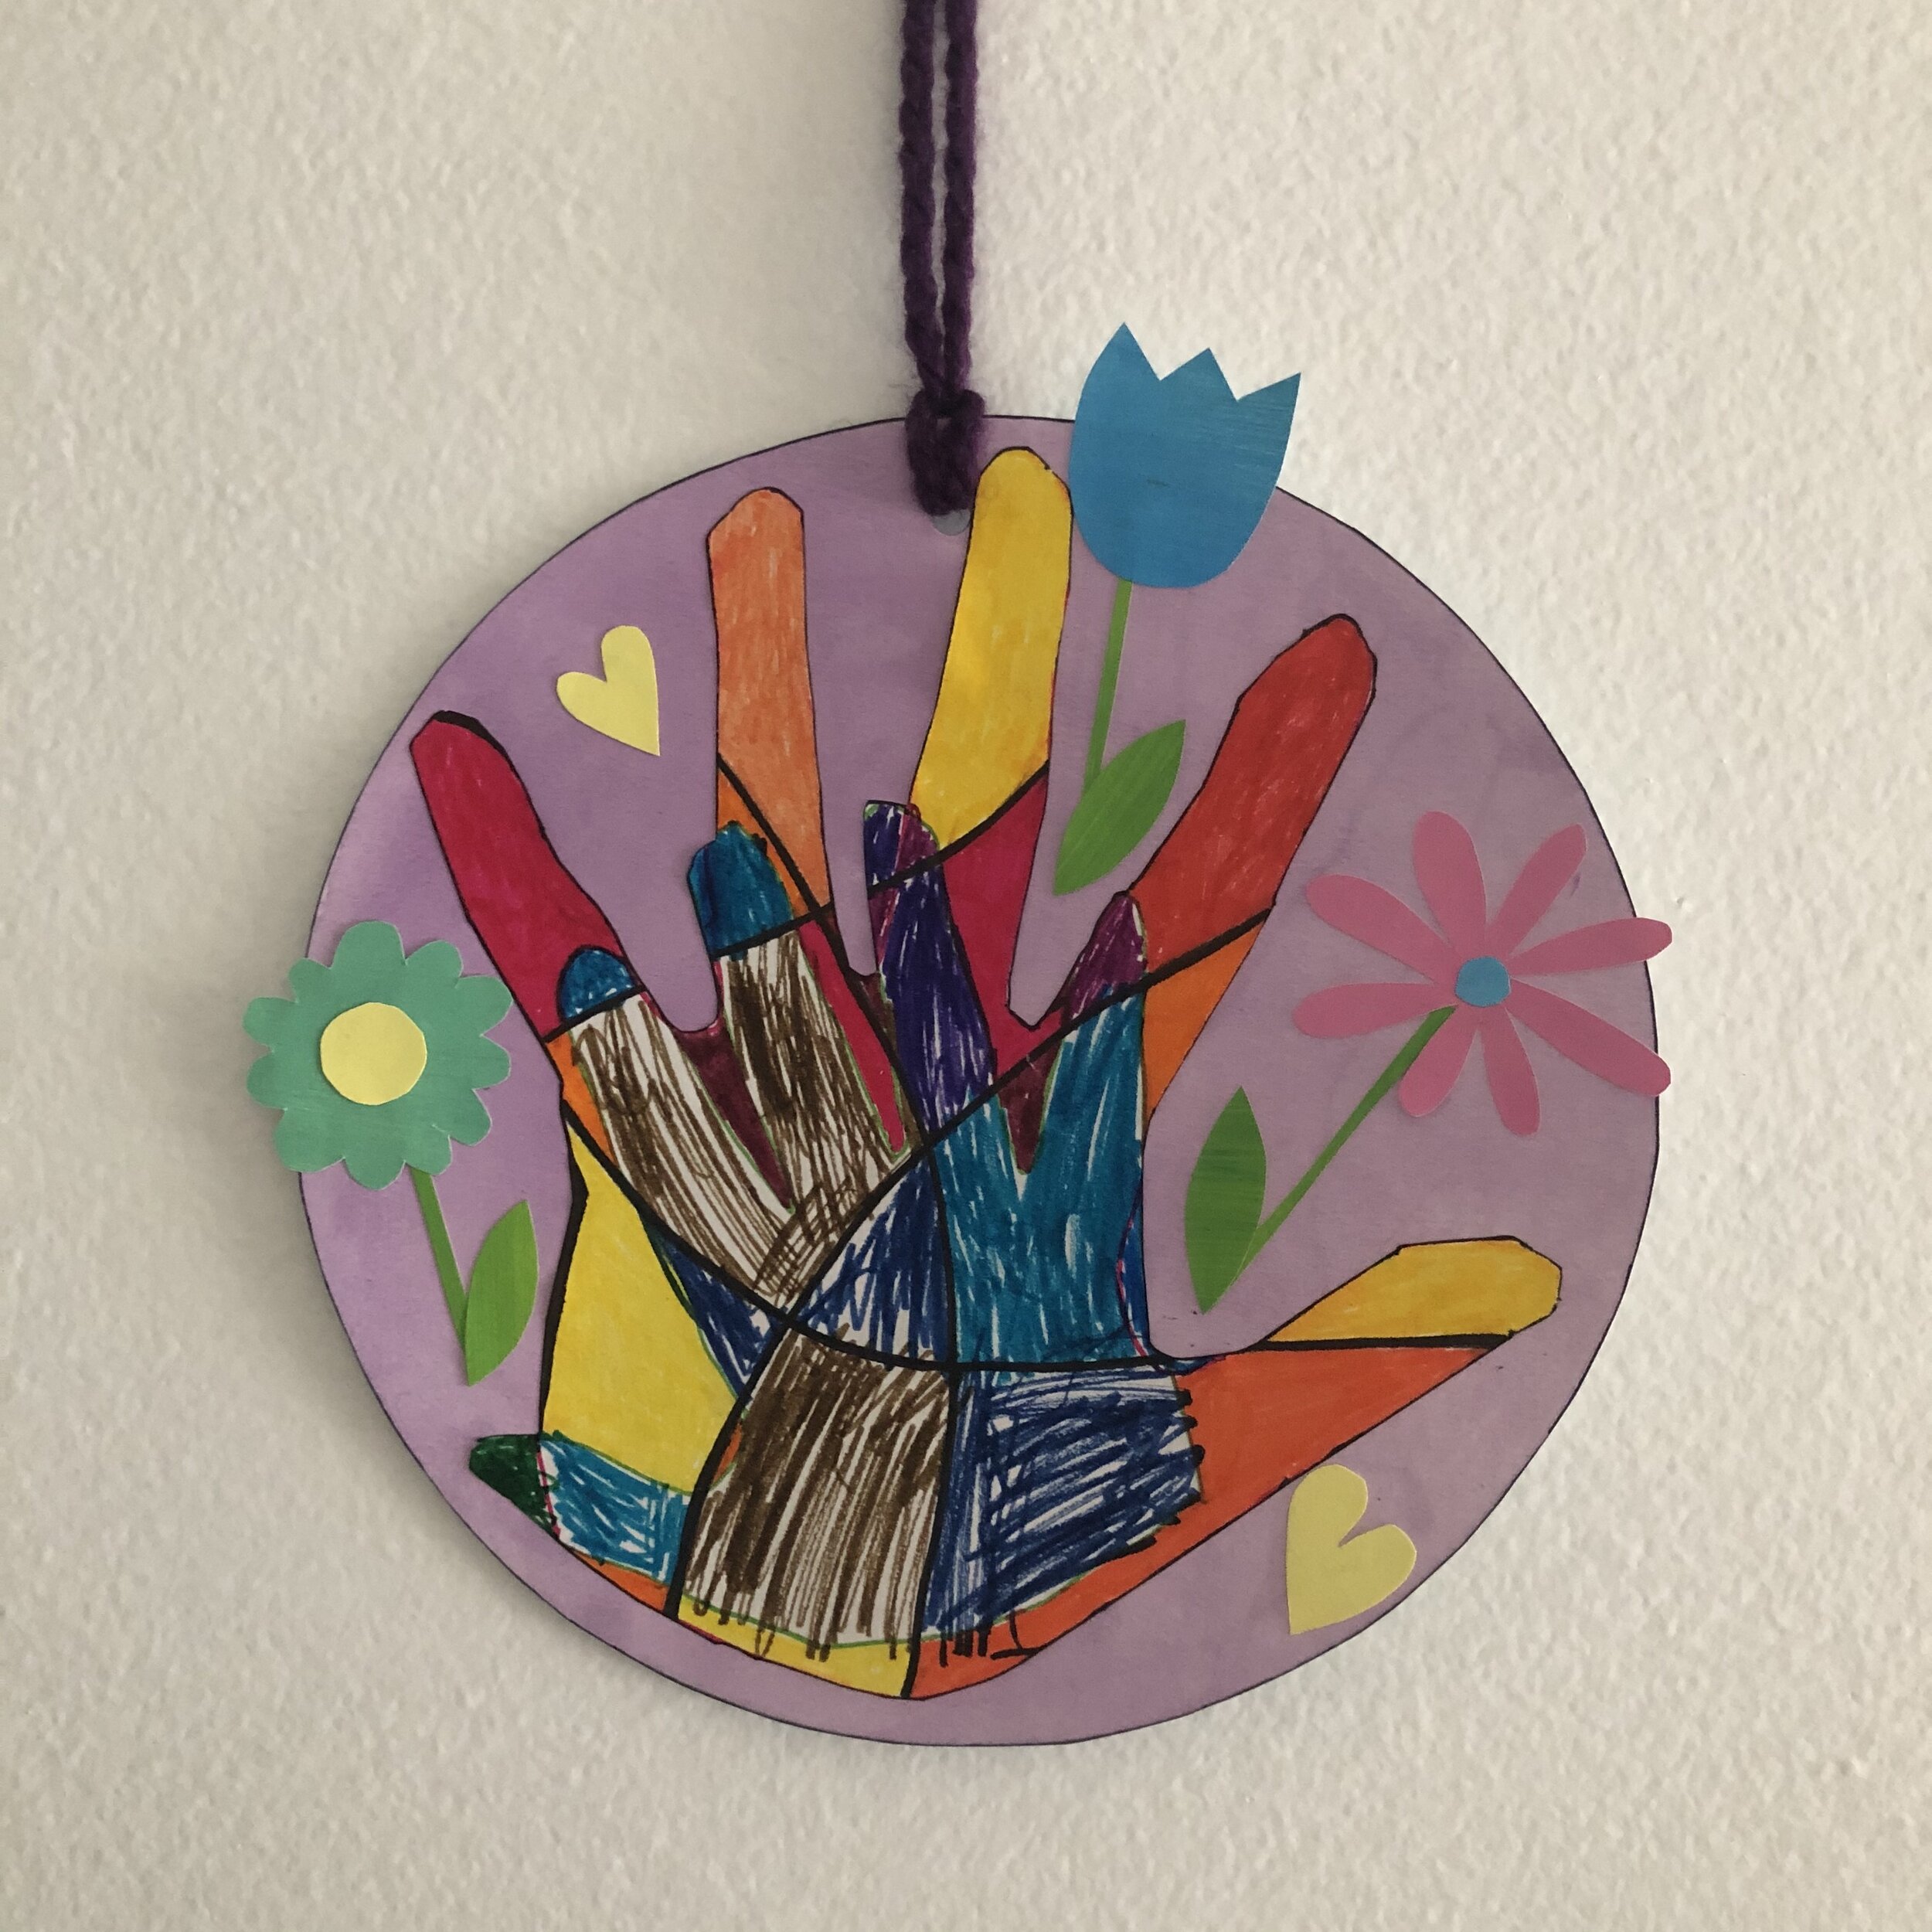
9. Once dry, use a glue stick to adhere handprints to circle (right pic, below).
10. Using scraps of previously painted paper (left pic, below), I cut flower, leaf, and stem shapes. I then affixed them to the perimeter of the piece (right pic, below) before punching a hole and adding string. The bottom right pic is another one my child and I created together.